10 DIY Deck Ideas Under $1,000 That Look Like Professional Builds — Stunning, Budget-Friendly Makeovers
You want a great-looking deck without spending a fortune, and this list shows you how to build ten budget-friendly options that feel like pro work. You’ll get practical, DIY-friendly ideas that use common materials and simple techniques so your deck looks polished, lasts well, and costs under $1,000.
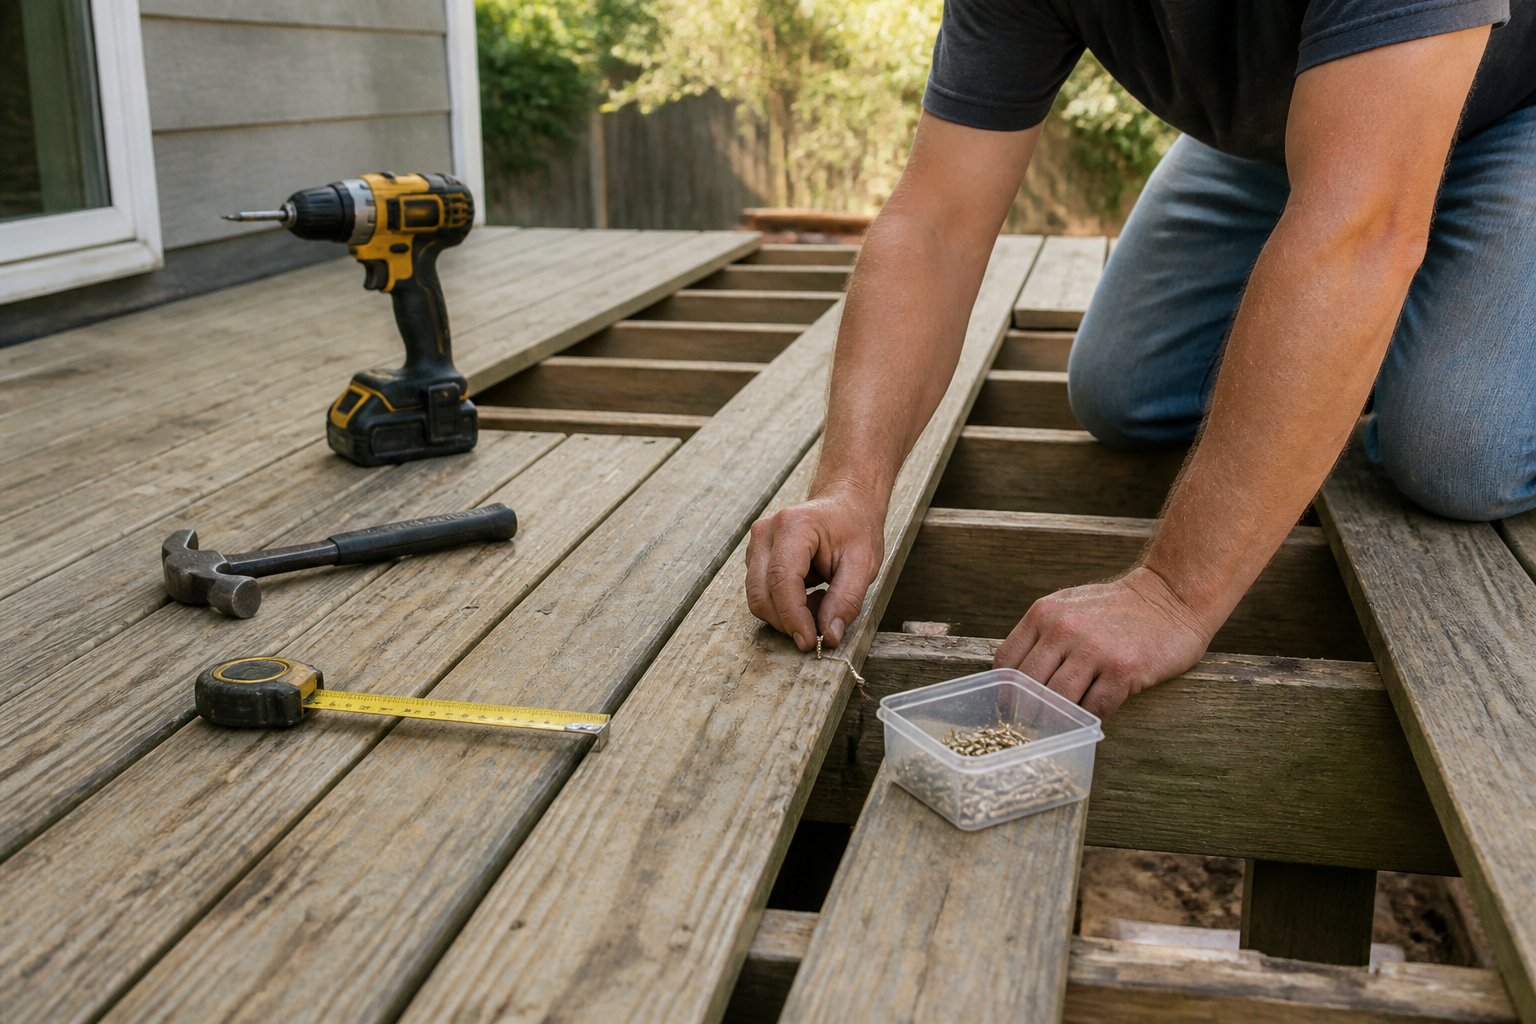
A few clear tips and real mistakes to avoid will get you further than fancy tools. Expect step-by-step guidance, smart material swaps, and layout ideas — from ground-level floating decks to reclaimed-wood tops — that save time and money while keeping a high-end look.
1) Ground-Level Floating Deck Using Precast Deck Blocks and Pressure-Treated Lumber
Build a simple floating deck with precast blocks and treated lumber for a pro look on a budget. This method skips digging and concrete footings, so you save time and money.
Start by picking a level spot and laying out precast deck blocks on compacted gravel. Space blocks under each joist and check alignment — a small shift now costs big headaches later.
Frame with pressure-treated joists and rim boards, then screw decking to the joists. Use stainless or coated screws to avoid rust; skip nails if you want long-term hold.
Common mistake: poor drainage under the deck. Add gravel underneath and leave small gaps between boards to prevent rot. A stained finish and simple trim go a long way toward making the deck look custom-built.
2) Composite Board Top with Pressure-Treated Frame
Use composite boards for a clean, low-maintenance top with a pressure-treated wood frame underneath to save money.
Choose a mid-range composite board that mimics wood grain but costs less than premium brands. You get the look without constant staining, and installing it over a pressure-treated frame keeps the whole project under $1,000.
Lay composite boards perpendicular to the joists and leave proper gaps for expansion. A common mistake is over-tightening fasteners; clips or hidden fasteners help maintain the board’s warranty and prevent buckling.
If the frame is sound, you’ll only need to replace the top layer down the road, not the joists. If you do find rot in the joists, swap out only the damaged pieces to stay on budget.
3) Staggered Pallet-Wood Deck Surface with Sealed Cedar Trim
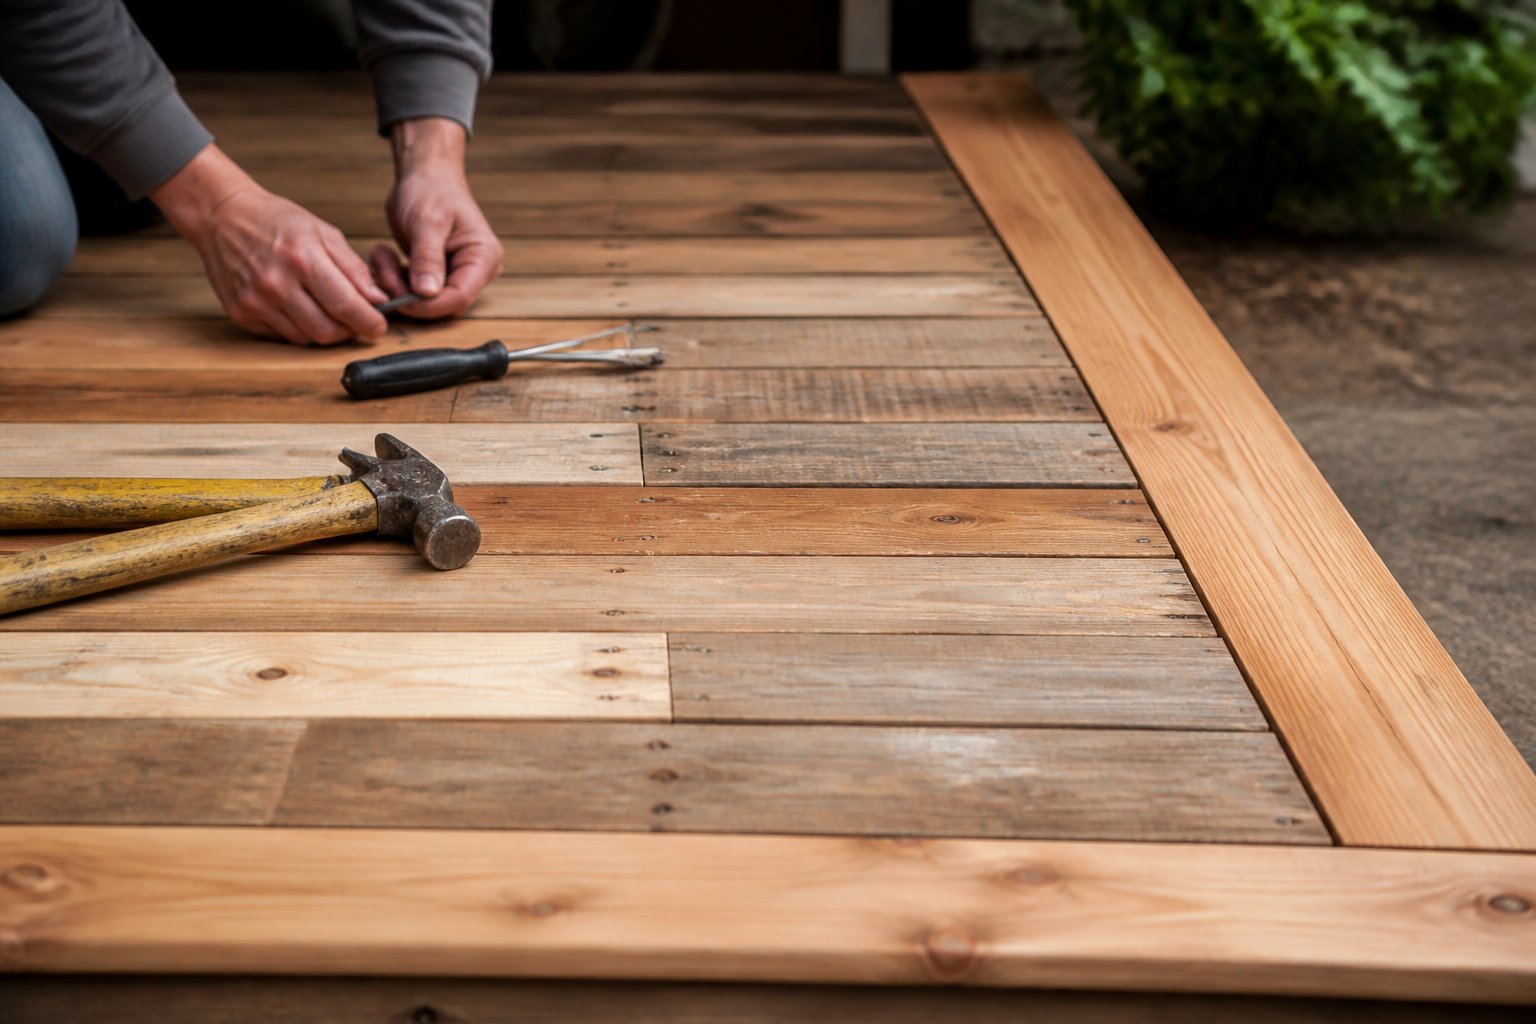
This is a practical build for a tight budget. Start by selecting sound pallets — look for solid boards and avoid ones with heavy chemical stamps.
Lay pallets in a staggered pattern to hide joints and add strength. Cut boards to different lengths so seams don’t line up; that small detail makes the deck read like a pro job.
Seal pallet boards with an exterior wood sealer and use cedar for the trim to give the whole thing a clean frame. Cedar resists rot and looks finished next to rustic pallet planks.
Common mistake: skipping prep. Sand rough spots and replace weak boards before sealing, and use exterior screws instead of nails so boards stay tight through the seasons.
4) Hexagonal Platform Deck for a Hot Tub or Seating Area
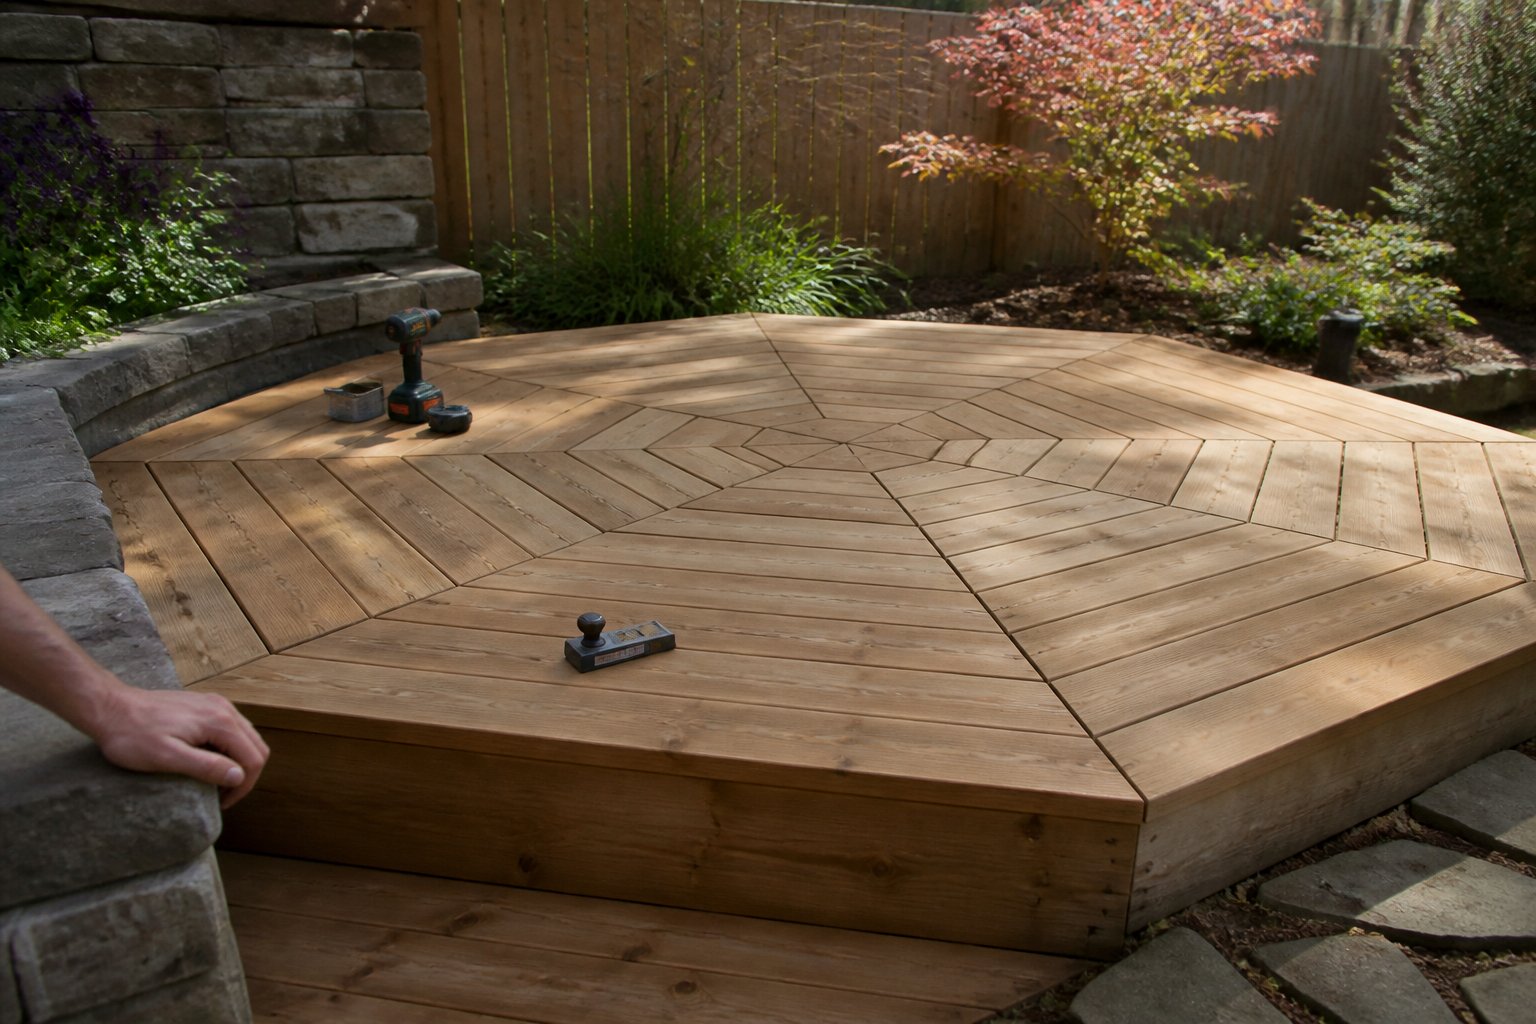
This shape fits tight yards and makes a natural focal point for social time. A hexagon spreads weight evenly, so it works well under a hot tub or as a round seating cluster. Measure carefully and mark six equal sides before cutting any joists.
Use simple rafter-like cuts on treated 2x lumber and add a central support post under the middle for extra strength. A common mistake is skimping on blocking between joists — add it to prevent bounce and keep the deck solid under water weight.
Finish with rot-resistant decking or composite boards for low maintenance, and trim the edge with a contrasting bullnose for a pro look. Start with one measured corner and build outward — you’ll see how the shape comes together quickly.
5) Simple Raised Deck on Concrete Piers with Galvanized Joist Hangers
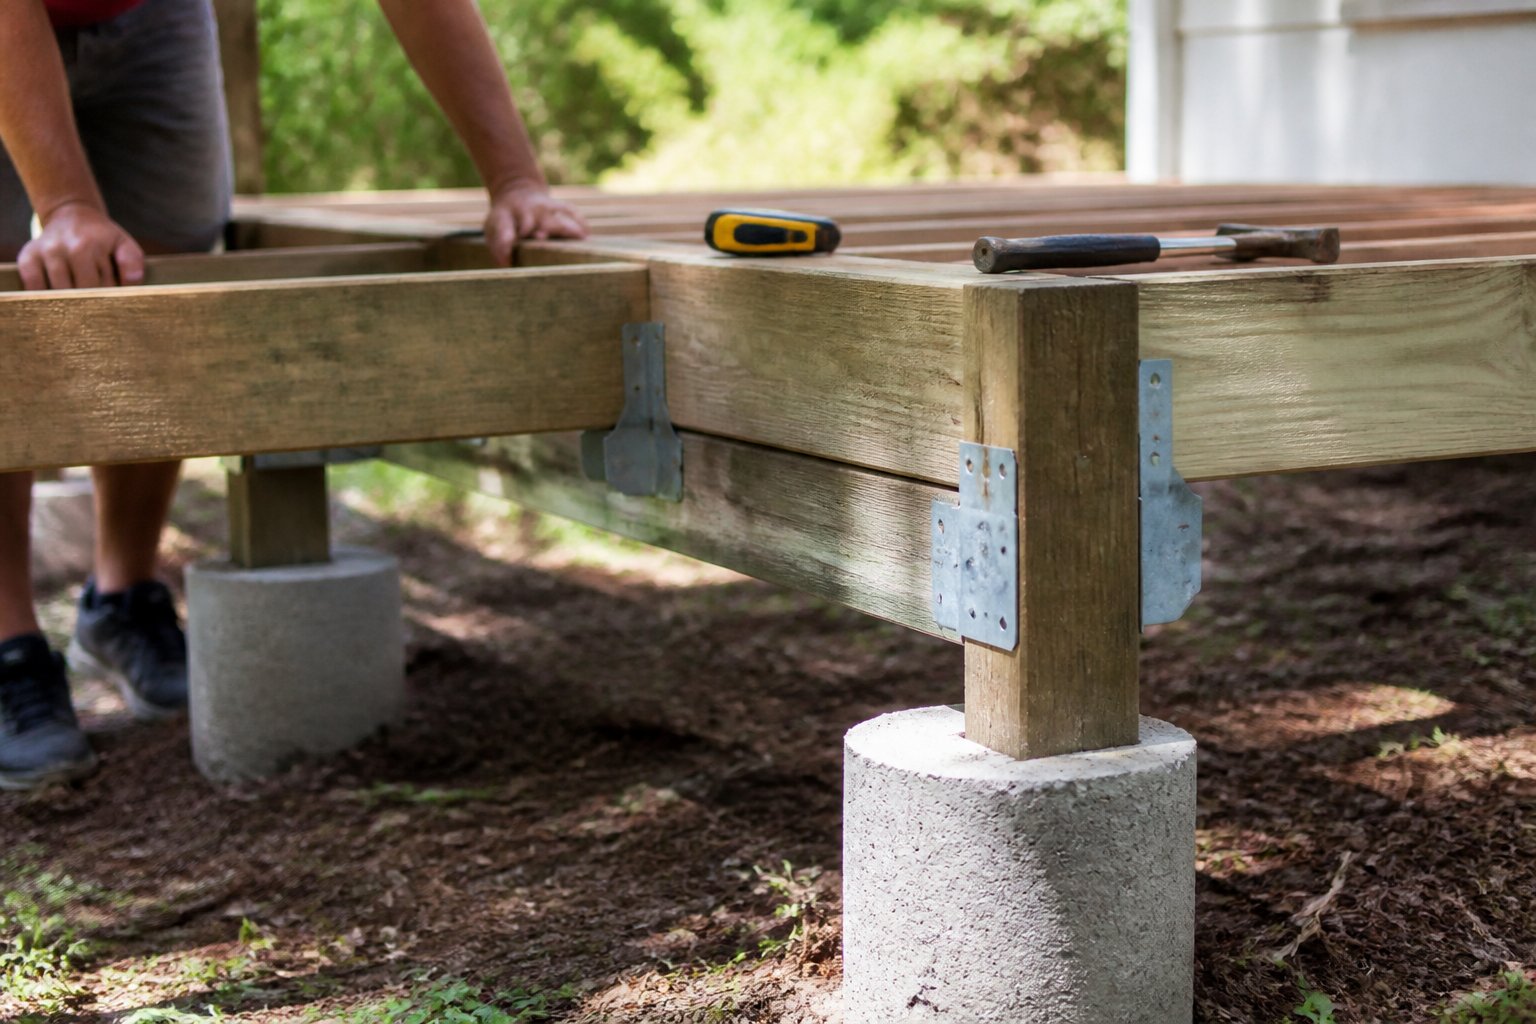
Build a sturdy raised deck on concrete piers using galvanized joist hangers to protect the metal from rust.
Start by marking pier locations and digging below the frost line where needed. Pour concrete footings and set sonotubes; use post anchors or concrete piers to keep wood off the slab. Fit pressure-treated posts, then attach the ledger or beam with flashing to prevent rot.
Use galvanized joist hangers for every joist end to speed up framing and keep spacing consistent. A common mistake is undersizing hangers or skipping blocking — this causes squeaks and sagging later. Cut and stagger decking boards for a clean look, and predrill with corrosion-resistant fasteners.
For a pro finish, add simple trim and a deck stain. Try one small section first and adjust spacing before finishing — then start enjoying your new outdoor space.
6) Painted Cedar Slat Deck with Integrated Planter Boxes
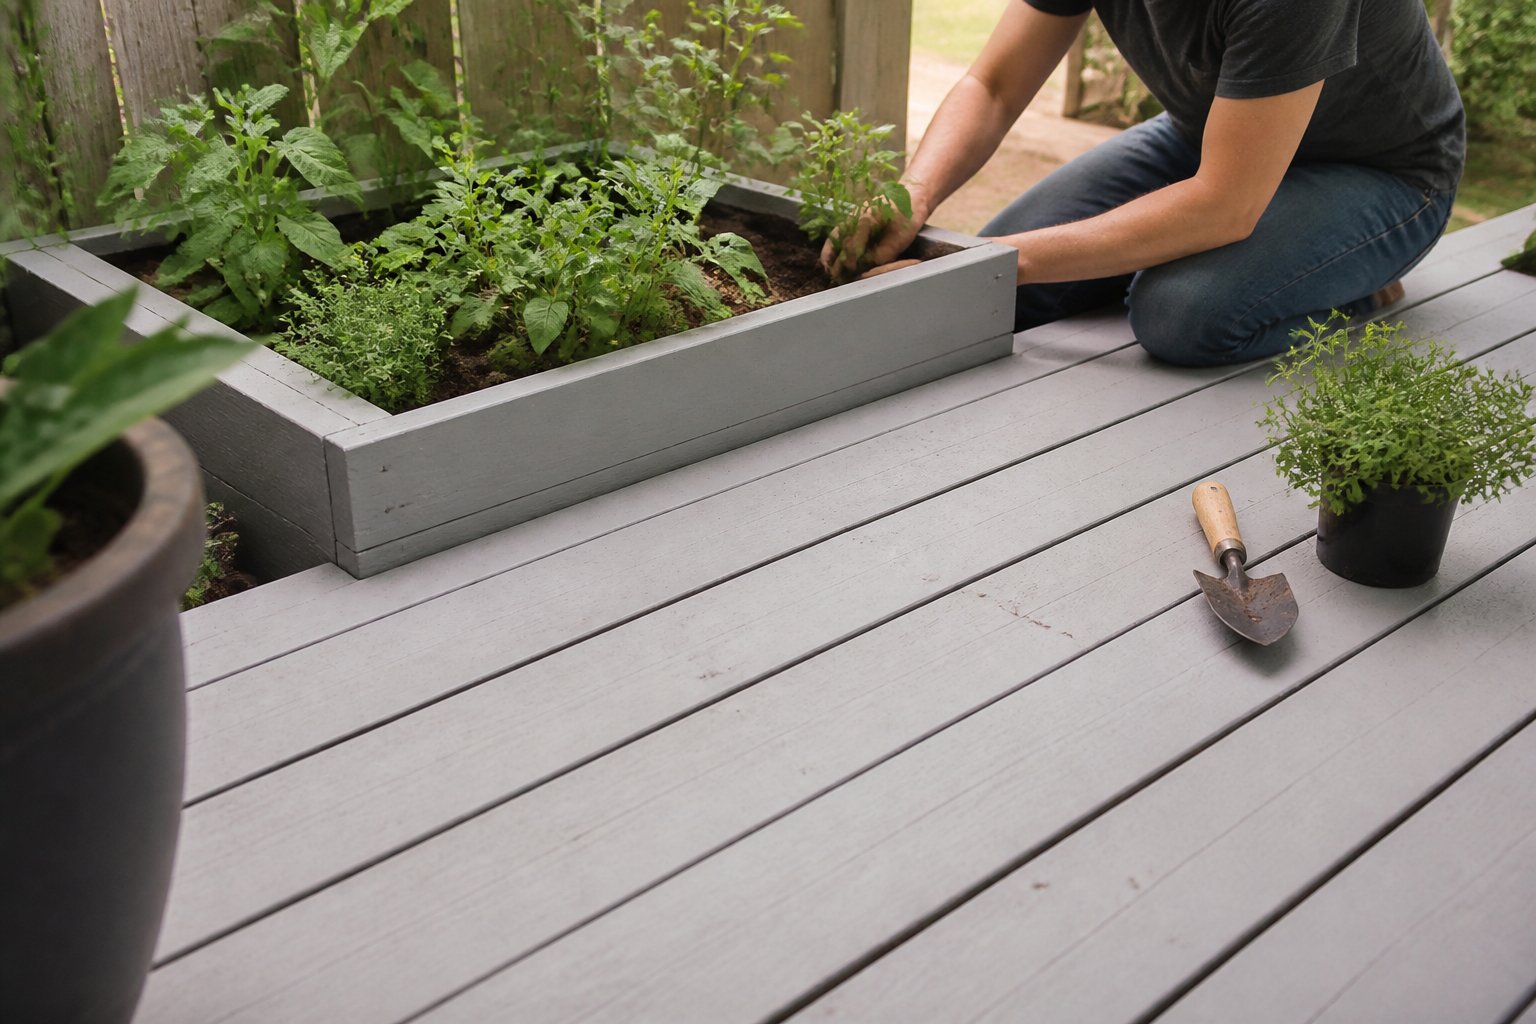
You can get a pro look by painting cedar slats and adding built-in planter boxes. Paint seals the cedar and lets you pick a clean, modern color, while the slat layout hides fasteners for a sleek profile.
Start by spacing slats evenly and pre-drilling to avoid splits. Use exterior primer and two coats of quality paint — that small step keeps the finish lasting and cuts future maintenance.
Build the planter boxes from the same cedar, lined with landscape fabric and drain holes. Plant shallow-rooted herbs or flowers to avoid heavy soil weight and protect the deck joists from moisture.
Common mistake: skipping flashing where planters meet the deck. Add a simple metal flashing strip to prevent rot. A dark stain gives nice contrast, or go with white paint for a coastal feel — either choice looks polished and intentional.
7) Narrow Balcony-Style Deck with Metal Cable Railing Kit
Turn a tight space into a clean, modern balcony that feels wide and safe.
Choose a slim deck board and run metal cable railing along the outer edge to keep sight lines open. Cable kits from hardware stores save time and usually fit wood or metal posts — check the parts and mounting options before buying.
Fasten posts into solid framing and tension the cables evenly. A common mistake is under-torquing turnbuckles, which lets cables sag. Stain the deck a mid-tone gray to make the space feel larger, and add a small bench or planter that won’t block movement.
Follow these steps and your narrow balcony will look like a pro job without a huge budget. Grab a good kit and measure twice before cutting.
8) Deck Built from Pressure-Treated 2×6 Decking with Hidden Fasteners
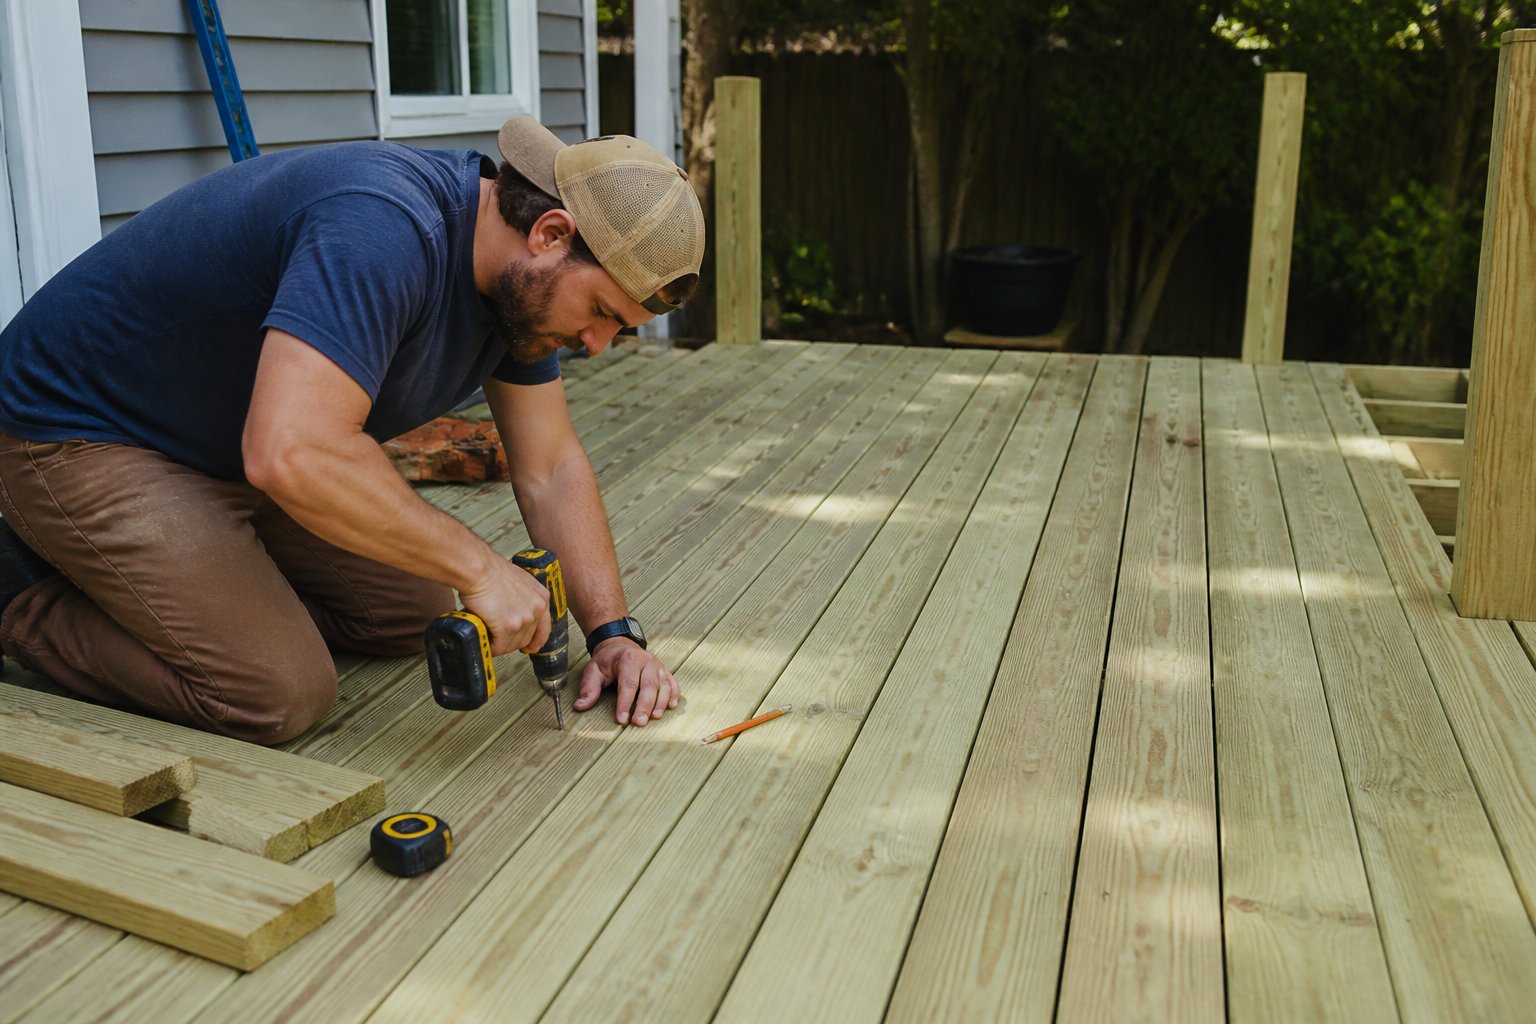
You can finish this build for under $1,000 if you shop smart and do the labor yourself. Use pressure-treated 2×6 boards for strength, and buy a hidden fastener kit made for PT lumber to avoid visible screws and a DIY look.
Start boards on a straight chalk line and keep 1/8″ gaps for drainage. A common mistake is under-spacing near joins — use spacers and check your lines often. Clips save time but need the correct screw length and stainless hardware to resist corrosion.
You’ll end up with a clean, professional surface that ages well with proper sealing.
9) Reclaimed Barn-Wood Deck Boards Over a Pressure-Treated Subframe
Use reclaimed barn boards for a worn, warm look while relying on a new pressure-treated subframe for strength.
Start by sorting boards for straightness and rot. Run a moisture meter and reject anything above 19% to avoid cupping and mold. Pick thicker boards — 1×8 or 1×10 — so you can plane out nails and still have solid decking left.
Attach the reclaimed boards to the pressure-treated frame with stainless or coated screws. Leave 1/8–3/16″ gaps for drainage and movement, and pre-drill holes near knots to prevent splitting. Many pros also seal both sides of each board before installation.
Watch for hidden metal or old spikes — a grinder or nail puller saves headaches. If a board’s too damaged for the walking surface, cut it down for fascia or a step instead. Aim one run straight across the deck; it makes the whole thing look intentional and professionally built.
10) Deck with Composite Perimeter and Pressure-Treated Board Center for Contrast
Use composite around the edge and pressure-treated boards down the middle to get a clean, high-end look without a huge cost.
Install the composite boards as a framed border first. That hides the cut ends and gives a polished outline. Then run pressure-treated boards across the center for warmth and lower material cost.
Measure twice and stagger butt joints for a neat pattern. A common mistake is skipping a small gap where the two materials meet — allow proper spacing for expansion. Fasten the composite per manufacturer instructions and use stainless or coated screws for the wood center.
The result is a durable, splinter-resistant edge with a budget-friendly heart. A darker composite border helps the wood really pop. Lay out the border first, then cut the center boards to fit for a tight, professional finish.