DIY Dog House Ideas for a Cozy Backyard Shelter: Stunning Budget Hacks & Transformations
You want a cozy, safe spot in your yard where your dog can relax, play, and stay protected from sun, wind, and rain. You’ll find simple, practical DIY ideas that fit any skill level and budget so you can build a shelter your dog will actually use.
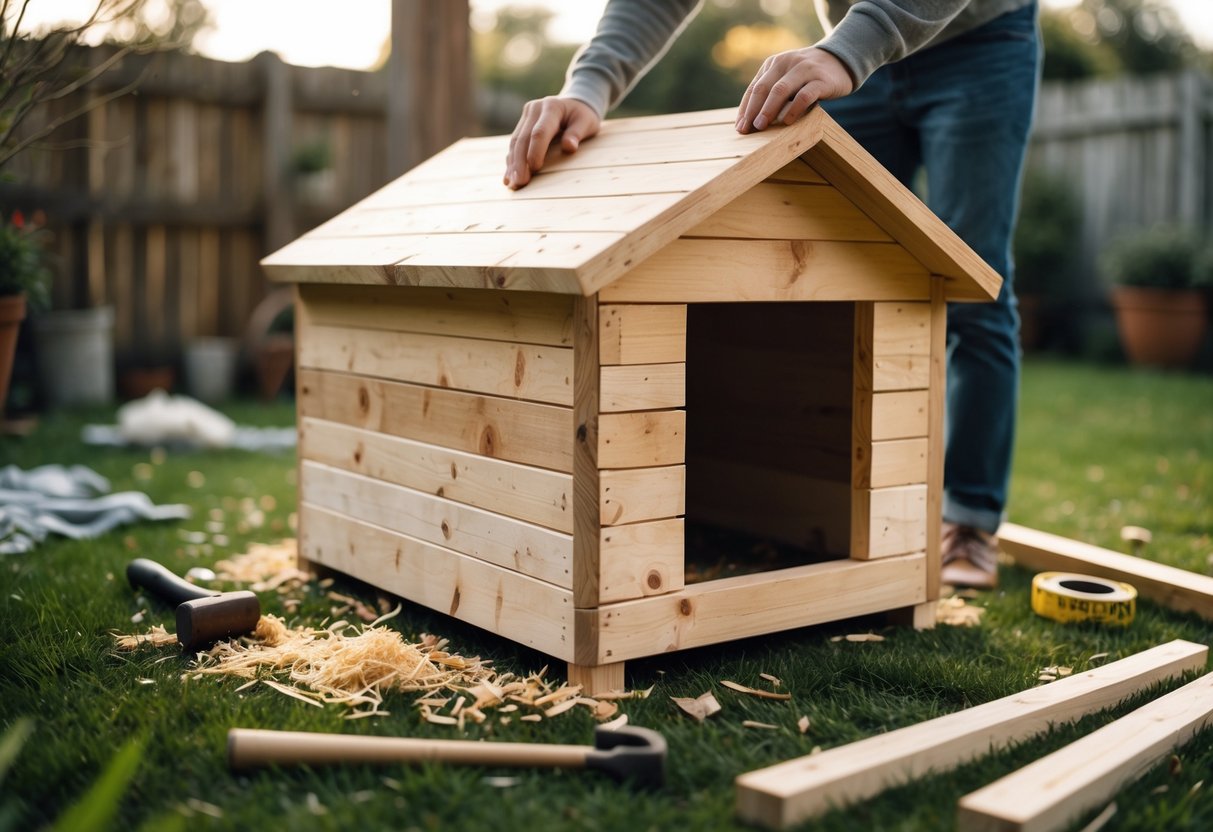
Here’s a rundown of smart plans — from insulated wooden huts to portable folding shelters — so you avoid common mistakes like poor ventilation, wrong sizing, or bad materials. Expect clear choices, step-by-step tips, and real-world advice that help you pick the best design for your dog and backyard.
1) Insulated Wooden Dog House with Ventilation
Build a warm, dry shelter that breathes. Start with a raised floor and 1–2 inches of rigid foam insulation between plywood layers to keep cold from the ground.
Frame walls with 2x4s, add 1-inch foam, then sheathe with exterior-grade plywood. Use a sloped roof covered in shingles or metal to shed water quickly.
Install a small vent near the roofline and a low, covered air intake to create gentle airflow without drafts. A removable roof panel makes adding insulation or cleaning easy.
Common mistakes: sealing vents shut or using indoor-grade plywood outdoors. If your dog shivers or avoids the house, add a door flap and more bedding. Test for drafts on a windy day before finalizing.
2) Raised Pallet Dog Shelter
Raise the floor off the ground to keep your dog dry and warm. A simple pallet base gives airflow and cuts dampness after rain.
Start by choosing sturdy pallets and checking for heat-treat (HT) stamps to avoid chemical residues. Nail or screw three pallets together for a wider base, then add a plywood floor for comfort and insulation. Leave a short gap around the edges for drainage.
Attach pallet walls and a sloped roof to shed water. Use exterior screws and rubber or metal flashing at the roof edge to prevent leaks. Weatherproof with a non-toxic sealant and add straw or a washable pad inside for bedding.
Common mistake: skimping on elevation. Too-low houses soak and rot. Test stability before letting your dog in, and adjust the entrance height so your pet can enter easily.
3) PVC Pipe Frame with Waterproof Cover
Build a simple, weatherproof shelter using PVC pipe and a waterproof cover. This one comes down to quick cuts, secure joints, and sizing the frame for your dog’s comfort.
Start with a rectangle base sized for your dog, then add vertical legs and a sloped roof for rain run-off. Use PVC glue only on permanent joints; for adjustable frames, join with slip fittings and screws. Cover the frame with heavy-duty tarp or outdoor fabric and secure with bungee cords or zip ties.
Common mistakes include undersizing the roof pitch and using thin tarp that sags. Test the frame in wind before finishing, and add a raised bed inside to keep your dog dry. Try a small prototype first and adjust dimensions to fit your pet.
4) Reclaimed Wood Modern Style Kennel
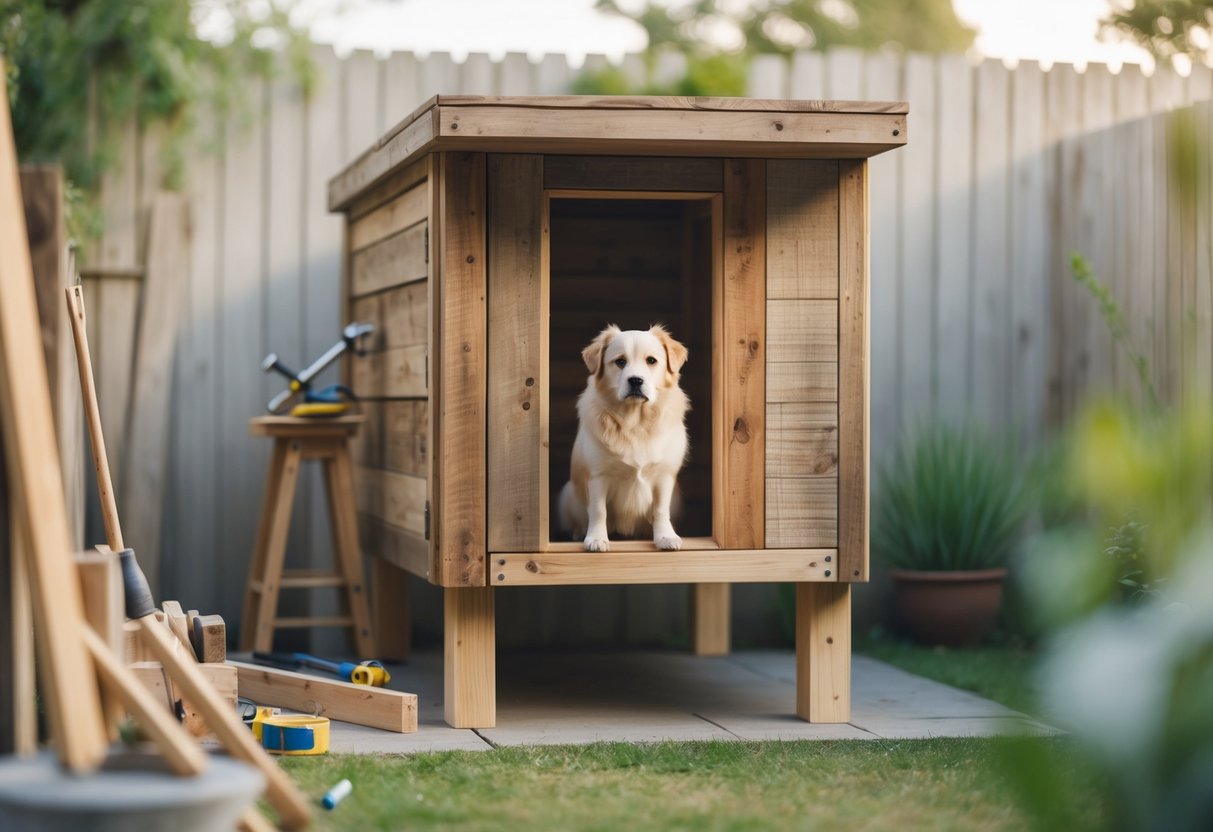
Build a sleek kennel using reclaimed wood for a modern look that lasts.
You’ll get a stylish, weathered finish without buying new lumber. Pick straight, dry boards — old pallets often warp, so avoid those. Use tongue-and-groove or shiplap for tight joints and better insulation.
Frame with treated lumber and raise the floor a few inches to keep the interior dry. Add a slightly sloped roof and an overhang to protect the entrance from rain. Fit a removable inner panel for easy cleaning and a small insulated bed for cold nights.
A common mistake is skipping sanding and sealing; rough edges can splinter and ruin the reclaimed look.
5) DIY Heated Dog House with Solar Panels
Build a small solar-heated shelter that uses panels to run a low-wattage heater or thermostatic mat. Plan the panel size by checking your sunlight hours; a common setup uses a 50–100W panel, a small charge controller, and a 12V heater or heated pad.
Install panels on a south-facing roof angle. Mount the battery and controller inside a weatherproof box. Run wiring through grommets and seal gaps to prevent drafts.
Use insulation like foam board and a raised floor to keep heat in. Test the system on cold nights before relying on it. A common mistake is undersizing the battery — buy a bit more capacity than you calculated.
6) Portable Folding Dog House
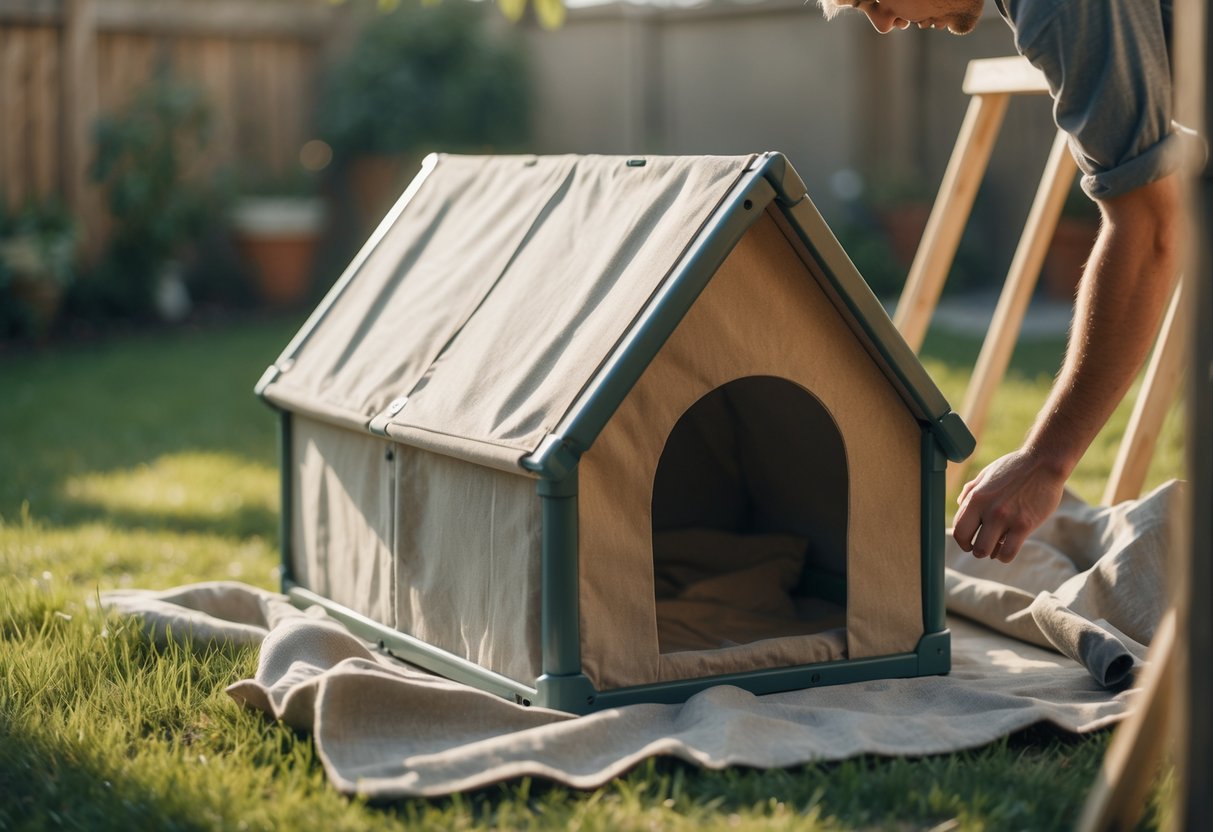
Choose a folding dog house when you need shelter that moves with you. These designs collapse for travel and pop open for quick use, saving time when you visit friends or go camping.
Look for water-resistant fabric, a sturdy frame, and a secure floor. Test the zippers and seams at home; weak hardware is the most common failure. For larger breeds, pick a model with reinforced corners and a raised base to keep your dog off damp ground.
Set it up once in front of your dog so they learn the new space. Add a familiar blanket and a toy to help them accept it faster. If you plan to leave it outdoors, anchor it or use Velcro straps to stop wind blowovers.
Try a few models in the yard before buying. Pick the one that fits your dog’s size and your travel plans, then use it confidently on your next trip.
7) Two-Story Dog House with Ramp
A two-story dog house with a ramp gives your dog separate zones for resting and watching the yard. Build the lower level as a cozy sleeping den and the upper level as a lookout or sunning deck.
Use weatherproof plywood, proper ventilation, and raised flooring to keep the lower level dry. Keep the ramp low-slope and add traction with strips of outdoor stair tread — a too-steep ramp is the most common mistake.
Frame the roof with simple rafters and add a small overhang to protect the entrance. If your dog is older, keep the ramp shorter and add low side rails for safety.
Try a small window on the upper level for airflow and a hinged roof panel for easy cleaning. Build one, test it with your dog, and tweak dimensions to fit their size.
8) Straw Bale Insulated Backyard Shelter
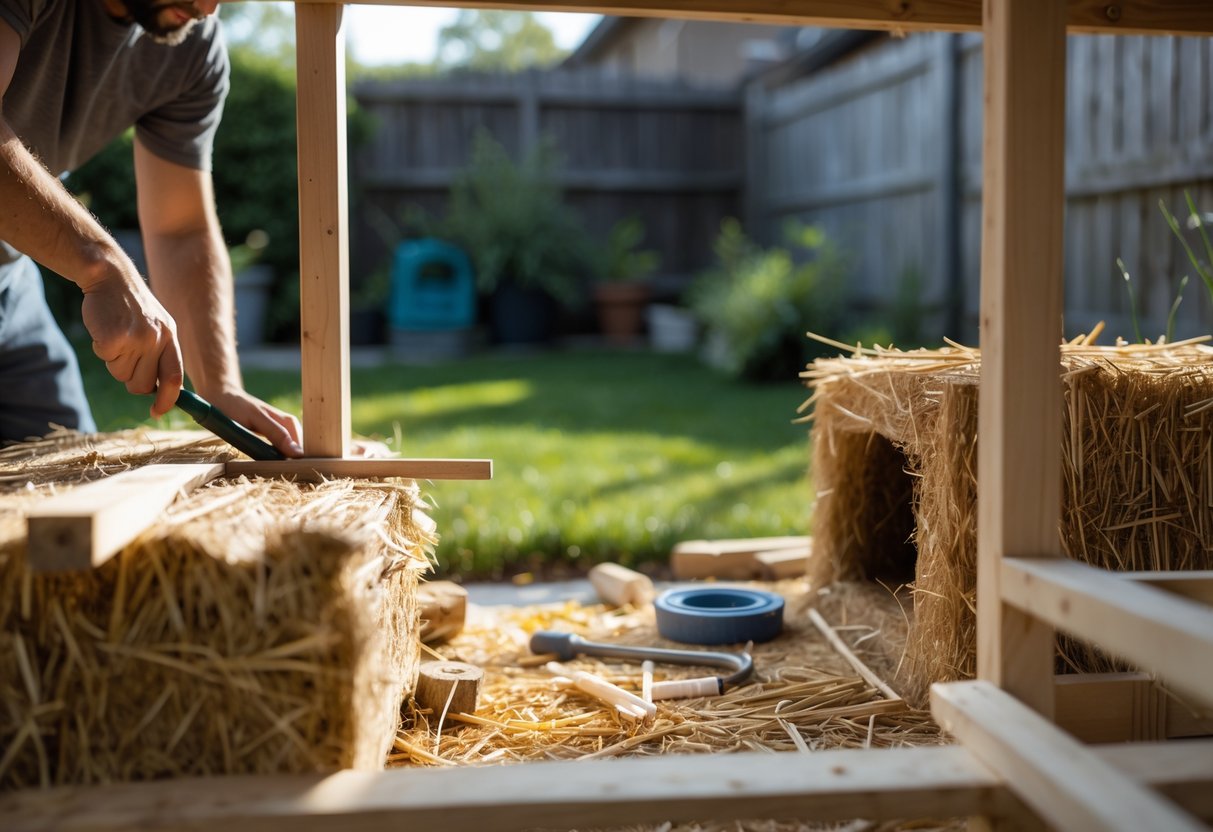
Use straw bales to build a warm, low-cost shelter that keeps dogs dry and insulated.
Start by placing pallets or a sheet of plywood for a dry floor. Stack straw bales in a U-shape, leaving a small doorway — this traps heat and blocks wind. Cover the top with a tarp or plywood and angle it so water runs off.
Add a raised bed or thick straw inside for bedding. Check often for damp or mold, since straw can rot if wet. A common mistake is stacking bales too tight; leave tiny gaps for ventilation to avoid moisture buildup.
If you want extra durability, coat the outside with breathable stucco or wire and a tarp. Test the shelter with a thermostat or a quick touch test to ensure it stays warm. Try it for a week and adjust bedding and ventilation as needed.
9) Eco-Friendly Bamboo Dog House
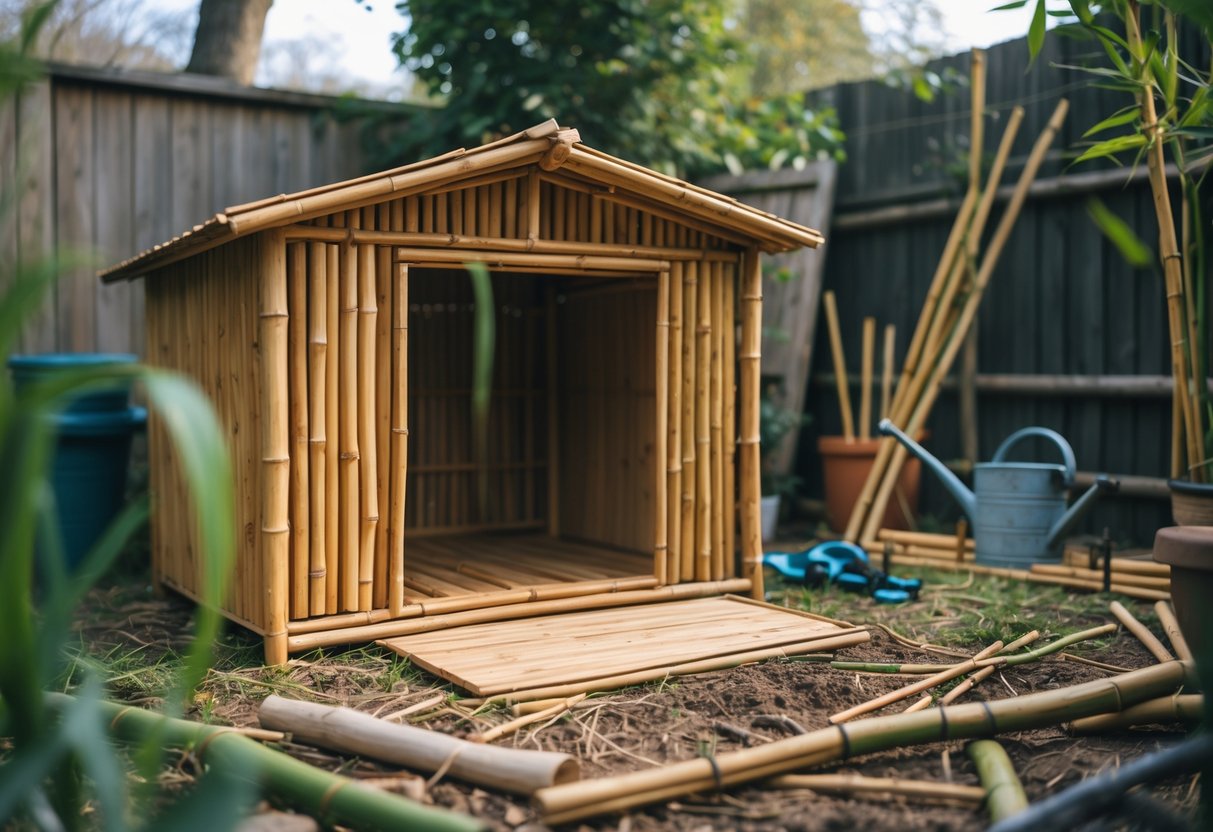
Build a bamboo dog house that stays cool, lasts, and looks good in your yard. Use treated bamboo poles for the frame and tightly woven bamboo panels for walls to keep rain out and airflow in.
Start with a raised floor to avoid dampness and a sloped roof to shed water. Add a removable insulated pad for chilly nights and a simple awning to give shade during summer.
Watch for common mistakes: don’t use untreated bamboo near the ground, and avoid tiny gaps that let pests in. If you prefer a kit, try a geodesic-style design for strength and quick assembly.
Build with care and test the fit — your dog should enter easily and turn around comfortably. Try this project over a weekend and adjust dimensions to suit your pet.
10) Convertible Dog House with Removable Roof
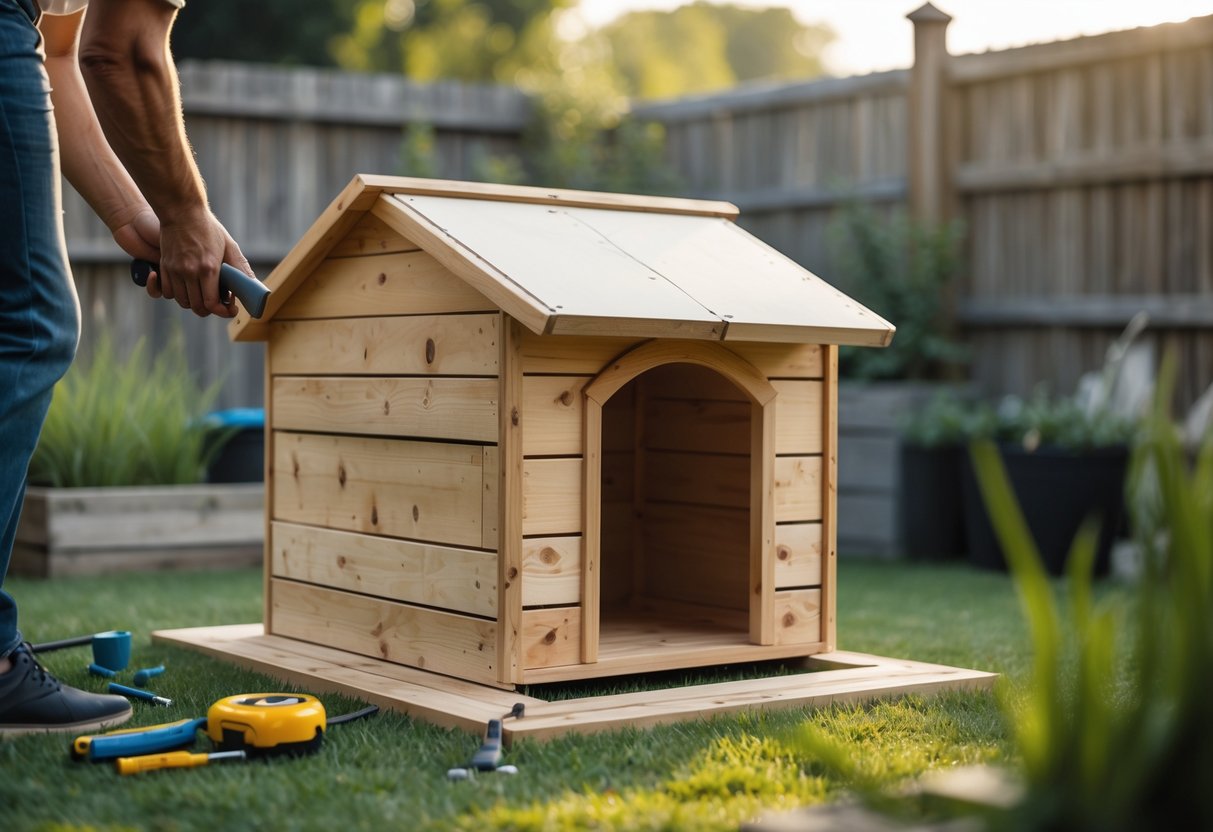
Build a convertible dog house when you want easy cleaning and flexible use. This design lets you lift the roof to reach inside without crawling in.
Start with a sturdy base and weatherproof plywood. Screw in hinges for a removable roof, and add a simple latch so the roof stays put in wind. One builder used a slanted roof that lifts off with two quick-release pins — fast and secure.
Insulate the floor with foam board and raise the house on short legs to keep moisture out. A common mistake is spacing the legs too wide; keep them close to the walls for stability. Paint with non-toxic exterior paint and add a small porch overhang to shield the doorway.
Try one small change first — like adding a handle — before making wider custom tweaks.