10 Cheap DIY Backyard Fire Pit Ideas to Transform Your Space
You want a cozy backyard hangout without spending a lot or hiring a pro. Whether you feel stuck with a plain patio or crave warm nights outside, this list shows practical, low-cost ways to build fire features that fit real yards and real budgets. You’ll get simple DIY plans, common mistakes to avoid, and clear ideas you can finish in a weekend so your space becomes usable and inviting sooner.
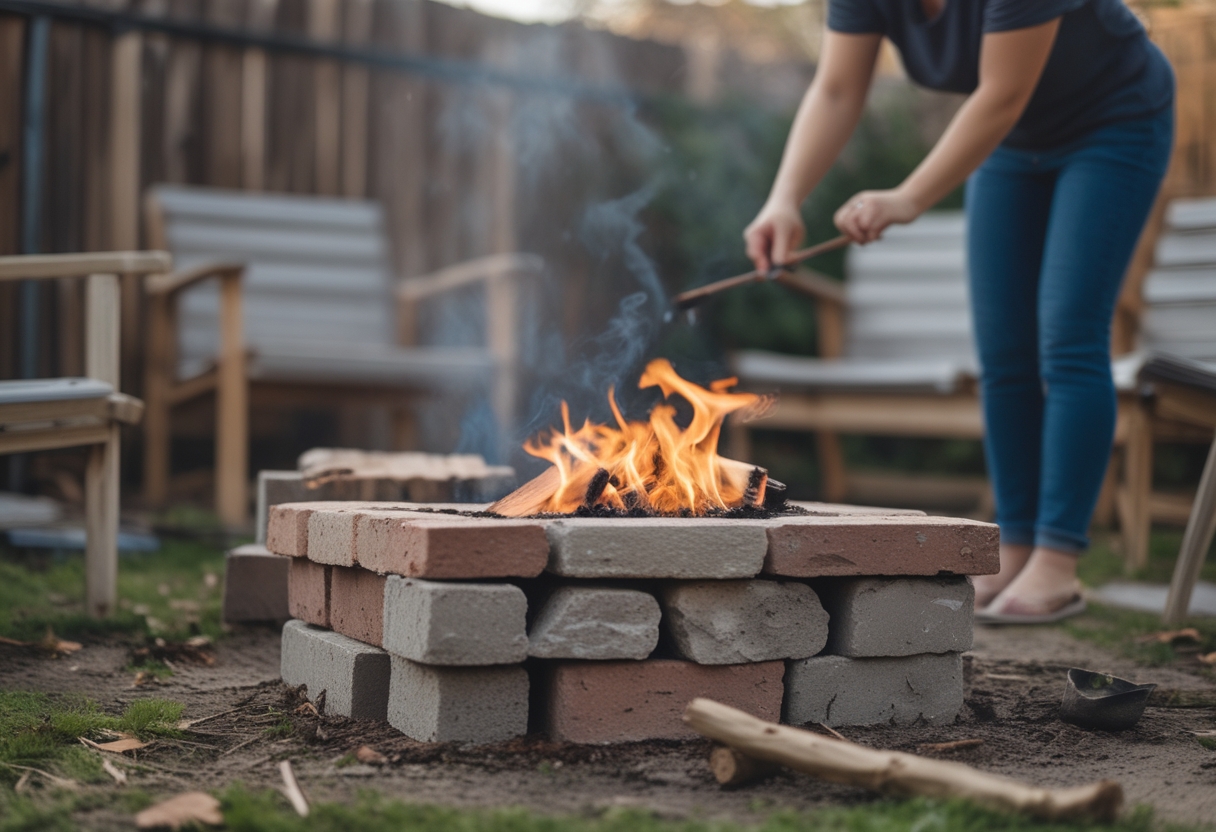
Here’s a walk-through of step-by-step builds, smart material swaps, and safety tips so you won’t waste time or money. Expect hands-on guidance for projects from small tabletop pits to durable in-ground builds, and see which designs work best for compact yards, recycled materials, or quick portability.
1) Simple Brick Ring Fire Pit (Recycled Bricks)
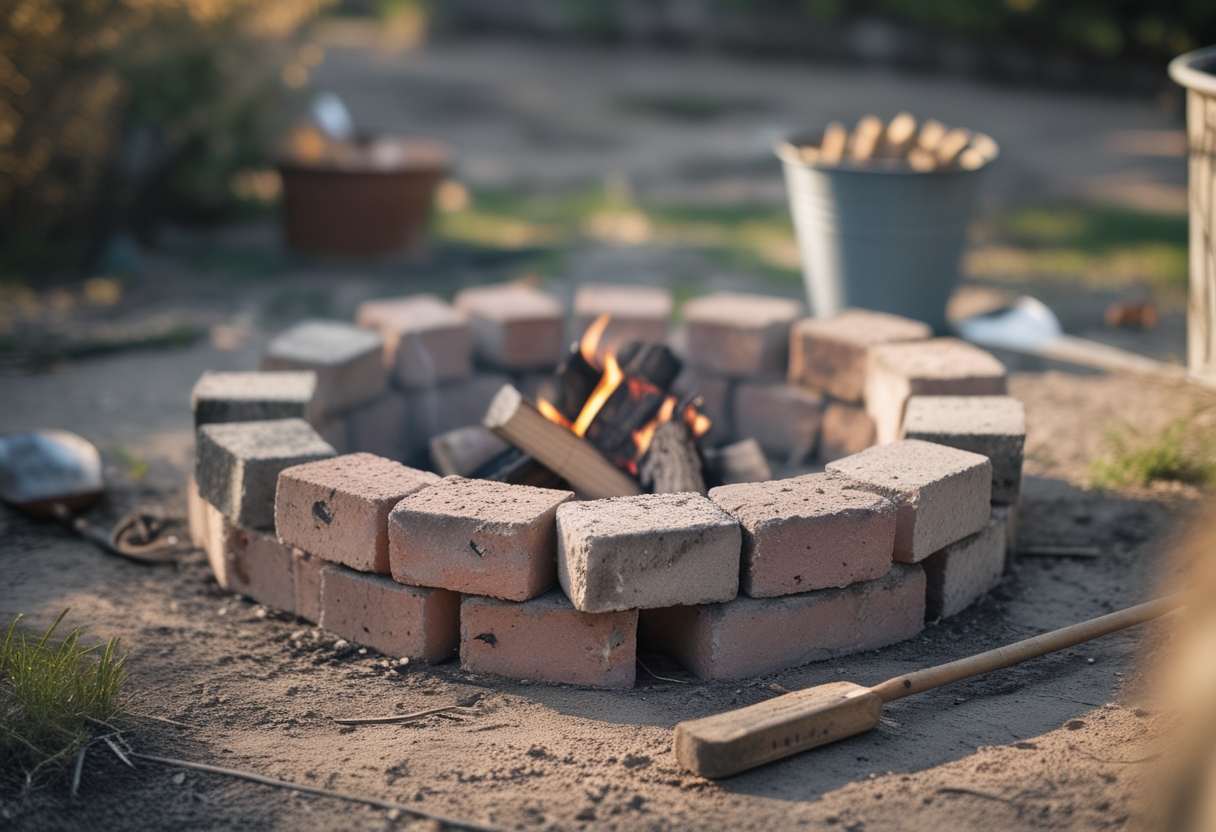
You can build a sturdy fire pit with leftover bricks and a few hours of work. Start by clearing a level circle and laying a base of compacted gravel about 2–3 inches deep to drain water.
Stack the bricks in a single or double ring and dry-fit them first. Use heat-resistant mortar only where needed; many builders leave gaps for airflow and easy future disassembly.
Watch for common mistakes: uneven ground causes wobble, and using interior bricks that crack from heat will shorten the pit’s life.
Try a test fire with small wood to check stability and airflow. If it looks good, invite friends and enjoy the warm glow.
2) Cinder Block Raised Square Fire Pit
Build a simple raised square fire pit using cinder blocks to save money and add height.
Stack three or four courses of cinder blocks in a square, staggering joints for strength. Leave the hollow cores facing up so you can fill some with sand or gravel for weight and stability.
Line the inside with firebrick or a metal ring to protect the blocks from heat. A common mistake is skipping the liner — blocks can crack over time if exposed to direct flames.
Finish with a top row of smooth coping blocks or pavers for a clean edge you can sit on. If you want color, use high-heat block paint or stained concrete blocks for a neater look.
Try a small build first to test size and comfort.
3) Reclaimed Steel Bowl Fire Pit
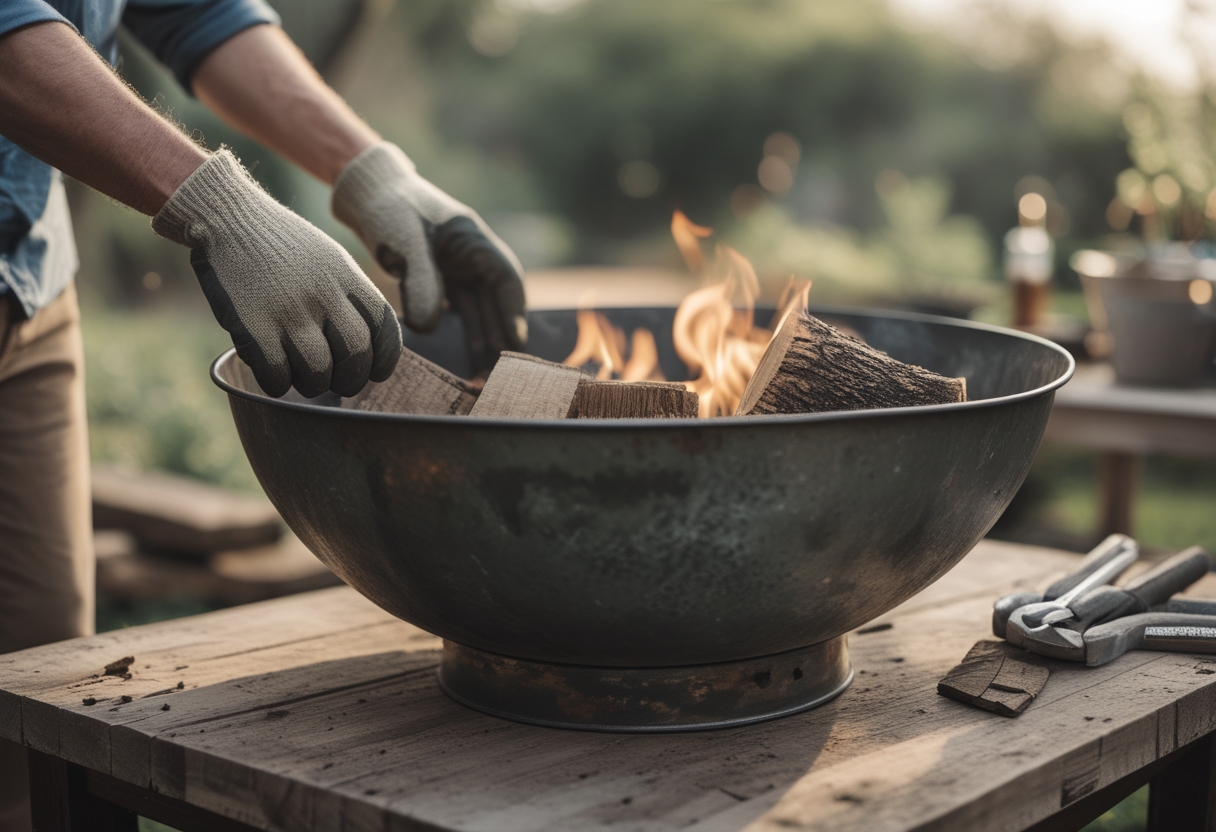
A reclaimed steel bowl gives you a quick, sturdy fire pit that looks good and lasts.
Use an old steel mixing bowl, cattle trough, or large planter bowl as the fire basin. Place it on a bed of compacted gravel or a steel ring so heat won’t damage the lawn. This setup keeps the fire contained and makes cleanup easy.
Season the steel by burning small, hot fires first to cure any coatings. Watch for rust or thin spots; weld or reinforce weak seams before regular use. Common mistake: setting the bowl directly on grass — that can scorch or sink the steel.
For style, surround the bowl with river rock or a low ring of salvaged brick. If you want a cleaner look, sit the bowl in a shallow concrete pad. Try one small fire and adjust airflow before inviting guests.
4) Gravel In-Ground Fire Pit with Paver Edge
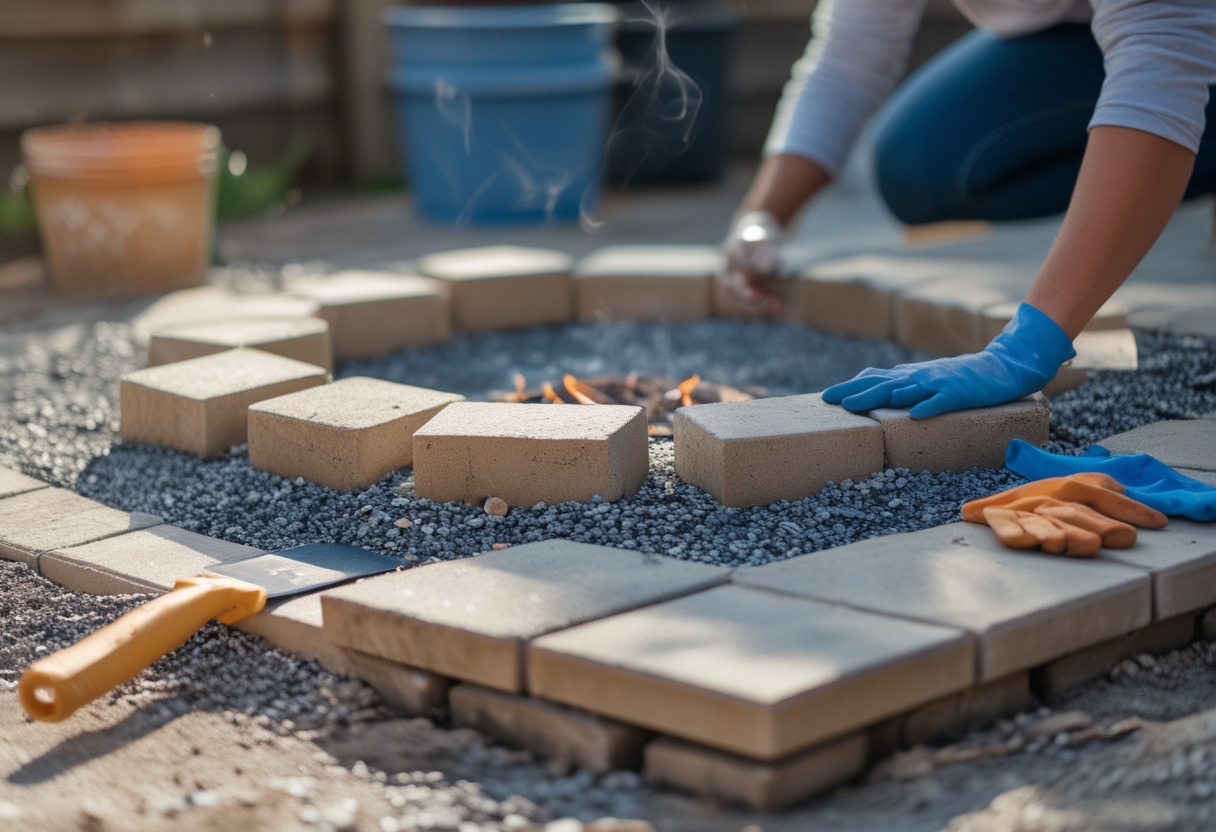
Build a simple, low-cost in-ground fire pit framed by pavers. Dig a shallow bowl, add compacted gravel for drainage, and set a ring of pavers or blocks to define the edge and protect the lawn.
Use pavers to create a neat, finished border that also holds the gravel in place. A common mistake is digging too deep — keep it shallow so flames sit below the paver top and heat won’t damage nearby grass or patio stones.
Want a cozy look? Choose contrasting paver colors or lay them in a tight circle. For safety, keep 10 feet clear of structures and use a metal ring if you plan larger fires. Try one test burn to check smoke flow and adjust gravel depth if needed.
5) Copper Fire Bowl on Concrete Pedestal
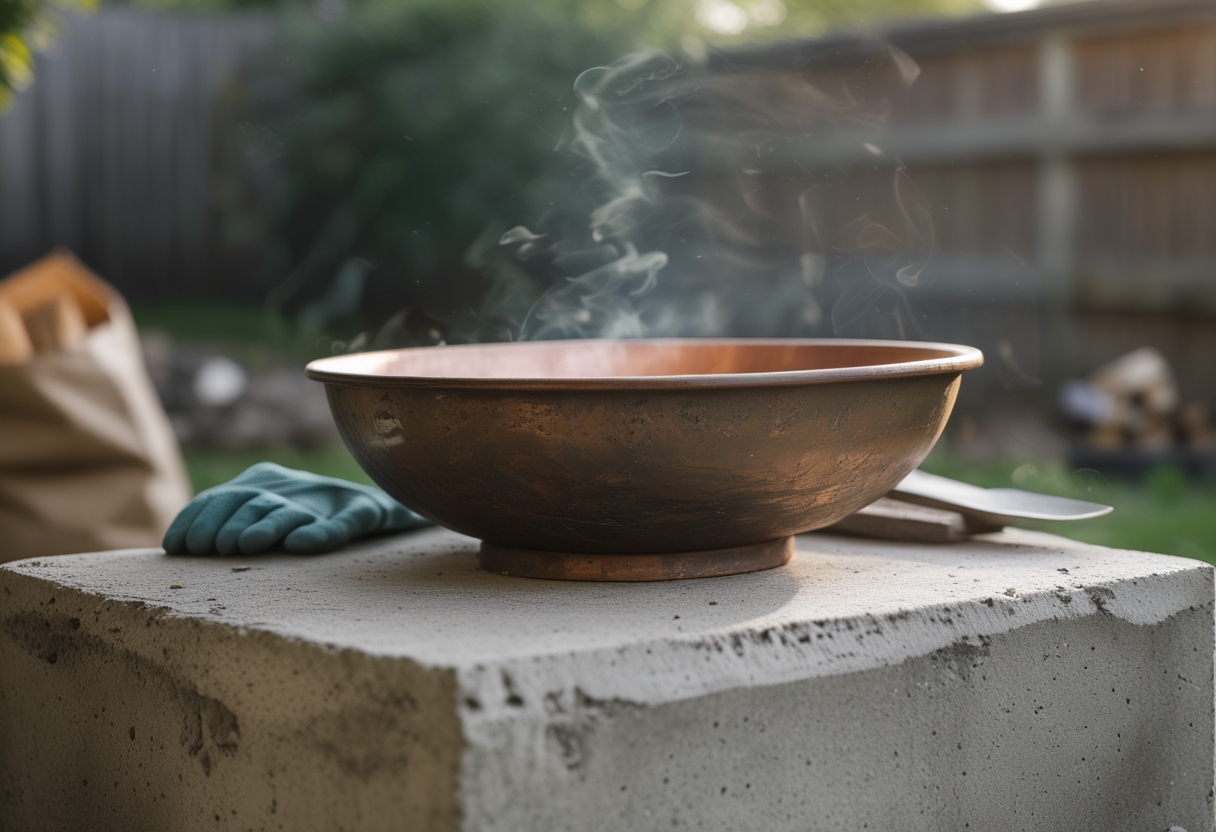
Build a simple copper bowl mounted on a concrete pedestal to create a classy, low-maintenance focal point.
You can buy a pre-made copper bowl or repurpose an old one. Set it on a poured or stacked concrete pedestal for height and stability. Use a metal grate or fireproof pad between the bowl and concrete to avoid heat damage.
Watch for thin copper that warps or holes that leak ashes. Seal the concrete or use a concrete mix rated for heat to prevent cracking. Keep a fire extinguisher nearby and place the pit on gravel or pavers, not directly on wood or grass.
A copper bowl patinas over time, giving a warm, lived-in look. Try mixing river rock around the pedestal for a polished finish and easy cleanup.
6) Fire Pit from a Cast-Iron Garden Tub
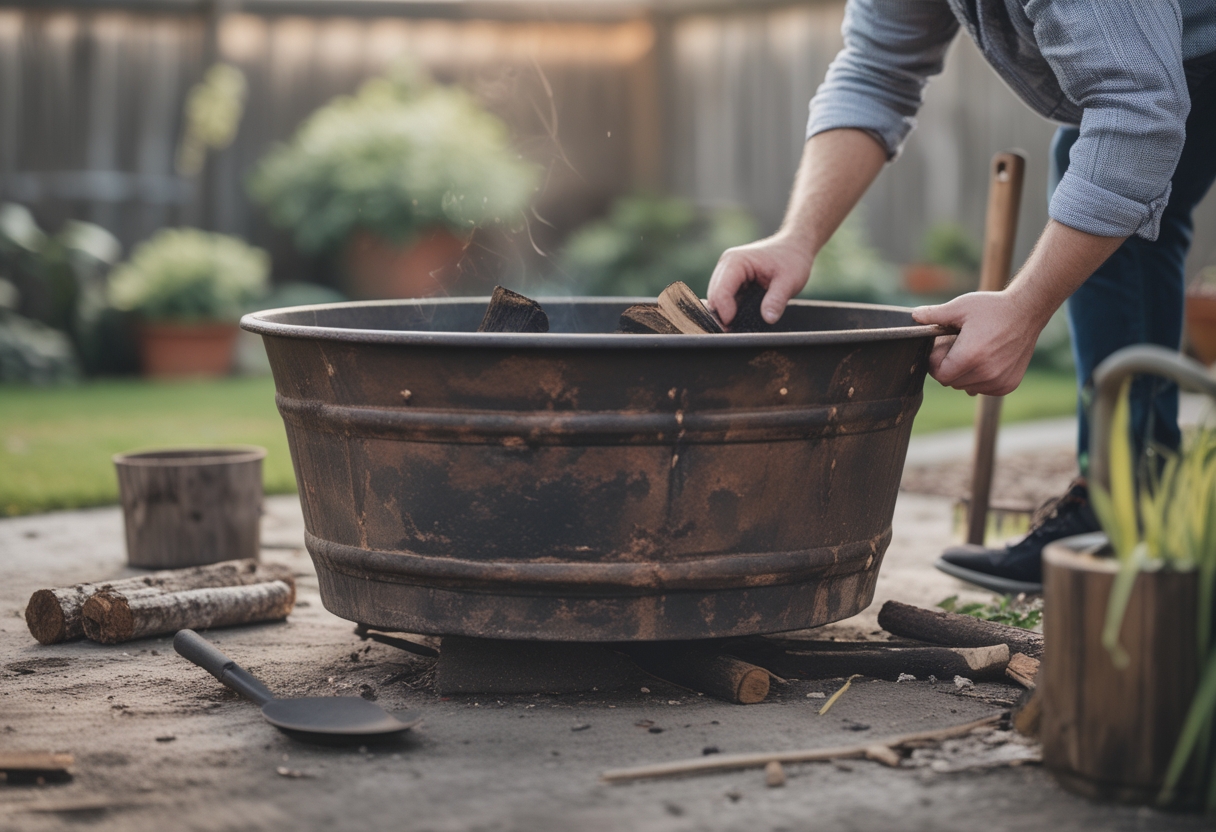
Build a rustic, long-lasting fire pit using a cast-iron garden tub you can find at salvage yards or online. You’ll get heavy heat retention and a vintage look that stands out in small yards.
Start by drilling drainage holes and clearing rust with a wire brush. Set the tub on a bed of gravel for drainage and stability. Add a layer of sand and a steel fire ring if you have one to protect the iron and extend its life.
Watch for thin spots in the iron — they can crack from repeated heating. Don’t bury the tub; keep airflow around it and place it on noncombustible ground. Use a spark screen and keep kids and pets at a safe distance.
If you want a polished look, surround the tub with pavers or reclaimed bricks. Try staining the stones for a cohesive color. Test a small controlled fire first to check smoke and ventilation before full use.
7) Concrete Block and Flagstone Fire Pit
Build a sturdy, low-cost fire pit using concrete blocks with a flagstone cap for a clean, finished look.
Start by arranging cinder blocks in a square or circle on compacted gravel. Stack two to three courses, offsetting seams for strength. Use heat-resistant mortar only if you want a permanent finish.
Lay flagstones on top to create a seating-height rim. Choose stones that sit flat; thin mortar or paver sand will lock them in place.
Common mistakes: don’t set blocks directly on grass, and avoid sealing the interior with regular concrete sealer. Leave an air gap for drainage and airflow. If you prefer a step-up option, try lava rock inside for better heat control.
Try one small test fire first. Adjust stones and gaps, then invite friends over for the first marshmallow test.
8) Portable Steel Chiminea Conversion
Turn a cheap steel chiminea into a safe, portable fire pit. You’ll remove fragile parts, add a firebrick base, and cut a small vent for airflow to keep smoke down.
Start by cleaning rust and checking for thin spots. Replace the base with a ring of pavers or firebricks so coals sit off the metal. That reduces heat warping and makes the chiminea last longer.
Drill a few drainage holes and add a spark screen or mesh to prevent embers from flying. A simple steel handle and short legs make it easy to move, but don’t lift it while hot.
Common mistakes include skipping the brick base and using too-large logs. Test your conversion once on a gravel pad, then adjust airflow or add a heat shield. Try it on cool nights and watch how it changes your backyard gatherings.
9) Small Fire Pit Using Retaining Wall Blocks
Build a neat, small fire pit fast using stacked retaining wall blocks. Start by marking a 36–42 inch circle and dig a shallow, level base about 4 inches deep.
Dry-stack the blocks so the lips interlock, or chisel off the lip if you want flush edges — many builders remove that lip for a cleaner look. Line the interior with clay fire bricks or use a metal ring to protect the blocks from heat.
A common mistake is skipping a compacted gravel base, which causes wobble over time. Another is setting the pit too close to plants, fences, or your house — keep at least 10 feet of clearance. Finish with paver sand between blocks for stability and add gravel inside for drainage.
Try a two-layer ring with 12–16 blocks for seating height. Once you light your first fire, you’ll see how simple materials can transform your backyard.
10) Tabletop Fire Pit with Lava Rocks and Gel Fuel
This simple, portable build comes together in an afternoon. You’ll need a heat-resistant container, lava rocks or fire glass, and gel fuel cans that fit securely.
Set the gel can in the center and surround it with lava rocks so heat spreads evenly. Place the container on a non-flammable surface and never move it while hot. A common mistake is burying the can too deep — leave clear space above it to light and replace it safely.
This setup works great for small gatherings and adds instant ambiance to your table. If you want a sturdier look, use a small concrete bowl or a repurposed metal planter. Always have a fire extinguisher or sand nearby and follow fuel instructions for safe use.