
12 Pergola Shade Hacks That Cost Under $500 (And Look Like $5,000)
You want a stylish, cool outdoor spot without blowing your budget. You also want solutions that actually work — shade that holds up, looks great, and feels like a planned upgrade rather than a quick fix. This list shows you 12 smart, low-cost pergola shade hacks that deliver high-end looks for under $500.
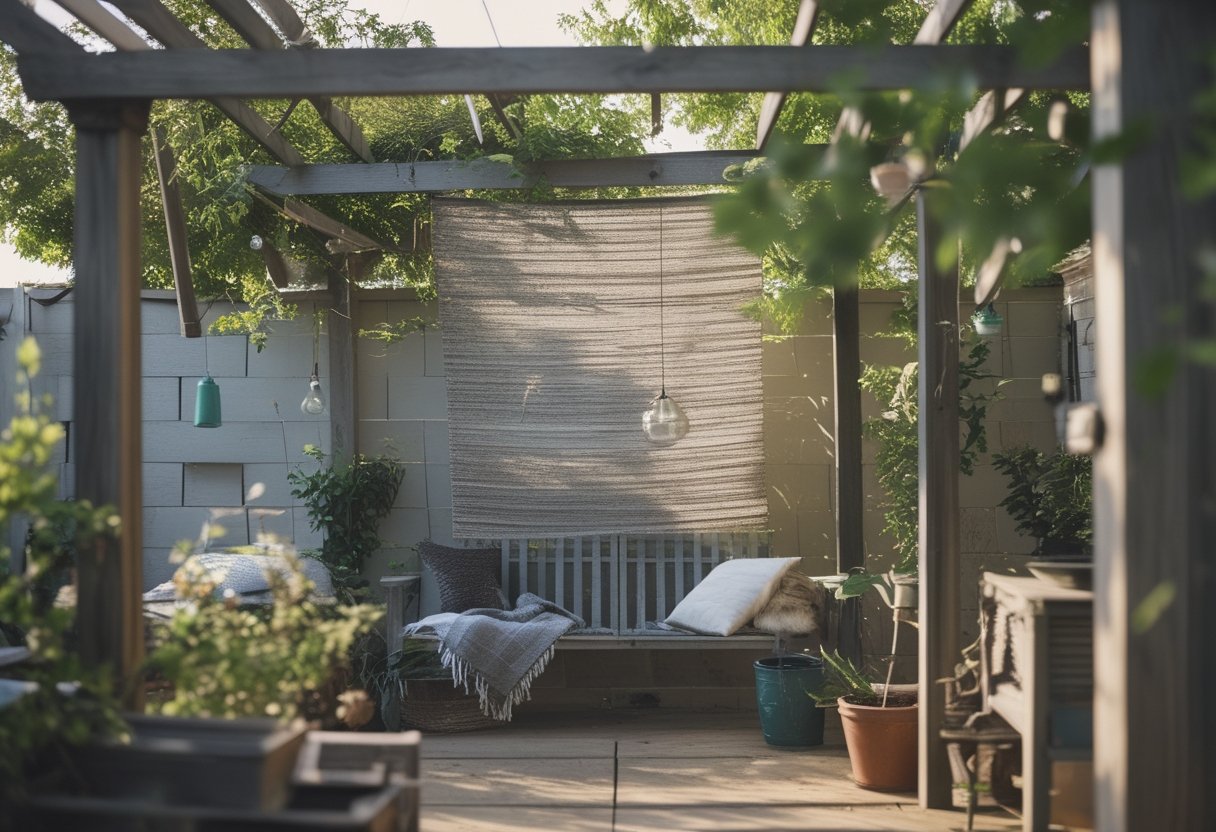
You’ll get practical ideas, clear how-tos, and real mistakes to avoid so you won’t waste time or money. Expect DIY tutorials, material swaps that mimic pricey finishes, and retrofit tips that make motorized and layered shade feel intentional and polished. Start thinking like a pro and choose the hack that fits your space and skill level.
1) DIY Cedar Louvered Roof (Reclaimed Cedar Slats)
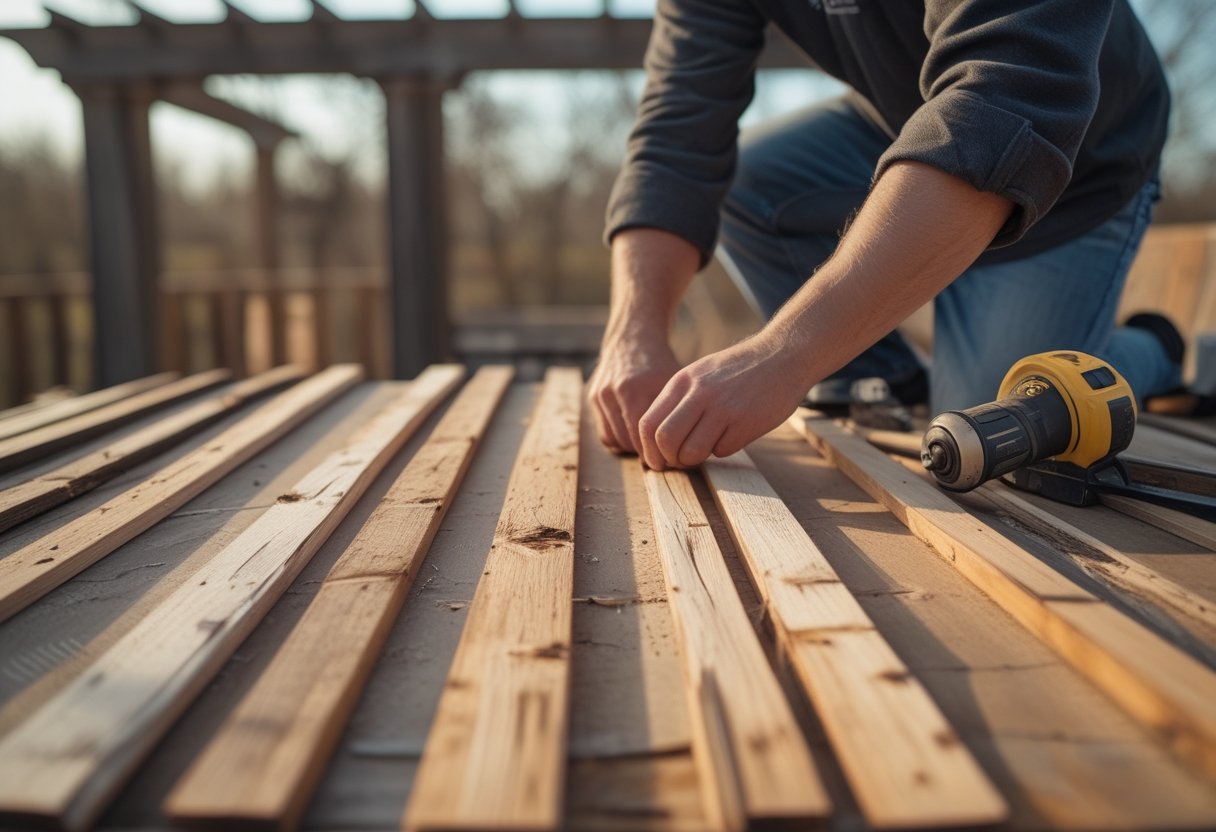
Build a low-cost louvered roof using reclaimed cedar to get real wood warmth without the price tag.
Cut reclaimed cedar into 4–6 inch slats and test-fit the louvers on a simple frame. You control light by spacing — tighter gaps give more shade. Use stainless fasteners and pre-drill to avoid splits, since reclaimed wood can crack if rushed.
A common mistake is skipping straightening and planing; uneven slats look amateur and catch water. Sand and seal visible faces only to keep the weathered look while protecting the wood. If you want a motorized feel without the cost, place pivoted slats on simple steel pins so you can tilt them manually.
Try mixing a few new cedar pieces for structural posts to prevent early rot. When you finish, sit under it and tweak spacing until the shade feels right.
2) Retractable Shade Sail Kit
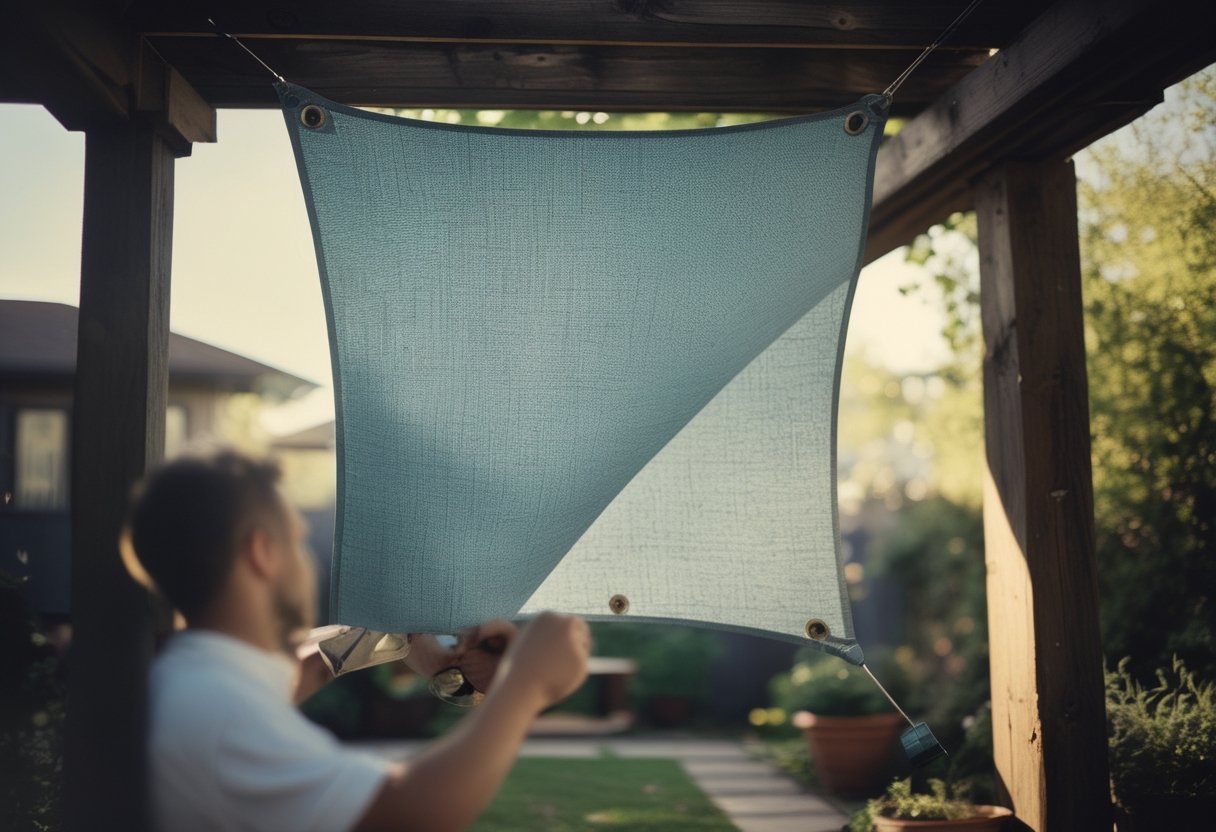
A retractable 12×12 square sail in a colorfast, mildew-resistant fabric like Sunbrella gives you clean lines and premium texture without a custom bill. Pick stainless hardware to avoid frequent replacements.
Plan mounting points so the sail pulls taut — loose fabric flaps, droops, and looks cheap. Use turnbuckles and a guide rail to reduce sag and make retraction smooth. Common mistake: anchoring to siding; use posts or reinforced beams instead to protect your house.
Aim to spend under $500 by buying the canopy and basic hardware, then installing yourself on a weekend. Test retracting several times to tune tension, and enjoy upscale shade without the upscale price.
3) Outdoor Grommet Curtains
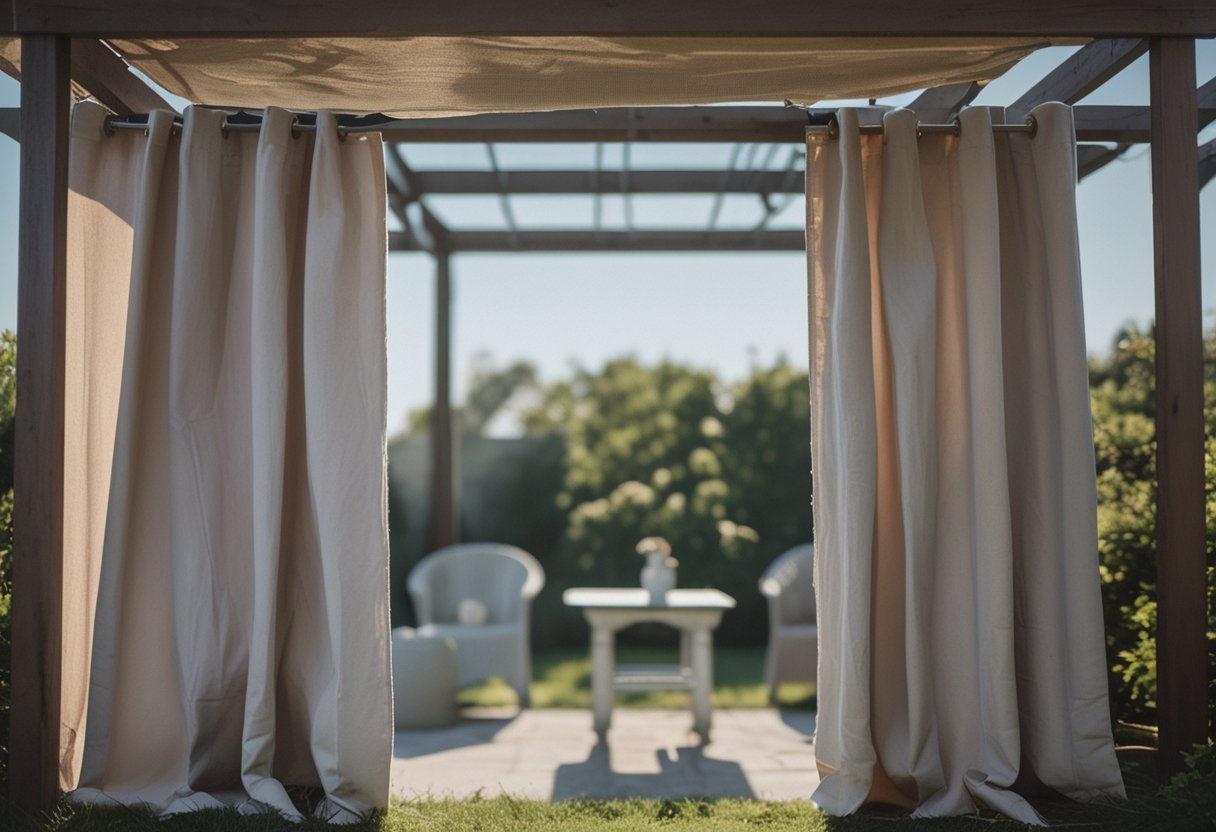
Add privacy, shade, and a clean look without spending much. Affordable outdoor-ready blackout panels block sun and reduce glare.
Hang them on a conduit rod through rust-proof grommets for smooth movement. Space panels so they overlap slightly — that prevents gaps when wind blows and keeps insects out.
A common mistake is mounting the rod too close to posts. Mount it 3–4 inches beyond the pergola edge to let curtains stack neatly when open. If wind is an issue, add snap-on bottom grommets or tiebacks to secure panels.
You’ll get a polished, hotel-like result that feels intentional. Try neutral colors for a high-end look and swap textiles seasonally to refresh the space.
4) Bamboo Roll-Up Shades
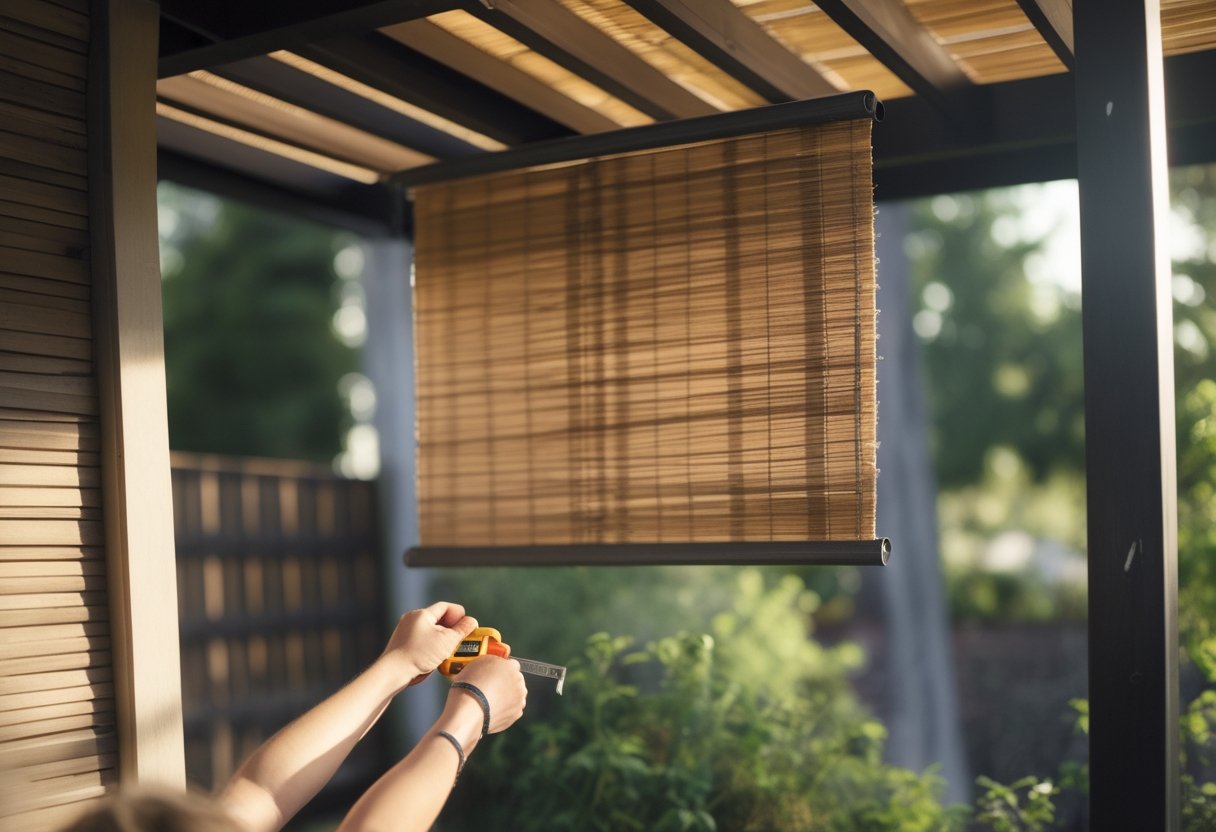
Install a simple, high-impact shade that cuts glare and looks natural. A 6×8 bamboo roller is a quick, low-cost upgrade that fits most pergola openings.
Measure twice before ordering. A common mistake is getting a size that blocks airflow or won’t mount to the beam. If your pergola is uneven, mount to a ledger board or use adjustable brackets to level the roll.
Roll-up shades give you control: lower for midday sun, raise for evening views. They filter light without fully darkening the space, and they protect furniture from UV fade. For a polished look, add simple tie-backs and stainless mounts to prevent weather stains.
If you want privacy, layer with outdoor curtains or install two rollers for full coverage. Try one shade first on the sunny side and see how it changes comfort before committing to all sides.
5) Corrugated Polycarbonate Panels
You can add clear 4×8 corrugated polycarbonate to let light in while keeping rain out. These panels install with simple screws and neoprene washers; pre-drill holes to avoid cracking and leave room for thermal expansion.
A common mistake is over-tightening fasteners. Tight screws warp panels and cause leaks. Aim for snug, not pinched, and overlap sheets per manufacturer specs.
For a pro look, hide screws under a trim board and paint the frame to match your house. If you need more privacy later, add a light-filtering shade cloth beneath the panels.
Try one panel first to check fit and light levels. If it works, the full run stays under $500 for materials and transforms your pergola quickly.
6) Strip-Light Fairy Canopy
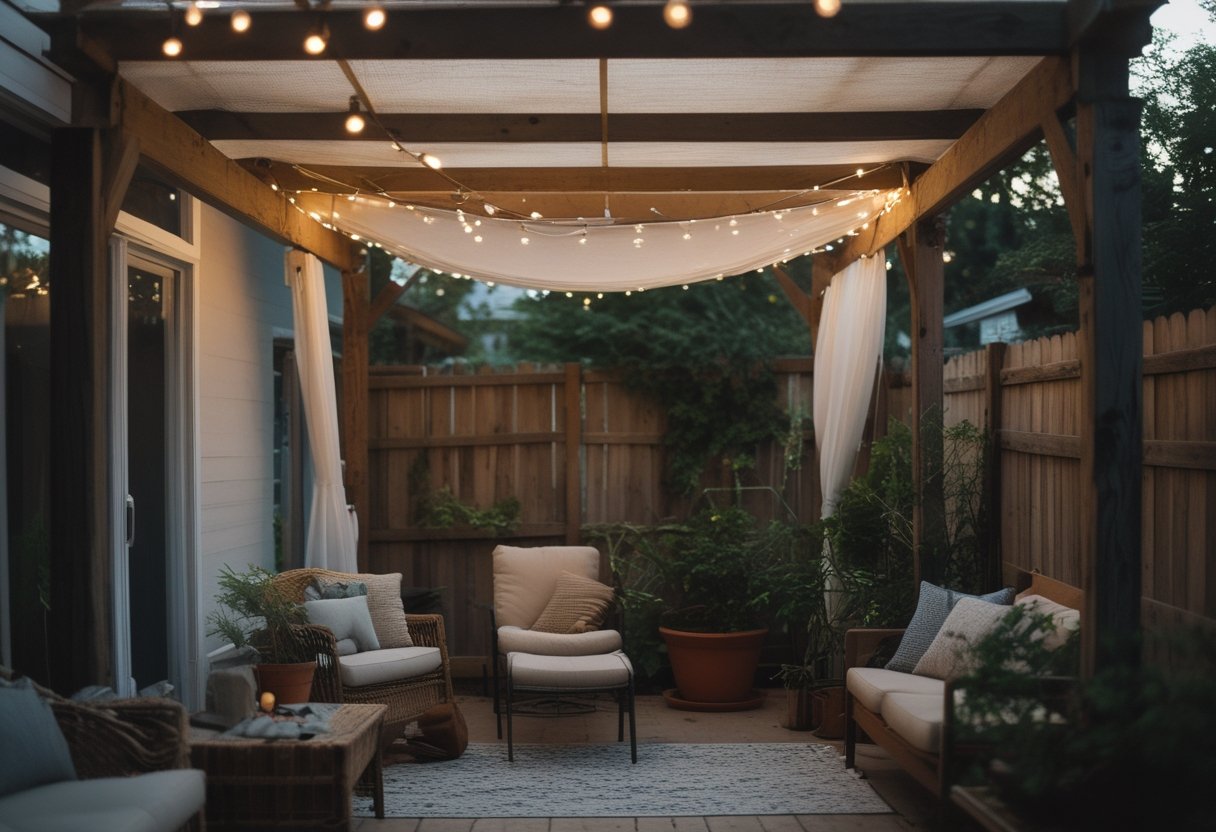
Hang weatherproof LED string lights in a tight zigzag to make a luxe canopy on a budget.
Start by draping the lights across the pergola rafters about 6–8 inches apart. Use cable ties and small hooks; avoid heavy knots that stress the wiring. Run a single power feed at one corner to hide cords and keep plugs off the ground.
You get a soft, even glow that reads like expensive uplighting. For a cozy dinner, dim the lights; for a party, switch to brighter mode. A common mistake is spacing strings too far apart — that makes gaps and uneven light.
If you want solar or low-voltage, check compatible models before buying. Try one test run on a rainy night to check sealing and attachment.
7) Plant-Filled Trellis Wall
Create living shade with style. Use cedar trellis panels to keep costs low and avoid rot, then train wisteria to climb for a soft, fragrant canopy.
Start by anchoring panels to posts or a fence. Plant wisteria 2–3 feet from the base, tie young stems loosely to the lattice, and prune annually to control vigor. A common mistake is letting shoots run wild — regular pruning keeps blooms and prevents structural strain.
Cedar looks rich and lasts for years with light staining. For faster cover, add a fast-growing filler vine like clematis for the first 1–3 seasons while wisteria establishes. Monitor roots; wisteria can get aggressive, so install a root barrier if space is tight.
8) Motorized Roller Shade (Manual Crank Conversion)
Convert a crank-operated pergola shade to smooth motorized control with a retrofit kit. You keep the original fabric and save time over full replacement.
Start by confirming shaft size and end-cap fit; wrong measurements waste the kit. Mounting is usually simple: remove the shade, slip the motor into the tube, and secure the drive adapter. Test limits slowly to avoid over-winding the fabric.
Common mistake: forcing the adapter onto a mismatched tube. If the motor won’t seat, stop and re-measure. You’ll appreciate the soft start/stop and quiet operation once programmed.
You can control the shade with a remote or wire it to a smart hub. Try one shade first, then convert the rest to keep downtime low.
9) Vertical Reed Screens
Install vertical reed screens for quick, affordable privacy and shade. Measure your pergola end-to-end and buy overlapping 6×8 reed panels so you avoid gaps.
Stand panels upright and attach them with stainless-steel zip ties or grid brackets to treated posts. Reed looks natural and hides fasteners, but watch for wind load — add clips or a frame if gusts are strong.
A common mistake is placing panels too close to the ground; leave a small gap to avoid rot and improve airflow. If you want a cleaner look, trim panels flush and cap the top with a thin cedar strip.
You can stain or leave them natural. Try pairing a reed wall with climbing vines for added shade and softness.
10) Canvas Drop Cloth Drapery
Use a 12×15 heavy-duty painter’s canvas as drapery to make your pergola look custom and keep costs low.
Hang the cloth on a simple rod or wire for instant soft shade. Fold and clip the edges to create clean pleats; this hides raw hems and looks deliberate.
Try double layers for brighter days and single layers when you want airflow. A common mistake is skipping grommets — they save fabric from tearing and make swapping panels easy.
Wash the canvas before hanging to remove sizing and soften the weave. For a more finished look, add trim or tiebacks with leather straps or brass hooks.
Buy a contractor-grade, extra-heavyweight canvas drop cloth to get long life without a high price.