Crawl Space Encapsulation: Complete Homeowner Guide to a Dry, Healthy Home—10 Essential Steps
A damp crawl space can affect your home’s comfort, air quality, and structure. Crawl space encapsulation helps you create a cleaner, more controlled environment by addressing moisture at its source.
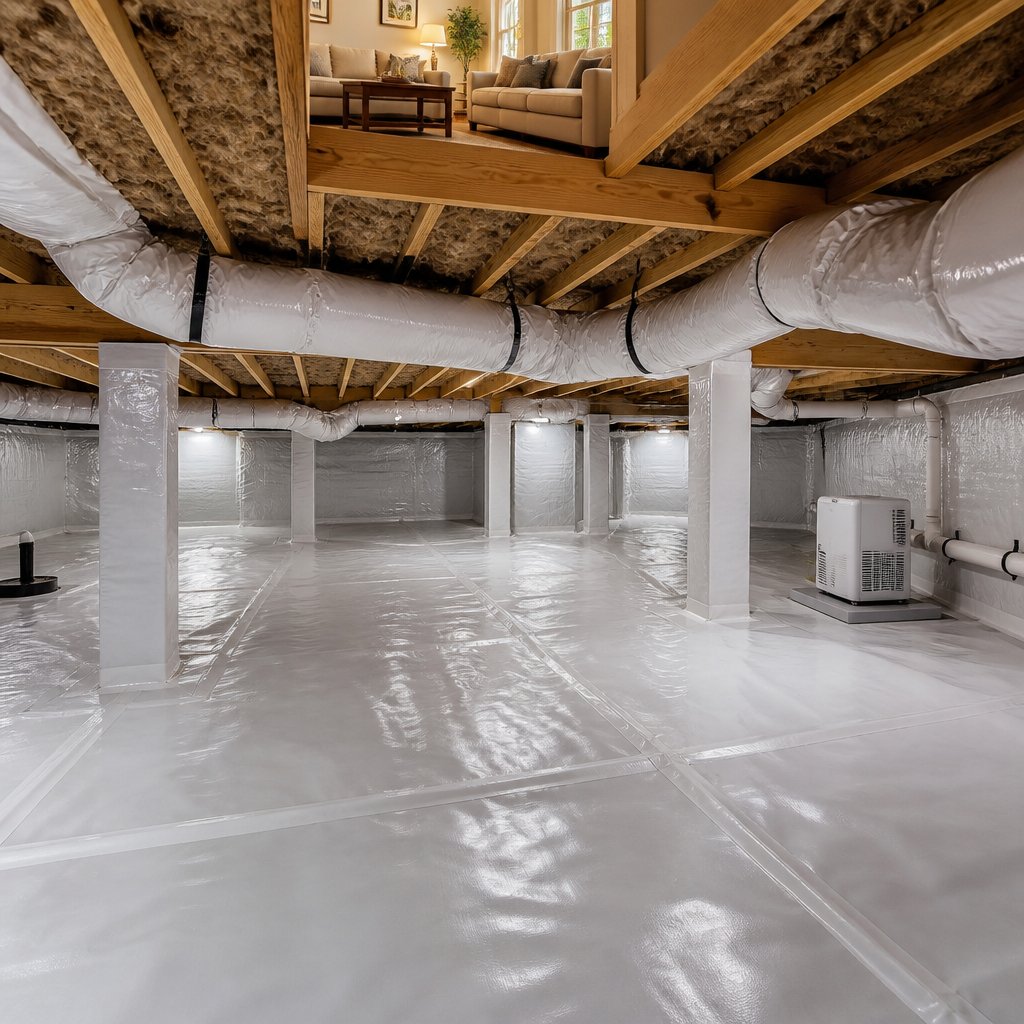
You can protect your home more effectively when you understand how drainage, barriers, sealing, insulation, ventilation, and humidity control work together. This guide explains the main steps, maintenance needs, and long-term value so you can make informed choices for your home.
1) Inspect and Correct Exterior Drainage
Before sealing the crawl space, inspect how water moves around your home. Check gutters, downspouts, grading, window wells, and nearby paving for leaks or low areas that direct water toward the foundation.
Clean blocked gutters and extend downspouts so they discharge several feet away from the foundation, where local conditions allow. Adjust soil or other surfaces to help rainwater flow away from the house, while avoiding changes that could send water onto a neighbor’s property.
Exterior drainage problems should be corrected before interior work begins. A complete crawl space waterproofing plan may also require exterior repairs, interior drainage, or a sump pump when water continues to enter.
2) Remove Standing Water and Debris
Before sealing the crawl space, remove standing water and find its source. You may need to repair leaks, improve drainage, install a sump pump, or use another water-control method. Do not encapsulate over active water problems.
Clear out stored items, fallen soil, damaged vapor barriers, old insulation, and organic debris. These materials can hold moisture and support mold or pests. Wear protective equipment, and use caution around mold, sewage, electrical wiring, and damaged wood.
Allow wet surfaces to dry fully before installation. A step-by-step crawl space drying guide can help you choose safe drying methods. If water returns or the space has structural damage, hire a qualified contractor to inspect it.
3) Install a Durable Vapor Barrier
Choose a crawl space liner made for below-grade use. A reinforced liner with suitable thickness can resist punctures from stones, tools, and normal foot traffic. Before installation, remove standing water, sharp debris, and loose soil that could damage the material.
Lay the barrier across the entire dirt floor. Overlap seams according to the product instructions, then seal them with compatible tape or adhesive. Extend the liner up foundation walls and secure it with mechanical fasteners and sealant.
Wrap support piers and seal cuts around pipes, posts, and other openings. Keep the barrier smooth enough to reduce gaps, but allow slack at corners so movement does not pull it loose. Review a step-by-step vapor barrier installation guide before you begin.
4) Seal Floor and Wall Seams
Lay the vapor barrier flat across the crawl space floor, then overlap each sheet according to the product instructions. Seal every overlap with compatible seam tape or adhesive to create a continuous moisture barrier.
Extend the liner up the foundation walls and secure it with approved fasteners or termination bars. Seal the wall-to-floor joint carefully, since gaps can allow moisture and soil gases to enter.
Wrap support piers with the same liner when appropriate, and seal their edges and corners. Keep the barrier away from sharp objects, and repair any punctures before you finish the work.
5) Insulate Crawl Space Walls
After you seal the floor and walls with a durable vapor barrier, add insulation to the foundation walls. This approach suits an encapsulated crawl space because it keeps the space within your home’s thermal boundary.
Use rigid foam boards or closed-cell spray foam approved for foundation walls. Install the material continuously, seal its joints, and follow local fire-safety rules. Avoid leaving gaps around columns, pipes, and rim joists.
Do not insulate the floor above an encapsulated crawl space unless your local building rules or design require it. For material choices and guidance on conditioned crawl spaces, review this crawl space insulation guide.
6) Close and Seal Foundation Vents
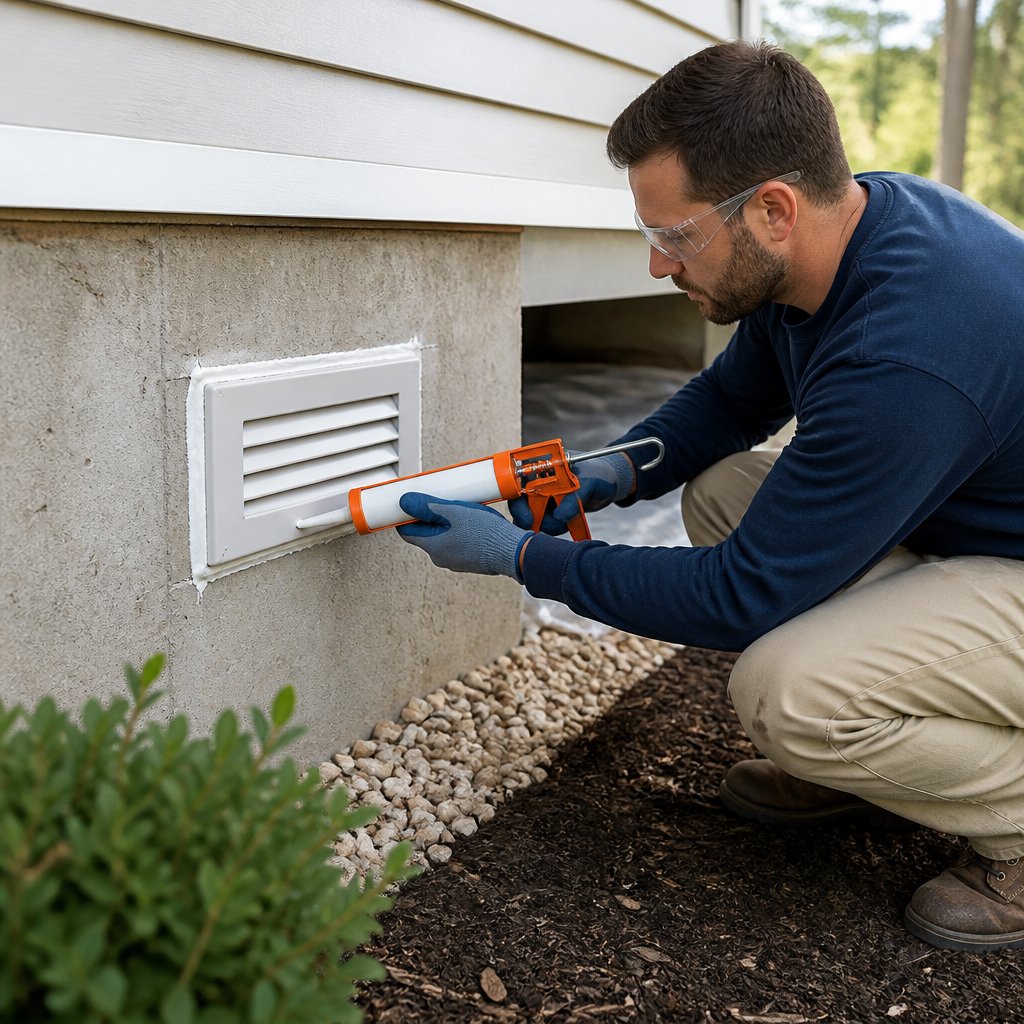
After you prepare the crawl space, close each foundation vent to limit outdoor air and moisture entry. Use vent covers, masonry, or another method approved for your home and local code.
Before sealing, remove dirt and repair damaged screens or frames. Seal gaps around the vent covers with exterior-grade caulk or compatible sealant so air cannot pass around the edges.
A sealed crawl space also needs a ground vapor barrier with sealed seams. Depending on your climate and local rules, you may need mechanical drying, such as a dehumidifier, and insulation on the foundation walls. Check requirements for unvented crawl spaces and consult your building department before closing the vents.
7) Air-Seal Gaps Around Pipes and Wires
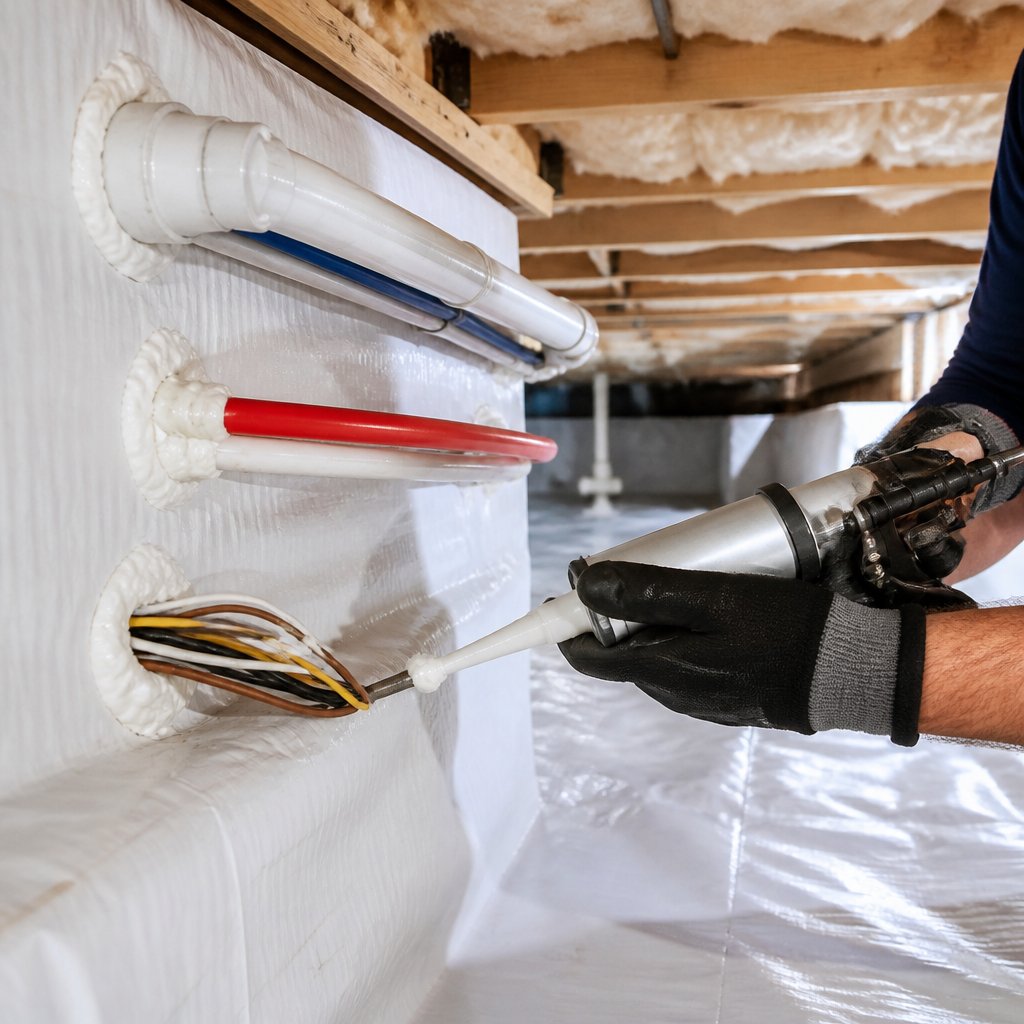
Seal openings around plumbing, wiring, ducts, and other lines that pass through the crawl space floor, walls, or rim joist. These gaps can let damp air and odors move into your home.
Clean loose dirt from each opening before sealing it. Use caulk for small gaps and canned spray foam for larger openings, following the product label. For guidance on sealing plumbing and piping near unconditioned areas, review this air-sealing guide for pipe penetrations.
Do not cover active leaks, damaged wiring, or unsafe gas lines. Repair those problems first, and keep foam away from hot surfaces and equipment that requires service access.
8) Install a Properly Sized Dehumidifier
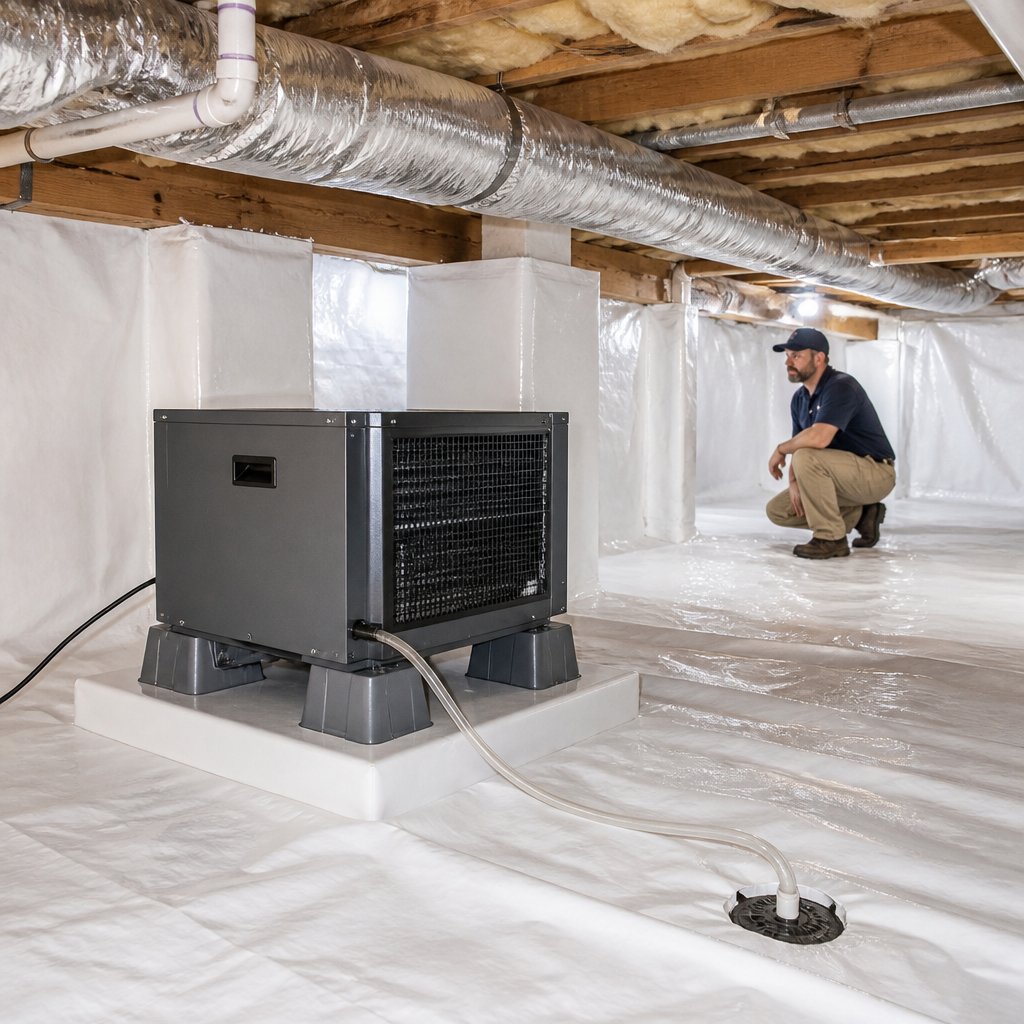
After sealing the crawl space, install a dehumidifier designed for crawl spaces. Choose its capacity based on the space’s size, moisture level, climate, and how well you sealed the area.
Place the unit where air can move freely throughout the crawl space. Keep the filter and controls accessible for maintenance, and use a model with an automatic shutoff or condensate pump when needed.
Connect the drain to a suitable outlet, such as a floor drain, sump pump, or exterior discharge point. Use dedicated power that meets local electrical codes, and have an electrician handle new wiring.
Use a hygrometer to monitor relative humidity. Aim to keep it below 60 percent to help limit mold growth, and adjust the unit as needed. Learn more about crawl space dehumidifier installation.
9) Add a Sump Pump Where Needed
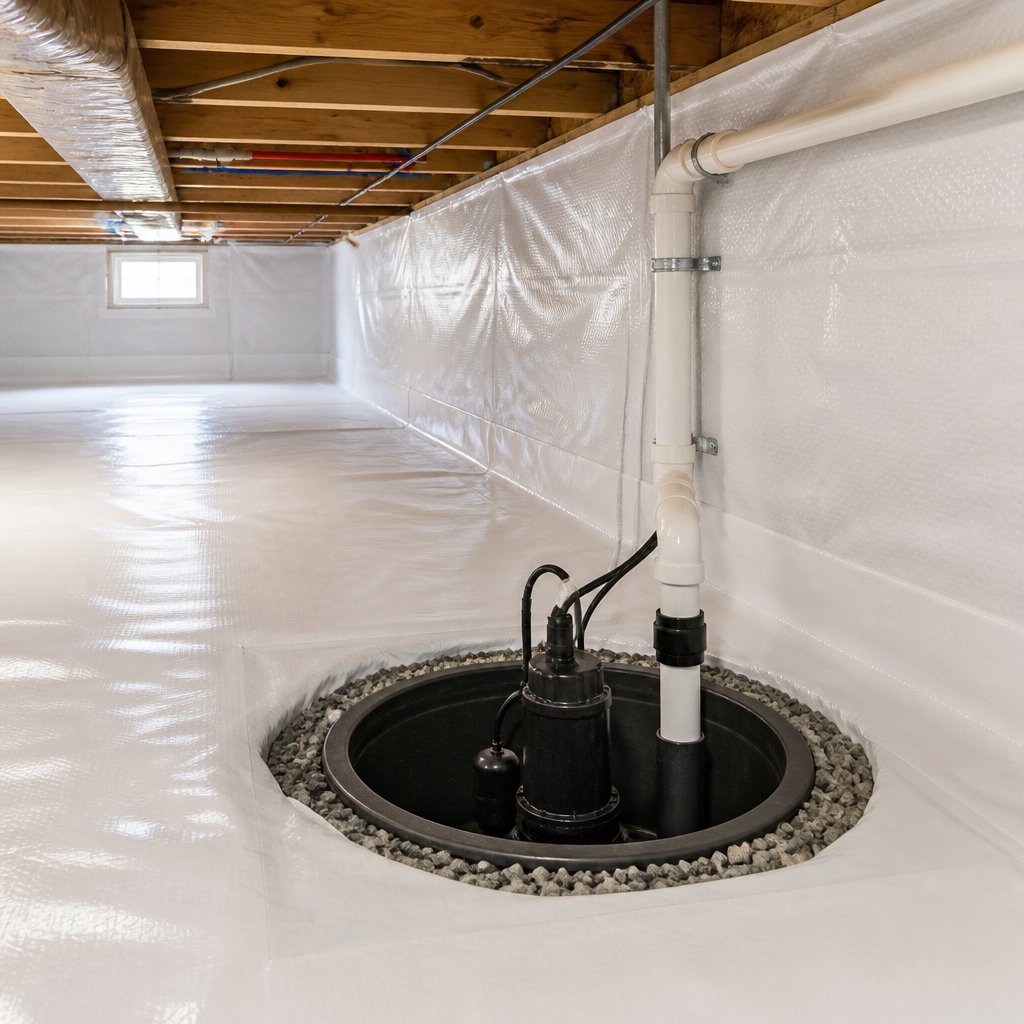
Install a sump pump if groundwater, seepage, or a high water table regularly affects your crawl space. The pump collects water in a basin and sends it through a discharge pipe away from your foundation.
Place the basin at the lowest practical point. Set the pump on a stable base, connect a check valve and sealed lid, and direct the discharge away from the home. A qualified contractor can help you choose the right pump and location, as installation may require cutting through concrete or managing electrical connections.
Consider a battery backup if storms often cause power outages. Test the pump several times a year, clear debris from the inlet, and confirm that the discharge line remains open. See this guide to sump pump installation in crawl spaces for additional planning details.
10) Control Groundwater With Interior Drainage
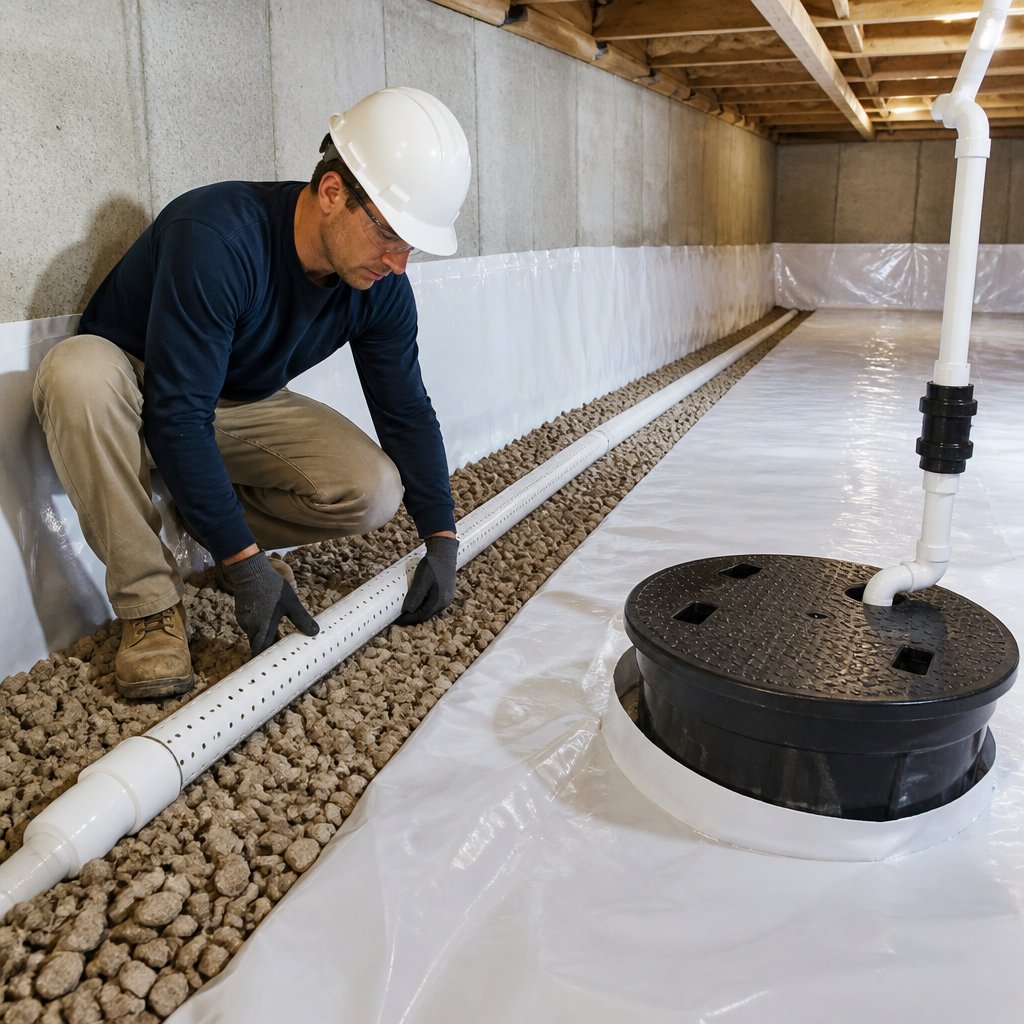
If groundwater enters your crawl space through foundation walls or floor cracks, an interior drainage system can direct it to a sump pump. Contractors may install a perimeter drain below or beside the floor, then cover it with gravel and connect it to a sealed pump basin.
The pump must discharge water away from your foundation. A battery backup or other secondary pump can help during power outages, but you should test the system regularly and keep the basin clear.
Drainage controls water entry, but it does not replace a vapor barrier or humidity control. Combine it with sealed seams, proper grading, and a dehumidifier when needed. Learn about crawl space drainage systems and typical costs.
How Encapsulation Controls Moisture and Indoor Air Quality
Moisture control depends on blocking water vapor, outside air, and ground contact while managing humidity inside the crawl space. Proper drainage removes liquid water before sealing, and a dehumidifier helps keep remaining moisture at a safe level.
The Role of Vapor Barriers, Sealing, and Dehumidification
A vapor barrier is a durable plastic liner installed over the crawl space floor and, in many systems, partway up the walls. Installers seal seams, edges, piers, and penetrations to limit water vapor from the soil. The liner should not cover active leaks or hide damaged wood before those problems receive repairs.
Sealing vents, access doors, and other openings reduces humid outdoor air and helps prevent wind-driven rain and pests from entering. Because a sealed space can still collect moisture from the soil, plumbing, or foundation, you may need a dehumidifier with a drain line. Choose equipment rated for crawl spaces and set it according to the manufacturer’s instructions.
These steps can reduce conditions that support mold and musty odors. They also limit the movement of damp crawl-space air into your home through floor gaps, ducts, and utility openings. Encapsulation guides explain how moisture, air movement, and temperature can affect comfort and indoor air quality.
When Drainage and Sump Pumps Are Necessary
Encapsulation cannot solve standing water, foundation leaks, or a high groundwater table by itself. First, correct roof drainage, leaking plumbing, grading, and downspouts. Extend downspouts away from the foundation, and repair cracks or openings that allow water to enter.
If water continues to collect, you may need an interior drain system, an exterior drainage repair, or a sump pump. A sump basin gathers water below the crawl-space floor, while the pump sends it to an approved discharge point. Install a sealed lid and provide a reliable check valve to reduce water vapor and prevent backflow.
Your pump should have a backup power plan if flooding could damage the home. Test the pump, float switch, discharge line, and backup system regularly. Do not seal over wet soil, active leaks, or damaged structural materials. Remove the water and address the cause before installing the liner and dehumidification system.
Installation, Maintenance, and Long-Term Value
A successful encapsulation needs sealed surfaces, controlled drainage, and suitable humidity control. You also need regular inspections, timely repairs, and records that show how you maintained the space.
Professional Installation Versus DIY Considerations
A professional can identify water entry, standing water, damaged wood, unsafe wiring, and poor drainage before installation. The work may include grading the soil, repairing leaks, sealing vents and access doors, installing a durable vapor barrier, insulating walls, and adding a dehumidifier or drainage system when needed. Review this step-by-step encapsulation process before comparing bids.
DIY work may suit a clean, accessible crawl space with no structural or drainage problems. You must still follow local codes and manufacturer instructions. Use a sealed vapor barrier rated for crawl spaces, overlap and tape seams, and mechanically fasten the material to walls and piers. Do not cover active leaks, wood decay, pests, or unsafe electrical equipment. Ask your local building department whether permits or inspections apply.
Ongoing Inspections and Moisture Monitoring
Inspect the crawl space at least twice a year and after major storms. Look for torn plastic, open seams, condensation, standing water, clogged drains, rust, pest activity, and soft or discolored wood. Check the access door and wall seals for gaps.
Use a digital hygrometer to track relative humidity. Aim to keep the space below 60% relative humidity, while following your dehumidifier’s settings and local building requirements. Empty or drain the unit as required, clean its filter, and test its controls. These maintenance strategies for a dry crawl space can help you create a regular inspection schedule.
Repair small tears with compatible tape or patches. Call a qualified contractor if water returns, humidity stays high, structural damage appears, or the dehumidifier cannot maintain proper conditions.
Energy Efficiency, Repairs, and Resale Considerations
Sealing outside air and insulating crawl-space walls can reduce drafts and help your heating and cooling system maintain indoor temperatures. Results depend on your climate, insulation quality, duct condition, and the rest of your home’s envelope. Encapsulation does not replace attic insulation, duct repairs, or correction of major drainage problems.
Keep invoices, product details, humidity readings, permits, warranties, and inspection records. Buyers may value a clean, dry crawl space, but encapsulation will not correct foundation movement, plumbing leaks, or damaged framing. Repair those problems first, then maintain the barrier and equipment.
Before selling, have the space inspected and address visible defects. A documented system with sealed access, intact barriers, working drainage, and a maintained dehumidifier can make the condition easier for an inspector and buyer to evaluate. Review cost and process factors when planning repairs or improvements.