The Mobile Home Paint Trick That Adds $15,000 in Value for $300: 10 Stunning Ideas
A tired paint job can make your mobile home look older, even when the structure remains solid. If you want stronger curb appeal without taking on a full remodel, the right refresh may offer one of the simplest improvements to consider.
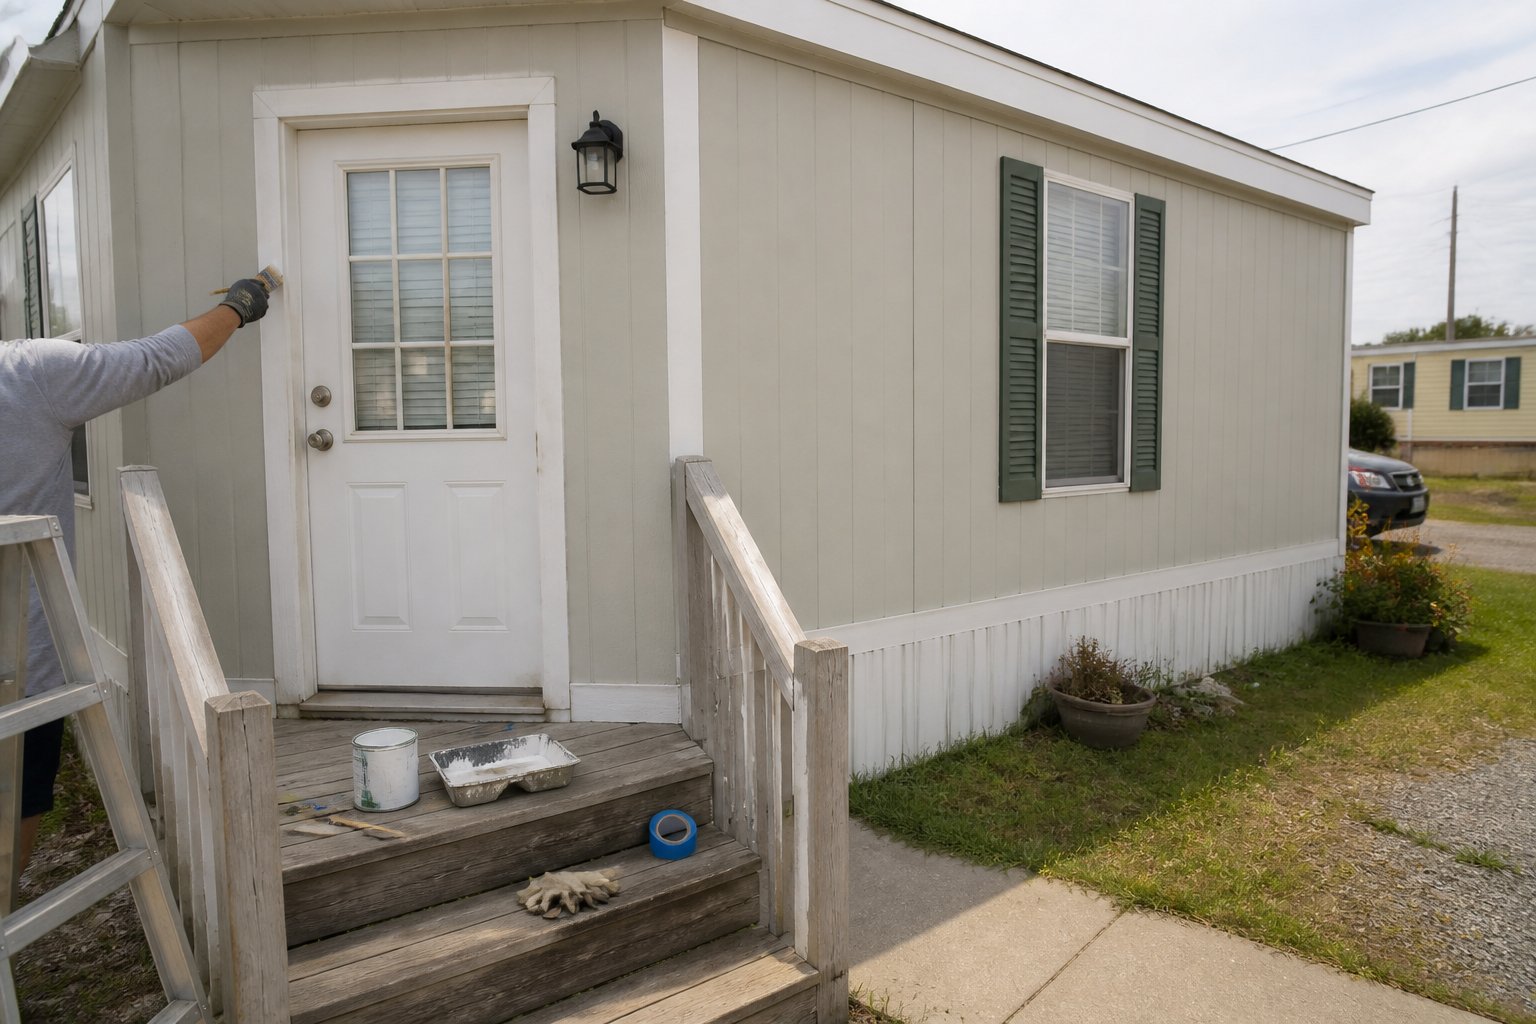
You can learn how thoughtful color choices, proper preparation, and durable paint help your home look cleaner, better maintained, and more appealing to buyers and appraisers. This guide covers exterior and interior updates, common preparation mistakes, realistic budgeting, and ways to protect the finish so your investment lasts.
1) Neutral exterior paint refresh
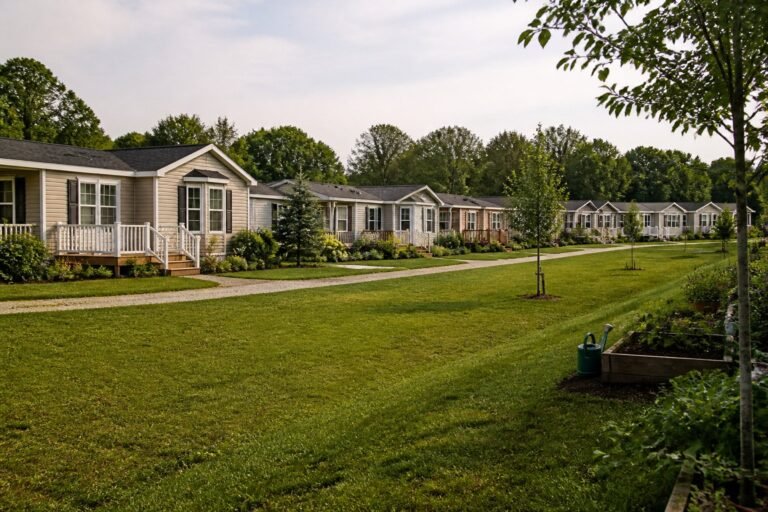
A neutral paint refresh gives your manufactured home a cleaner, more current appearance without making it hard for future buyers to imagine themselves living there. Choose soft white, warm gray, beige, or muted blue-gray, and test samples on several sides of the home before buying gallons.
Clean the siding first, then repair loose panels, rust, cracks, and peeling areas. Use an exterior primer where the surface is bare or stained, and select paint made for your siding type. Skipping preparation often causes early peeling, especially on sun-facing walls.
A single-wide can look more balanced when you use a lighter main color with slightly darker trim. Paint worn skirting to match or complement the siding, but avoid using several strong colors that highlight the home’s narrow shape.
Material costs may stay near $300 for a small DIY project, while professional exterior painting can cost much more; published estimates range from $1,500 to $3,500 for a single-wide. Spend your budget on preparation and durable paint first.
2) High-quality elastomeric siding paint
Use elastomeric paint only when your mobile home’s siding can handle its thick, flexible coating. It works best on surfaces with small cracks and frequent movement, but it may trap moisture behind wood siding. For wood, choose a breathable 100% acrylic exterior paint instead, as recommended in this elastomeric paint guide.
Before painting, wash the siding, remove chalky residue, repair loose panels, and let everything dry fully. Test a small hidden area first. A common mistake is applying thick paint over damp or dirty siding, which can cause peeling.
Choose a quality product rated for exterior use, and follow its coverage and recoat instructions. Professional exterior painting may cost about $1,500 to $4,500, so careful preparation can protect your budget and improve the finished appearance.
3) Contrasting Trim and Shutters
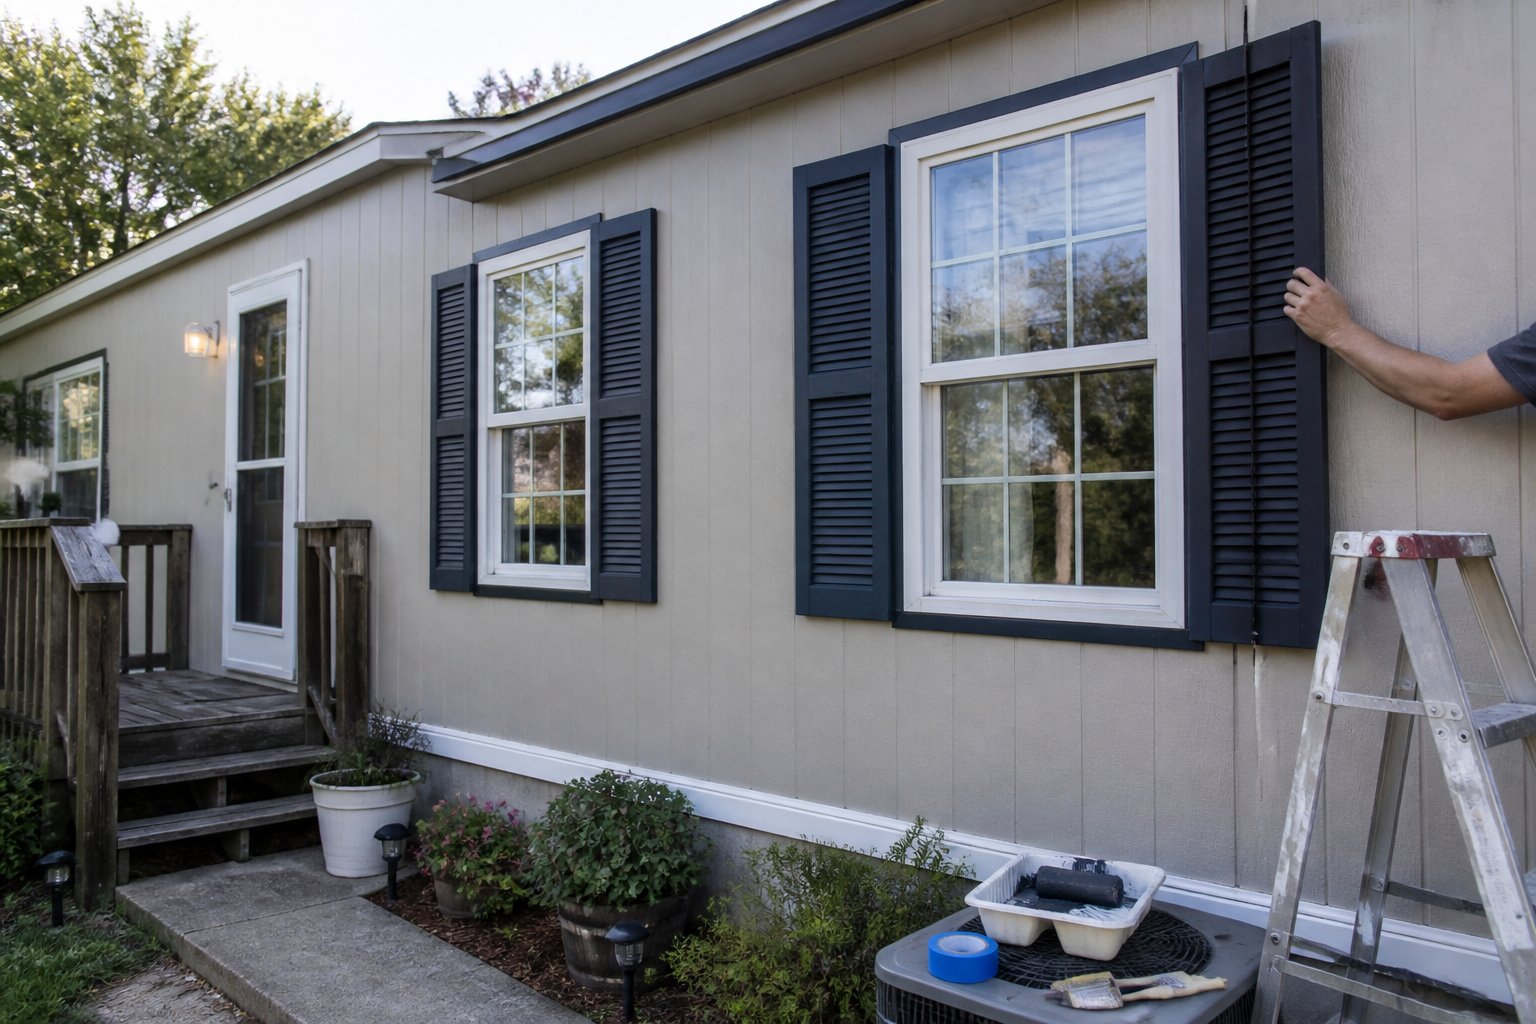
Contrast helps your mobile home look sharper without requiring a full repaint. Choose one trim color for the window frames, doors, and shutters so the exterior feels coordinated. White trim works with darker siding, while charcoal or black creates a stronger modern look.
Use an exterior-grade acrylic or latex paint suited to your shutter material. Vinyl shutters need clean, lightly scuffed surfaces and thin coats; thick paint can hide details or cause peeling. Remove the shutters when possible, label each one, and let every coat dry fully.
A common mistake is choosing several competing accent colors. Keep the siding, trim, shutters, and door within a simple three-color plan. For example, pair warm gray siding with white trim and a muted blue door. See these mobile home exterior paint ideas for additional color combinations.
Test your colors beside the siding before painting every piece, then finish with careful edges and clean hardware.
4) Freshly painted entry door
A freshly painted entry door can give your mobile home a cleaner, more cared-for appearance for a modest cost. Use exterior paint made for your door’s surface, and match the primer to both the material and paint. Door-painting guidance recommends removing the door when possible for smoother, more even coverage.
Start by washing away dirt, grease, and loose paint. Let the door dry fully, then sand rough areas and repair small dents. Mask the hinges, handle, glass, and nearby siding. Apply primer where needed, followed by two thin paint coats rather than one heavy coat.
Dark colors can add contrast, but they may absorb more heat in direct sunlight. Avoid painting over weather seals, and make sure the door closes freely before the final coat hardens. With careful preparation, you can create a durable first impression without paying for professional labor.
5) Clean, coordinated skirting
Treat your skirting as part of the paint plan, not an afterthought. Clean it first with mild soap and water, then repair loose panels, cracks, and missing vents. Dirt, chalky residue, and algae can prevent paint from bonding.
Choose a skirting color that supports your exterior paint. A shade slightly darker than the siding can create a neat base, while a close match gives the home a more unified appearance. Avoid bright white if your home sits near a dusty road; it shows stains quickly.
Use paint made for vinyl when the skirting is vinyl, and follow the label’s preparation rules. Test a small hidden area before covering the full panel. Proper skirting installation includes ventilation and access considerations, so never seal vents or cover required access doors with paint. Clean lines and intact panels make the entire exterior look better maintained.
6) Low-VOC Interior Wall Paint
Low-VOC interior wall paint can freshen your mobile home while reducing strong paint odors. Choose a product labeled low-VOC or zero-VOC, but remember that tinting and additives can change emissions. Check the label and follow the manufacturer’s ventilation advice.
For a practical update, use washable eggshell or satin paint in living areas and bedrooms. Light, warm neutrals can make compact rooms feel brighter, but test a sample first because mobile-home lighting often shifts color.
Do not skip surface preparation. Clean walls, repair dents, sand glossy areas, and use the correct primer, especially over stains or wood paneling. Paint-and-primer products may save time, but damaged or highly porous surfaces can still need separate coats.
Compare coverage and price before buying. Low-VOC interior paints offer many finish and color choices, so select the product that fits your room’s use and your budget.
7) Bright kitchen cabinet paint
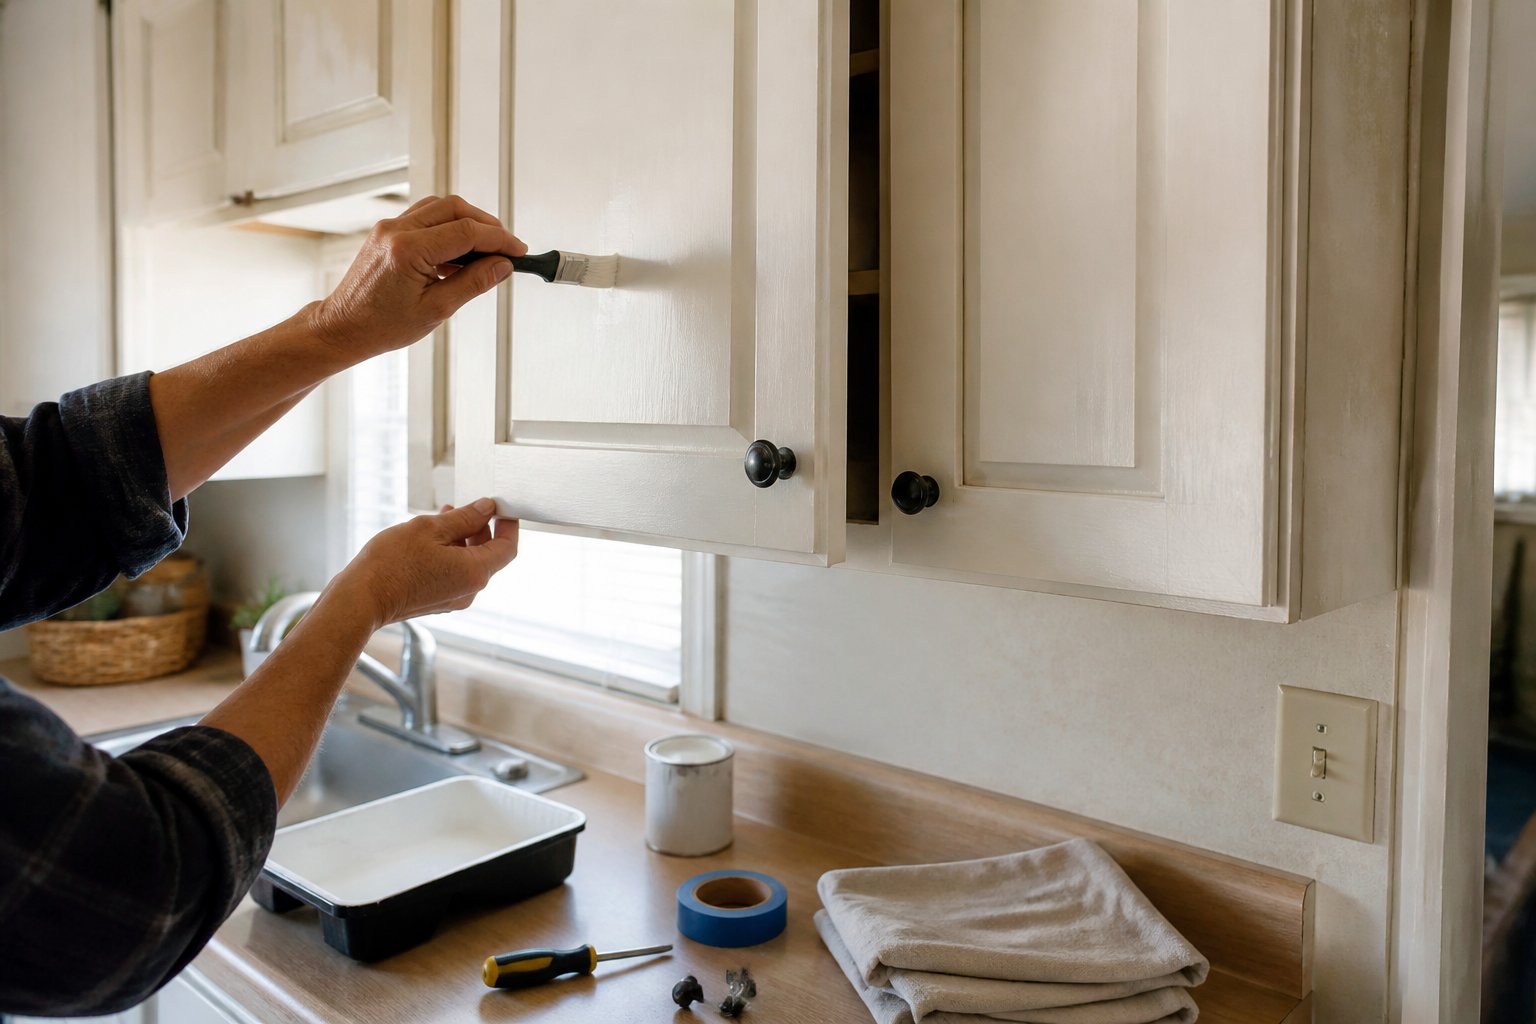
A bright cabinet color can make a small mobile home kitchen feel cleaner, larger, and more welcoming. Choose a durable cabinet or trim paint in white, warm cream, pale gray, or a soft blue. Satin or semi-gloss finishes handle fingerprints and regular cleaning better than flat paint, as noted in this mobile home cabinet painting guide.
Remove the doors and hardware, then clean away grease before sanding glossy surfaces. Use a bonding primer, especially if the cabinets have a slick vinyl finish or dark stains. Repair chipped edges before painting, and let each coat dry fully to prevent sticking.
A common mistake is painting over grime or reinstalling doors too soon. Label each door and take photos before removal so everything returns to its original position. For more preparation tips, follow this step-by-step cabinet painting guide.
8) Durable bathroom paint
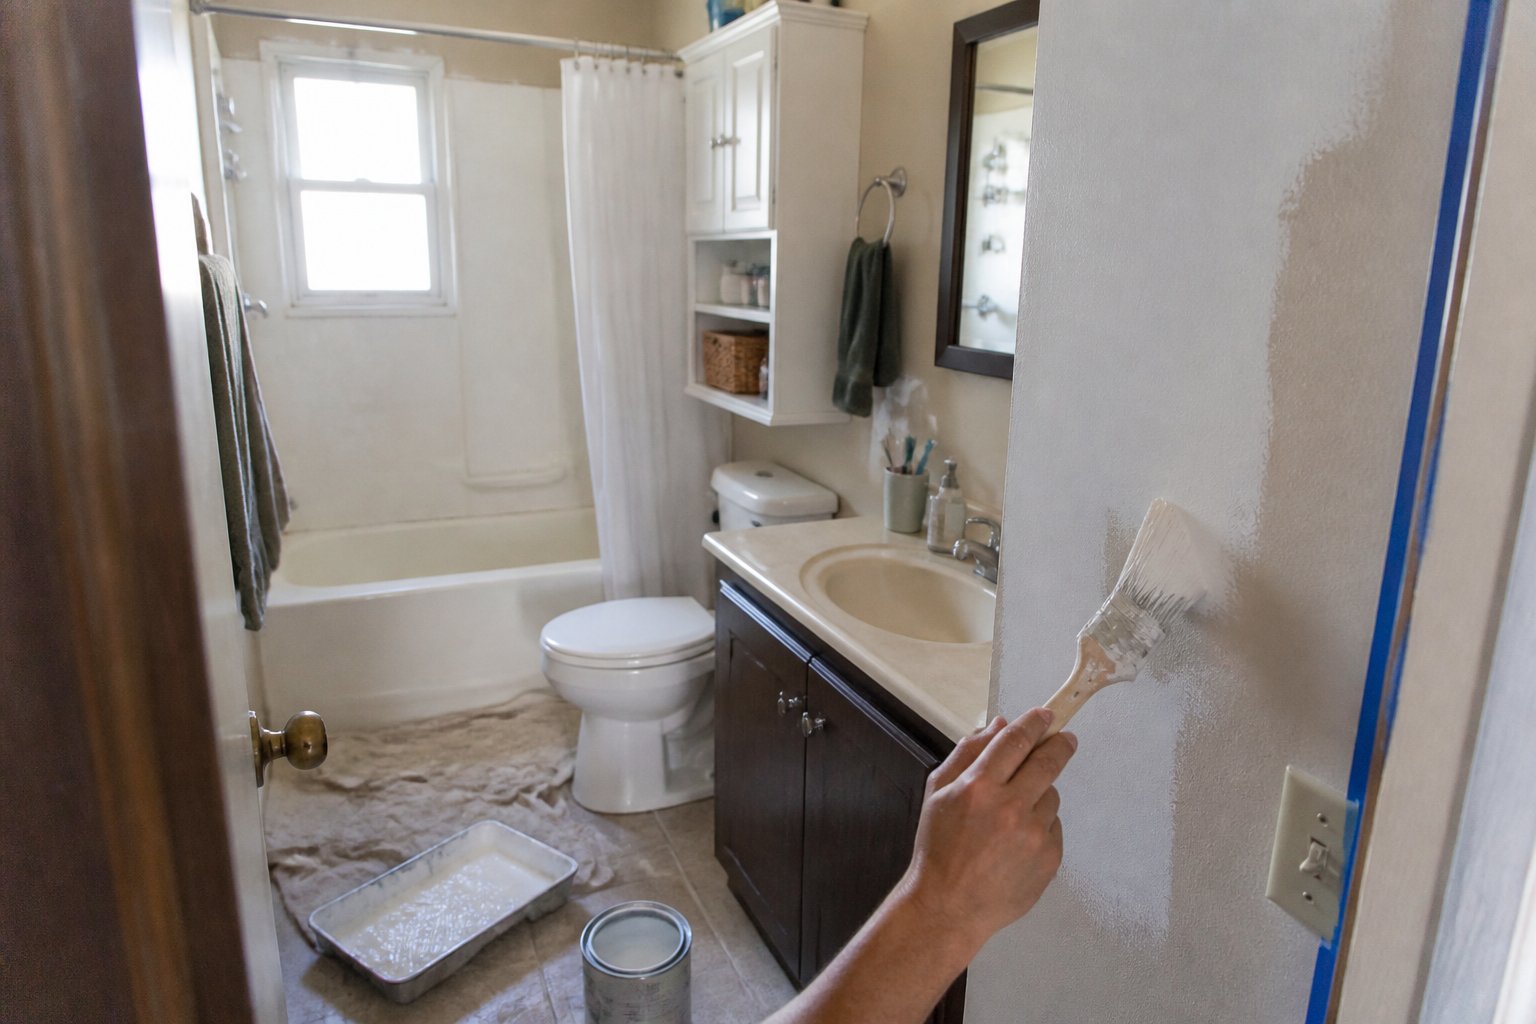
Choose moisture-resistant acrylic latex paint for bathroom walls, ceilings, and properly prepared cabinets. It handles humidity better than standard flat paint and makes cleaning easier. Satin or semi-gloss finishes work well because they resist moisture while hiding minor surface flaws.
Before painting, clean away soap film, grease, and mildew. Repair loose seams, sand glossy areas, and use a bonding primer on laminate, metal, or VOG wall panels. Skipping this step can cause peeling, especially near the shower.
Do not paint inside the shower or directly over cracked caulk. Use a bathroom-rated caulk around tubs, sinks, and trim, then allow each product to cure as directed. A small bathroom may need only a modest amount of paint, but good preparation matters more than buying the most expensive brand.
Use light, neutral colors to make the room feel brighter and easier to update. Pair fresh paint with clean hardware for a low-cost manufactured home bathroom remodel.
9) Crisp ceiling paint
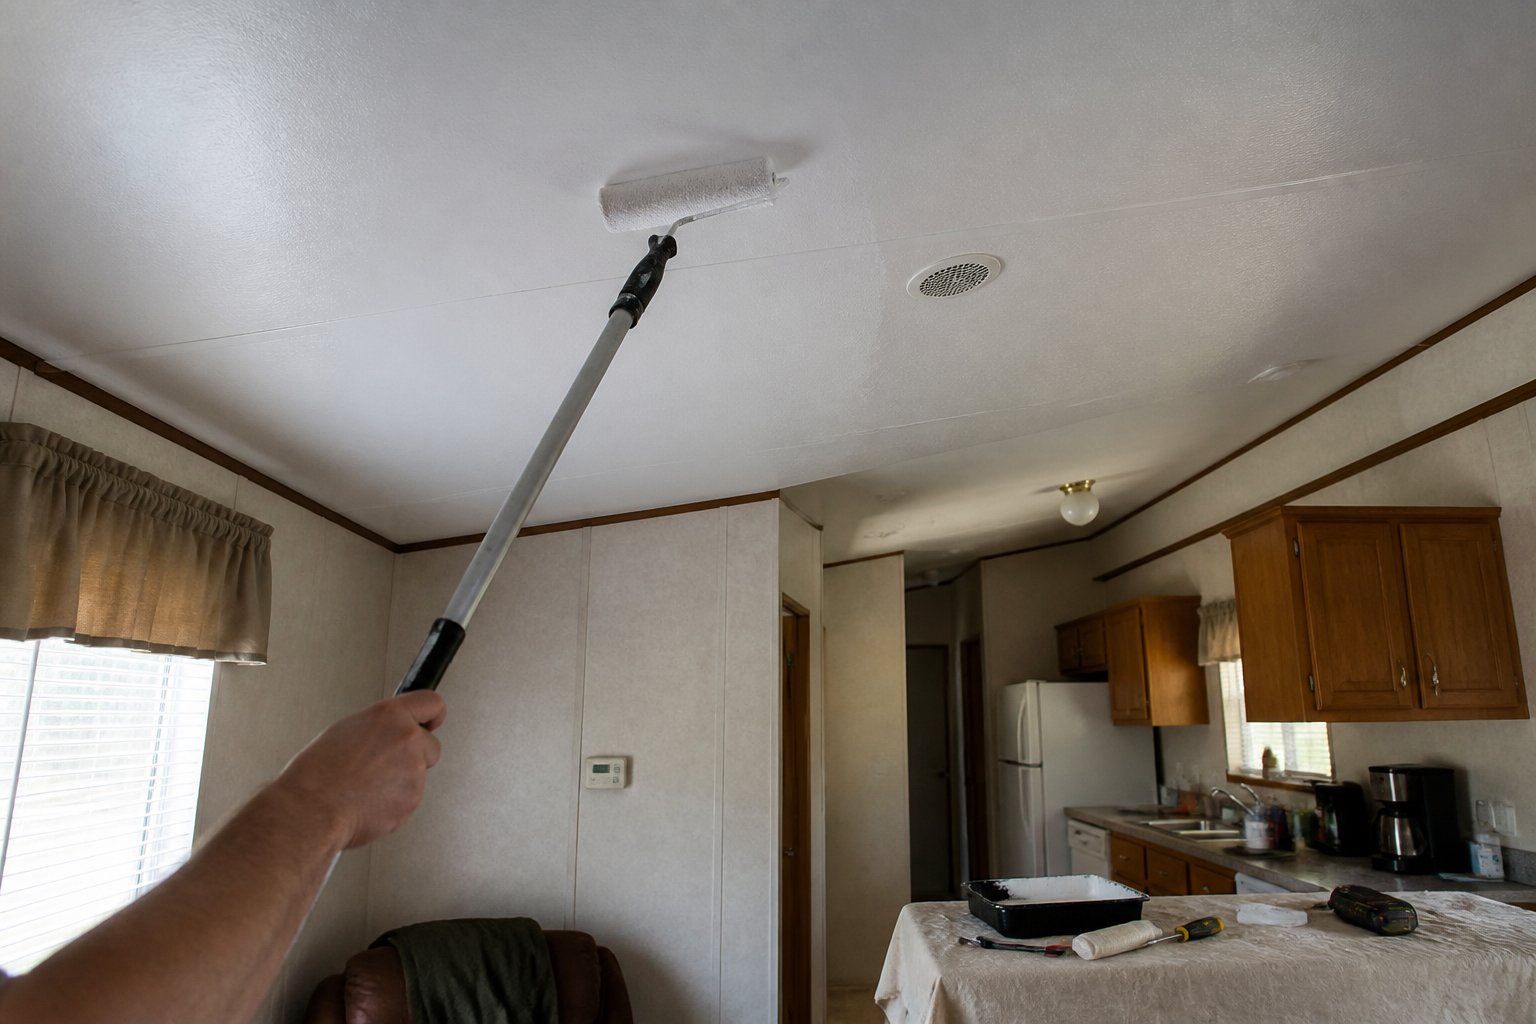
A clean, bright ceiling can make your mobile home feel larger and better maintained. Use a flat or low-sheen ceiling paint to reduce glare and hide minor surface flaws.
Start by cleaning away dust and grease. Repair cracks, loose seams, or water damage before painting. If the ceiling has stains or vinyl-coated panels, apply a stain-blocking primer so marks do not bleed through and the paint bonds properly. This mobile home ceiling painting guide also recommends applying two thin coats rather than one heavy coat.
Test the paint in a small area first, especially on textured panels. A common mistake is skipping primer or pressing too hard with the roller, which can loosen the surface. Use an extension pole and work in small sections to keep the finish even.
Choose a soft white that matches your wall color, then let each coat dry fully before adding the next.
10) Pressure-washed exterior before painting
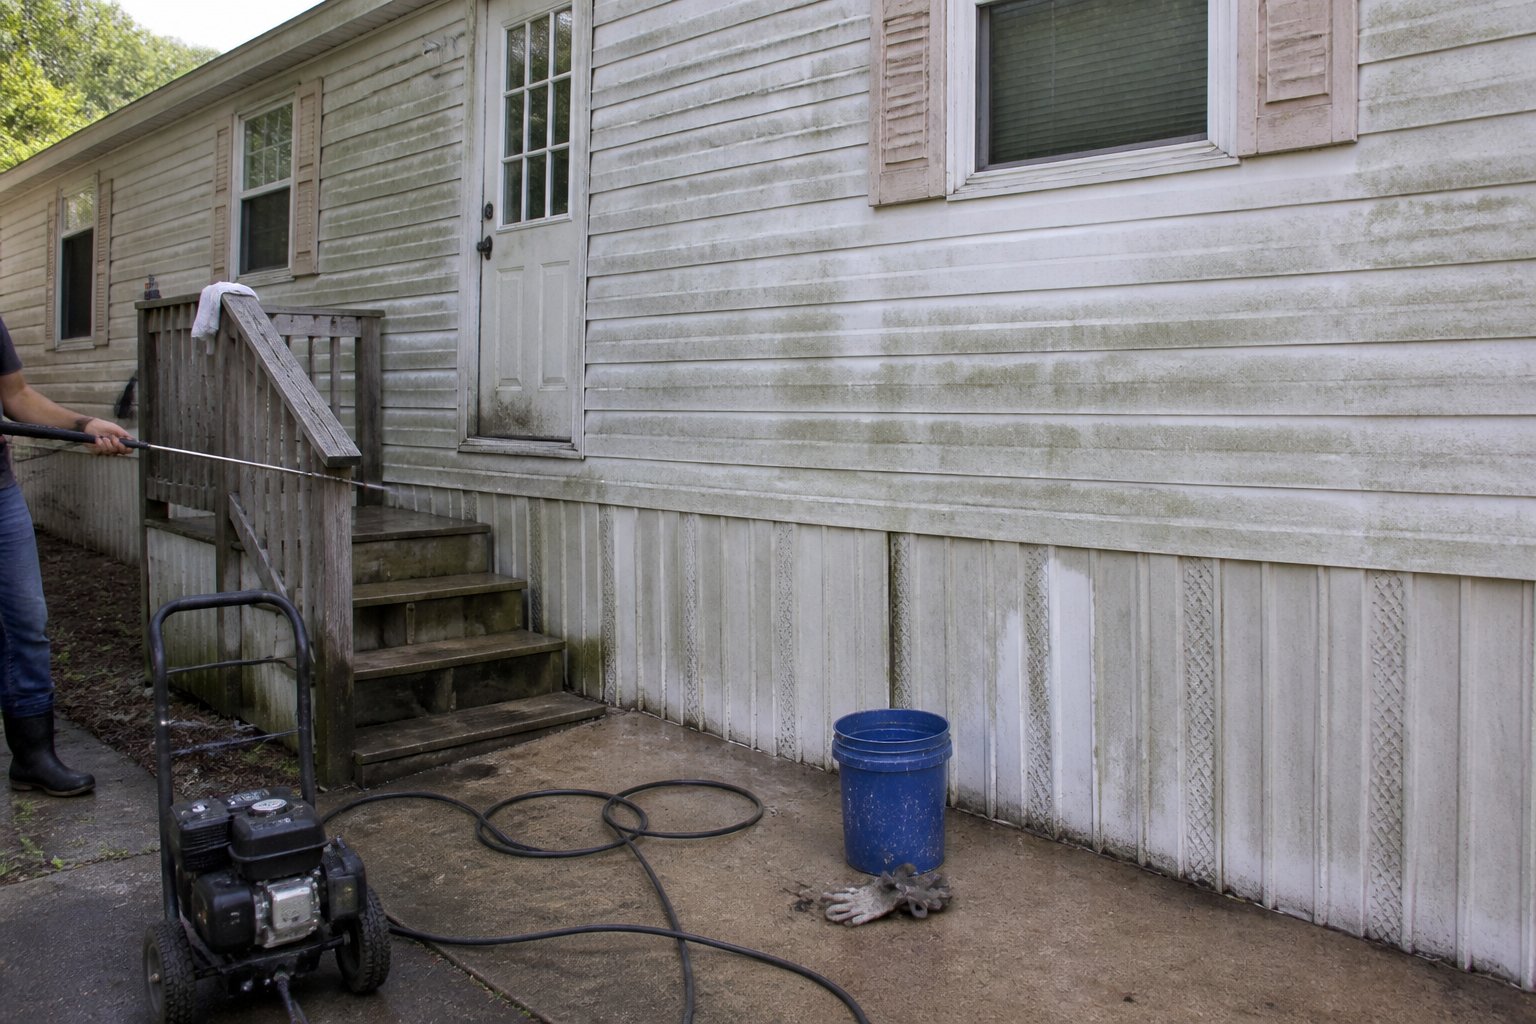
A clean, dry exterior gives your new paint the best chance to bond and last. Before painting, pressure-wash the siding to remove dirt, mildew, chalky residue, and loose paint. Proper pressure-washing prep helps prevent peeling and uneven coverage.
Use a lower setting on older mobile-home siding, and keep the nozzle moving so you do not force water behind panels or damage the surface. Apply a suitable mildew cleaner first when needed, then rinse from top to bottom.
Do not paint as soon as the siding looks dry. Moisture can remain in seams and shaded areas, so allow at least 48 hours of drying time, longer in cool or damp weather. Check for soft spots, cracks, and failed caulk while you wait.
Skipping this step can leave grime trapped under the coating and shorten the paint job’s life. Clean the surface carefully, let it dry fully, and your $300 improvement will look far more professional.
Why Exterior Paint Influences Appraised Value
A clean, well-maintained exterior can improve your mobile home’s market appeal and support an appraiser’s view of its condition. Paint helps protect siding, but it cannot guarantee a fixed dollar increase or replace needed repairs.
Curb Appeal And Buyer Perception
Your exterior creates the first impression before anyone enters the home. Faded, peeling, or chalky paint may make buyers suspect moisture damage, neglected maintenance, or higher repair costs. Fresh paint in a suitable color can make the siding look cleaner and help the home appear better cared for.
Paint also draws attention to other visible features, including trim, doors, skirting, porches, and steps. Repair damaged areas before painting. Applying new color over warped siding or rotten wood can make the problem more noticeable during an inspection.
For a practical benchmark, professional mobile home exterior painting may cost about $1,500 to $4,500, while a smaller DIY project can cost less. Choose an exterior-rated product that matches your siding, and use neutral colors that fit nearby homes and local buyer preferences.
The Limits Of Value Claims
Paint can support value by improving condition and buyer appeal, but an appraiser considers much more than color. The home’s age, size, location, land ownership, comparable sales, foundation, roof, systems, and interior condition often matter more.
Claims that a $300 paint job automatically adds $15,000 lack enough context. A percentage estimate of 2% to 5% for exterior painting applies broadly to homes and may not fit a manufactured home, leased lot, or weak local market.
Treat paint as a risk-reduction and presentation upgrade, not a guaranteed return. Keep receipts, document repairs, and ask a local real estate professional which colors and improvements buyers in your area value most.
Preparing a Mobile Home Exterior for Lasting Results
A durable paint job starts with knowing what covers your walls, fixing weak areas, and matching products to local weather. Careful preparation prevents peeling, trapped moisture, and costly rework.
Identifying Siding Materials And Existing Coatings
Check the siding before you buy paint. Common mobile home exteriors include vinyl, aluminum, engineered wood, and older panels with a factory coating. Look for seams, profiles, and surface texture, then test a small hidden area with mild detergent and water.
After cleaning, rub the dry surface with a dark cloth. Chalky residue means the old finish has weathered and needs thorough washing before you paint. If the coating flakes or lifts, scrape loose areas and sand the edges smooth. Do not paint over glossy, loose, or powdery surfaces.
A small test patch can reveal adhesion problems. Apply the planned primer and paint, let them cure, then press and remove painter’s tape. If the coating pulls away, ask a paint professional for a compatible system. Follow a detailed mobile home exterior painting guide when identifying tools and application methods.
Repairing Damage Before Painting
Paint cannot repair rotten siding, soft trim, open seams, or leaking windows. Walk around the home after rain and inspect below windows, around doors, at roof edges, and near skirting. Press questionable areas gently with a screwdriver; soft material needs repair or replacement before coating.
Replace damaged panels when possible, and use exterior-grade filler only for small holes or shallow dents. Secure loose siding, replace failed fasteners, and recaulk gaps with a paintable exterior sealant. Remove old, cracked caulk first so the new bead can bond.
Clean mildew with the product label’s recommended method, and allow every surface to dry fully. Do not seal moisture inside a wall. Extensive damage may signal a leak or structural problem, so address the cause before following professional mobile home painting preparation steps.
Choosing Weather-Appropriate Products
Choose an exterior acrylic latex paint labeled for your siding material and local conditions. On vinyl, select a color that the manufacturer approves; very dark colors can absorb more heat and may cause movement or distortion. For aluminum, use a bonding primer when the label calls for one.
Check the product’s minimum application temperature, humidity limits, and rain-free curing time. Avoid painting in direct, hot sunlight, during strong wind, or when rain threatens before the coating cures. A dry, mild day usually gives you better working time.
Use a primer designed for the existing surface, not a generic interior primer. Apply two thin finish coats when the label recommends them, and keep a wet edge to reduce lap marks. An exterior acrylic latex paint guide can help you compare suitable products before you begin.
Budgeting the Project and Protecting the Finish
A reliable budget covers cleaning, repairs, primer, paint, tools, and labor before you begin. A maintenance plan then helps your new finish last through sun, rain, and seasonal movement.
Estimating Materials and Labor Costs
For a DIY exterior project, plan for about $600 to $1,200 in materials, depending on the home’s size, siding, repairs, and paint quality. Professional work often costs $1,500 to $4,500, while larger homes or heavy surface repairs can cost more. Review this mobile home exterior painting cost guide before setting your budget.
| Item | What to include |
|---|---|
| Cleaning | Detergent, brushes, hose, or pressure-washing service |
| Repairs | Replacement panels, caulk, fasteners, and patching materials |
| Primer | Bonding primer for glossy, chalky, or exposed surfaces |
| Paint | Exterior acrylic paint rated for your siding |
| Tools | Rollers, brushes, extension poles, masking materials, and ladders |
Do not skip preparation to save money. Peeling paint, oxidation, loose panels, and failed caulk can cause early peeling. Keep a 10% to 15% reserve for hidden damage, and get written labor estimates that list preparation separately from painting.
Maintenance That Preserves Curb Appeal
Wash the siding once or twice a year with mild detergent and a soft brush. Rinse thoroughly, but avoid forcing water behind panels, around windows, or under trim. Inspect the finish each spring and fall for peeling, cracks, mildew, rust stains, and open seams.
Touch up small failures before water reaches the substrate. Use the same paint color and sheen, and feather the edges so repairs blend into the surrounding finish. Recaulk gaps around windows, doors, vents, and trim with an exterior sealant compatible with your siding.
Keep shrubs and vines several inches away from the walls. Plants that rub against painted siding can wear the finish and hold moisture against it. If you notice widespread chalking or peeling, identify the cause before repainting; proper manufactured-home painting methods emphasize cleaning, sound surfaces, and suitable exterior products. Inspect the home regularly so small repairs stay inexpensive.