How to Make Over Cheap Plastic Drawers: Brilliant Budget Hacks for Chic Storage
You’re tired of cheap plastic drawers that make your space look cluttered and dull. You can turn those plain drawers into stylish, sturdy pieces that match your home without spending a lot. This article shows practical ideas and smart fixes so you can pick the look and level of effort that fit your time and budget.
Think of this as a hands-on guide from someone who’s done the work and learned the common mistakes—like skipping surface prep or choosing the wrong glue. You’ll get clear options for framing, painting, decoupage, hardware swaps, and simple structural upgrades that make a real difference, plus tips on materials and personalization to help your project last.
1) Add a reclaimed pallet wood frame tailored to drawer dimensions
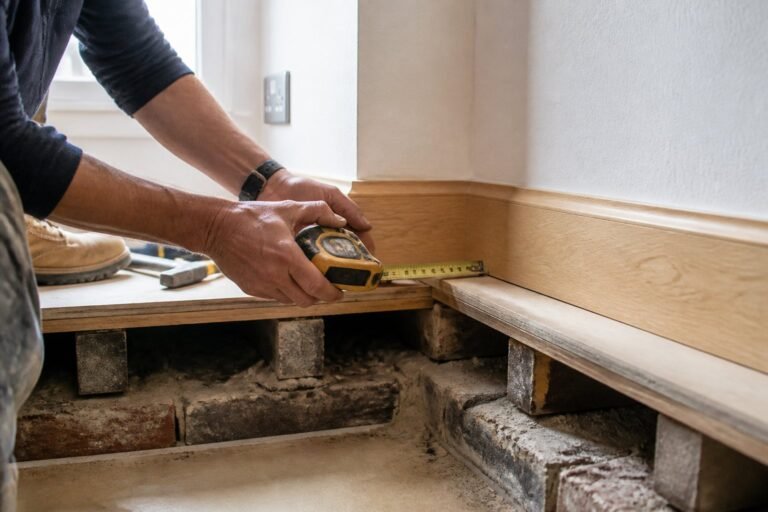
Tutorial: measure each plastic drawer first. Cut pallet planks to match the drawer face and side depths so the frame sits flush and doesn’t bind when sliding.
Lay out planks dry to check grain and gaps. You might hide warped boards by using them on the outer face and stronger planks for the inner rails. A common mistake is over-tightening screws into thin pallet boards; pre-drill and use short wood screws or glue and brad nails.
Attach the frame with screw tabs or a simple cleat system so you can remove it later. Stain or seal only after sanding; pallet wood often needs extra cleaning and a light finish coat to resist dirt.
Try this on one drawer first to confirm fit and appearance, then repeat for the set. If you want help picking pallet boards, see a pallet-frame tutorial for tips and patterns.
2) Apply peel-and-stick woodgrain vinyl wrap (e.g., Fablon Wood Effect)
Guide: this is a hands-on tutorial to make cheap plastic drawers look like wood.
Clean the drawer surface with rubbing alcohol and let it dry. Measure each panel and cut the vinyl a bit larger so you can trim later.
Peel the backing a little at the top, align the vinyl, and press down while smoothing with a plastic card. Work slowly to avoid bubbles; lift and reapply small sections if a wrinkle appears.
Trim edges with a sharp craft knife and use a heat gun briefly on curved edges to help the vinyl stretch. A common mistake is rushing—uneven cuts and trapped air are easy to fix if you go slowly.
If you want a quick match to real wood, choose textured films like the Fablon-style wood effect. Try one drawer first to build confidence before doing the whole set.
3) Decoupage drawers with patterned scrapbook paper and Mod Podge
This is a step-by-step tutorial you can finish in an afternoon. Start by cleaning and lightly sanding the drawer fronts so the paper sticks. Measure each front, cut scrapbook paper a little oversize, and test-fit before gluing.
Brush a thin coat of Mod Podge on the plastic, press the paper smooth from center outward, and trim excess with a sharp craft knife. Work slowly to avoid air bubbles; use a brayer or credit card wrapped in cloth to smooth seams. Seal with two thin coats of Mod Podge, sanding lightly between coats for a smooth finish.
Common mistakes: using wet paper or heavy glue, and skipping sealing. If you want patterns that match, lay out designs first. Try floral or geometric papers for an easy style lift, and swap handles for a polished look.
4) Paint drawer fronts with chalk paint and distress edges
Tutorial intent: this shows how to paint and age drawer fronts for a worn, custom look.
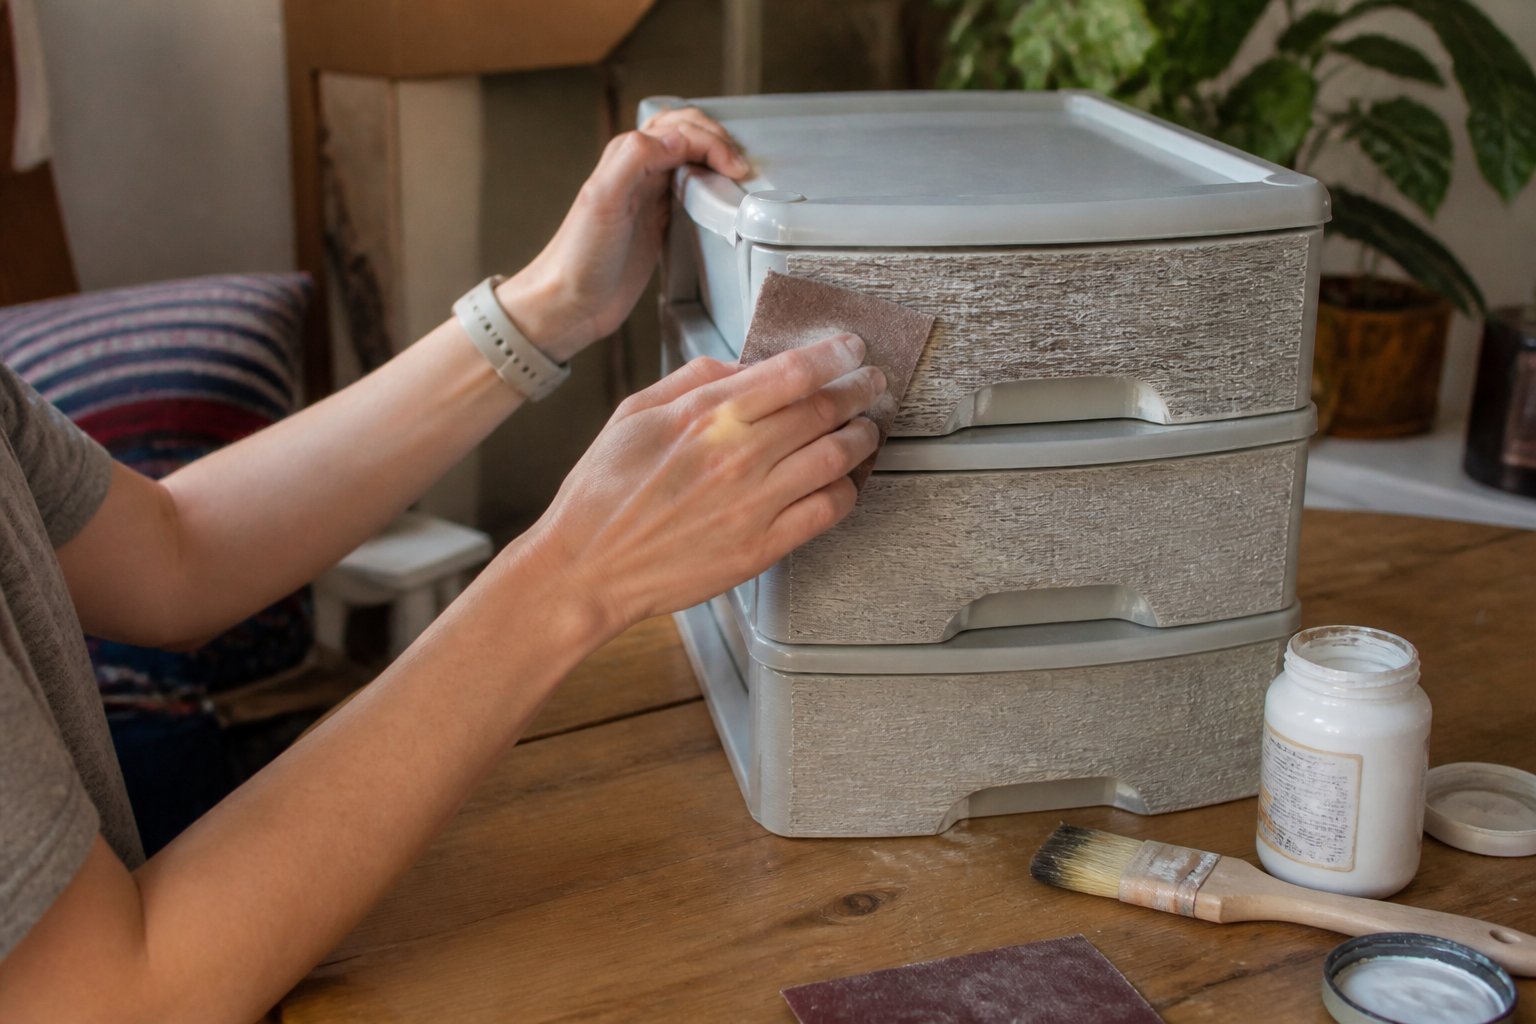
Start by cleaning and lightly sanding the plastic so paint sticks. Use a plastic primer if the surface feels slick; skipping primer is a common mistake that leads to flaking.
Brush on chalk paint in thin coats. Two light coats dry smooth and cut drips; let each coat dry fully. Test a hidden corner to check adhesion before finishing every drawer.
Distress edges with fine sandpaper or a sanding block, rubbing where natural wear would occur. Wipe dust away and seal with a clear wax or matte polyurethane to protect the paint from scratches.
If you want a two-tone effect, dry-brush a metallic or darker color on raised details first. Try one drawer as a sample so you can tweak color and distressing without wasting effort.
5) Attach shaker-style trim using 1/4″ plywood strips
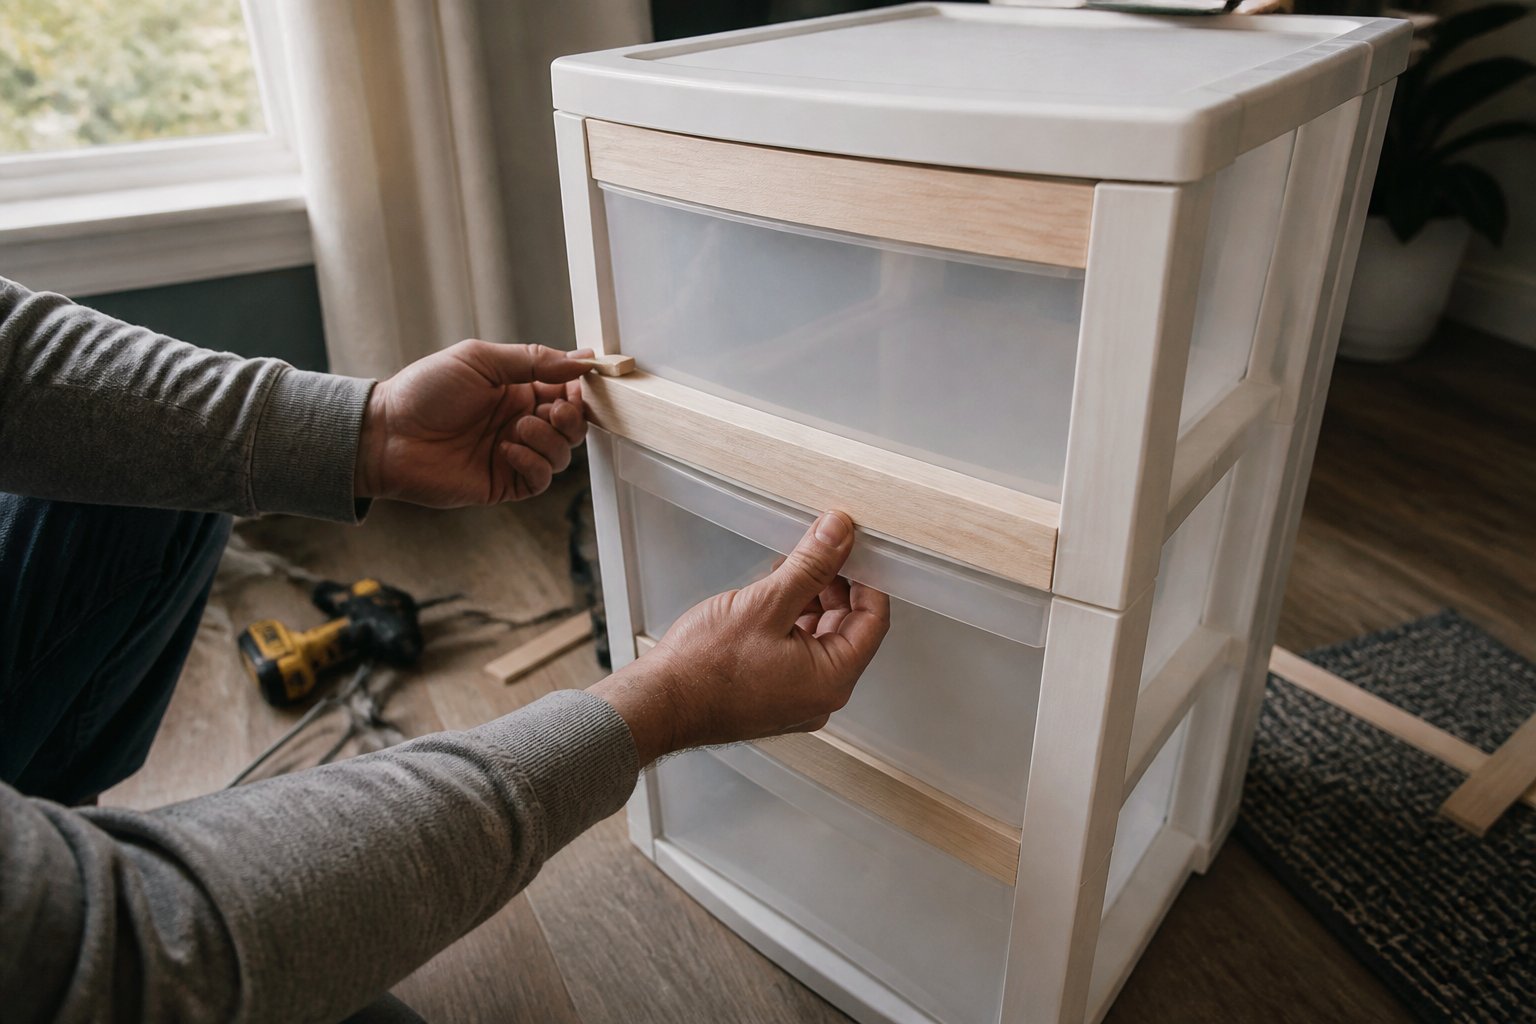
Guide: tutorial. You will raise the look of cheap plastic drawers by gluing simple shaker trim. Cut 1/4″ plywood into 3/4″–1″ strips for stiles and rails, keeping lengths square so corners meet cleanly.
Dry-fit the frame first. Clamp the strips to check fit and spacing; small gaps here mean bigger problems after glue sets.
Use a quality wood glue and a few finish nails or brad nails to hold pieces while drying. Keep glue off the plastic face — wipe excess quickly to avoid messy marks.
Common mistake: relying on tape alone. Tape can peel trim loose later. Instead, add small drops of hot-melt glue behind strips for instant hold before final glue-up.
After sanding the seams smooth, prime the plywood edge well. Paint with a cabinet or trim paint for a durable finish that looks like real shaker fronts.
6) Replace plastic knobs with brass cup pulls
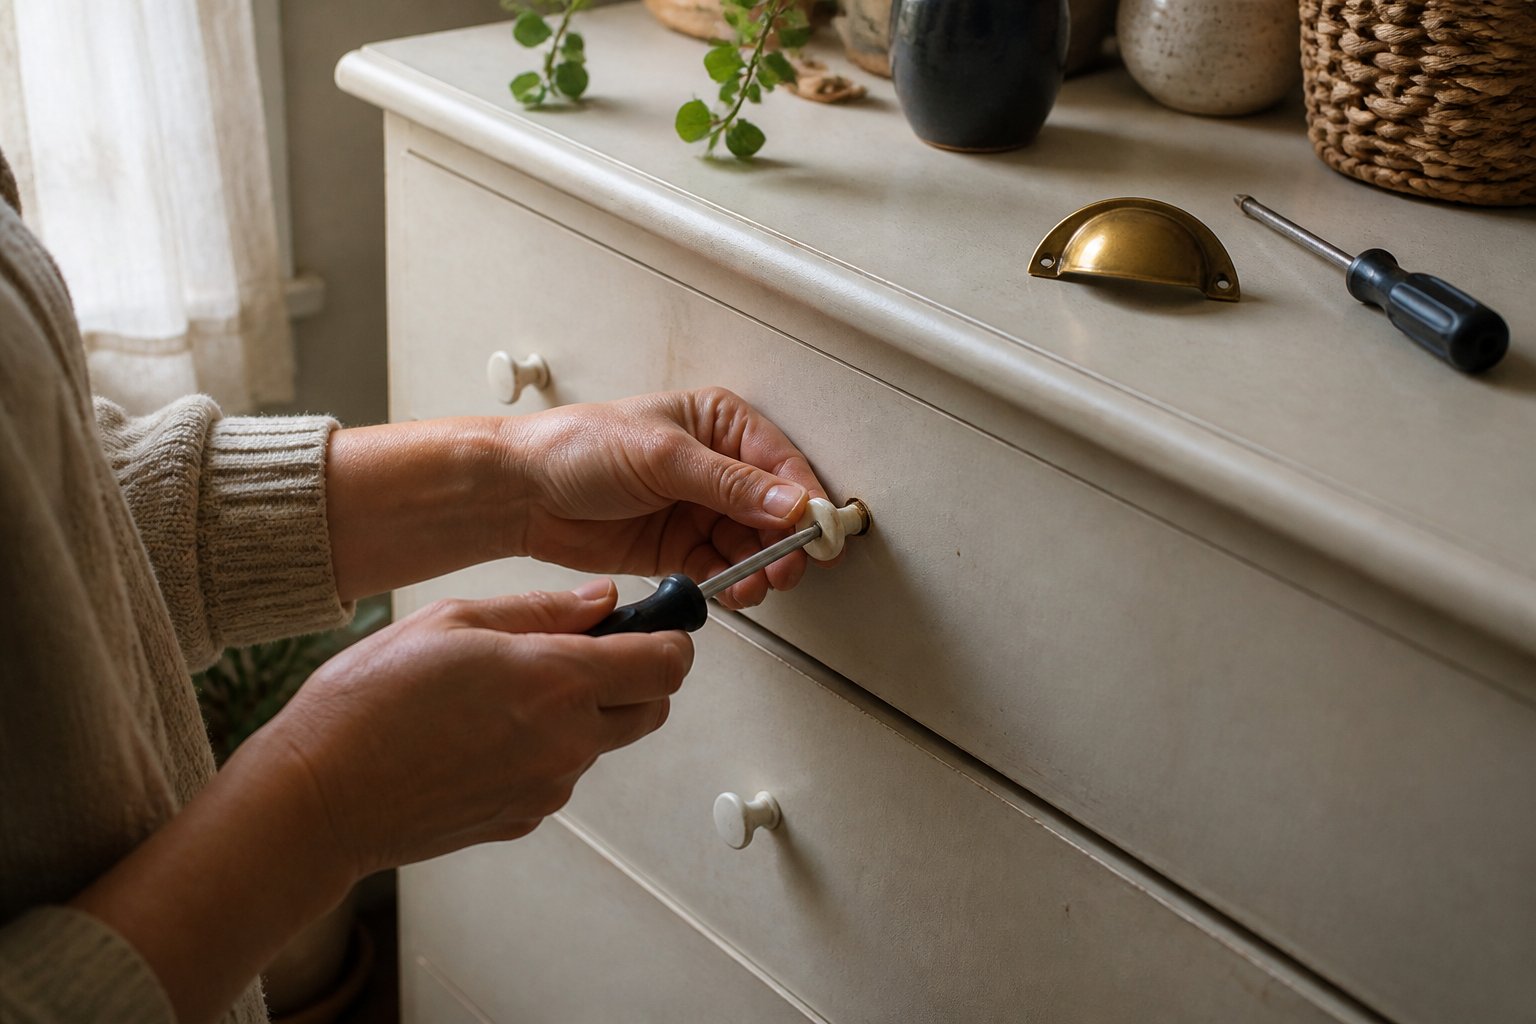
Tutorial: swap flimsy plastic knobs for brass cup pulls to lift the look and improve grip. Measure hole spacing first; many plastic knobs use one center hole while cup pulls need two screws. If holes don’t match, use a small wooden filler plug and drill new evenly spaced holes.
You’ll feel the difference when you grab a drawer—brass holds up and looks richer. A common mistake is over-tightening screws; that cracks thin plastic. Test-fit with gentle pressure, then tighten until snug.
If the original finish shows through, paint or sand the drawer face before installing. For a tight fit, add short wood screws and a bit of epoxy behind the pull if the plastic is brittle. Try antique or satin brass for a warm, timeless touch.
7) Cover sides with removable adhesive beadboard panels
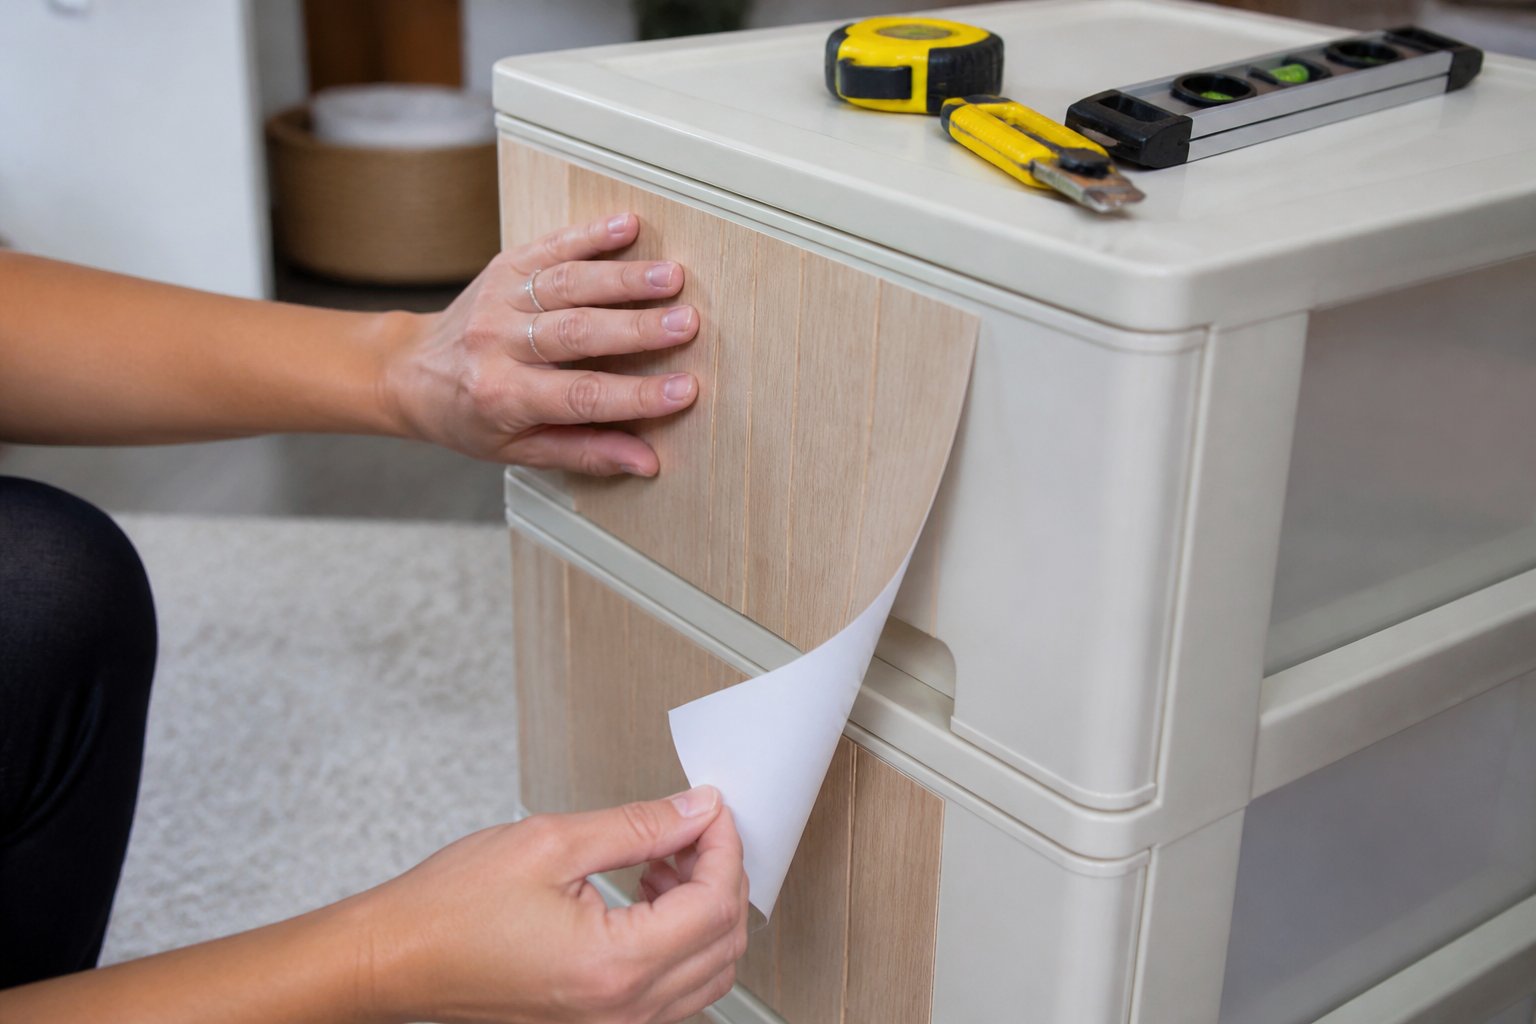
This is a practical tutorial to give your drawers a crisp, finished look without tools. Measure the side panels carefully; cut peel-and-stick beadboard to fit, leaving a tiny gap at edges so drawers still slide smoothly.
Peel slowly and press firmly from one end to the other to avoid bubbles. Use a plastic squeegee or an old credit card for even adhesion. If you mess up, many products lift and reposition—don’t force it.
Choose paintable, removable panels so you can change colors later. A common mistake is using panels too thick for tight drawer tracks; test a scrap piece first. Try a light cream or soft gray for a fresh, vintage vibe that hides scuffs.
8) Use fabric liner inside drawers (cotton or linen) with fusible interfacing
Tutorial: line drawer bottoms with cotton or linen fused to interfacing for a neat, durable finish. Measure the drawer, cut fabric slightly larger, and trim the interfacing to match before ironing.
Use lightweight fusible interfacing so the fabric lies flat and resists stains. Press in short bursts; let things cool before fitting to avoid warping the plastic. A common mistake is using too-heavy interfacing — it puckers and won’t lay smooth.
Pick a washable fabric and test heat on a scrap to avoid melting the drawer. If you want pattern, center it on the longest viewable panel so it looks intentional. Try this simple upgrade and fit liners to your drawers today.
9) Create faux-masonry finish with concrete-effect paint
Intent: tutorial. Give the drawers a real-looking stone vibe without heavy tools.
Start by sanding and applying a plastic primer so paint will stick. Use a light grey base coat, then dab darker greys with a sponge to add mottled depth; this mimics real concrete texture. Work in small areas and blend quickly to avoid hard edges.
Try adding a pinch of baking soda to matte paint for subtle grit if you want more texture. Common mistake: using thick globs — they read fake. Keep layers thin and build up color slowly.
Finish with a matte sealer for durability. If a crack pattern appeals, draw thin lines with a dry brush and feather them out. Try one drawer first, then repeat once you like the look.
10) Install tapered wooden legs to convert into a dresser
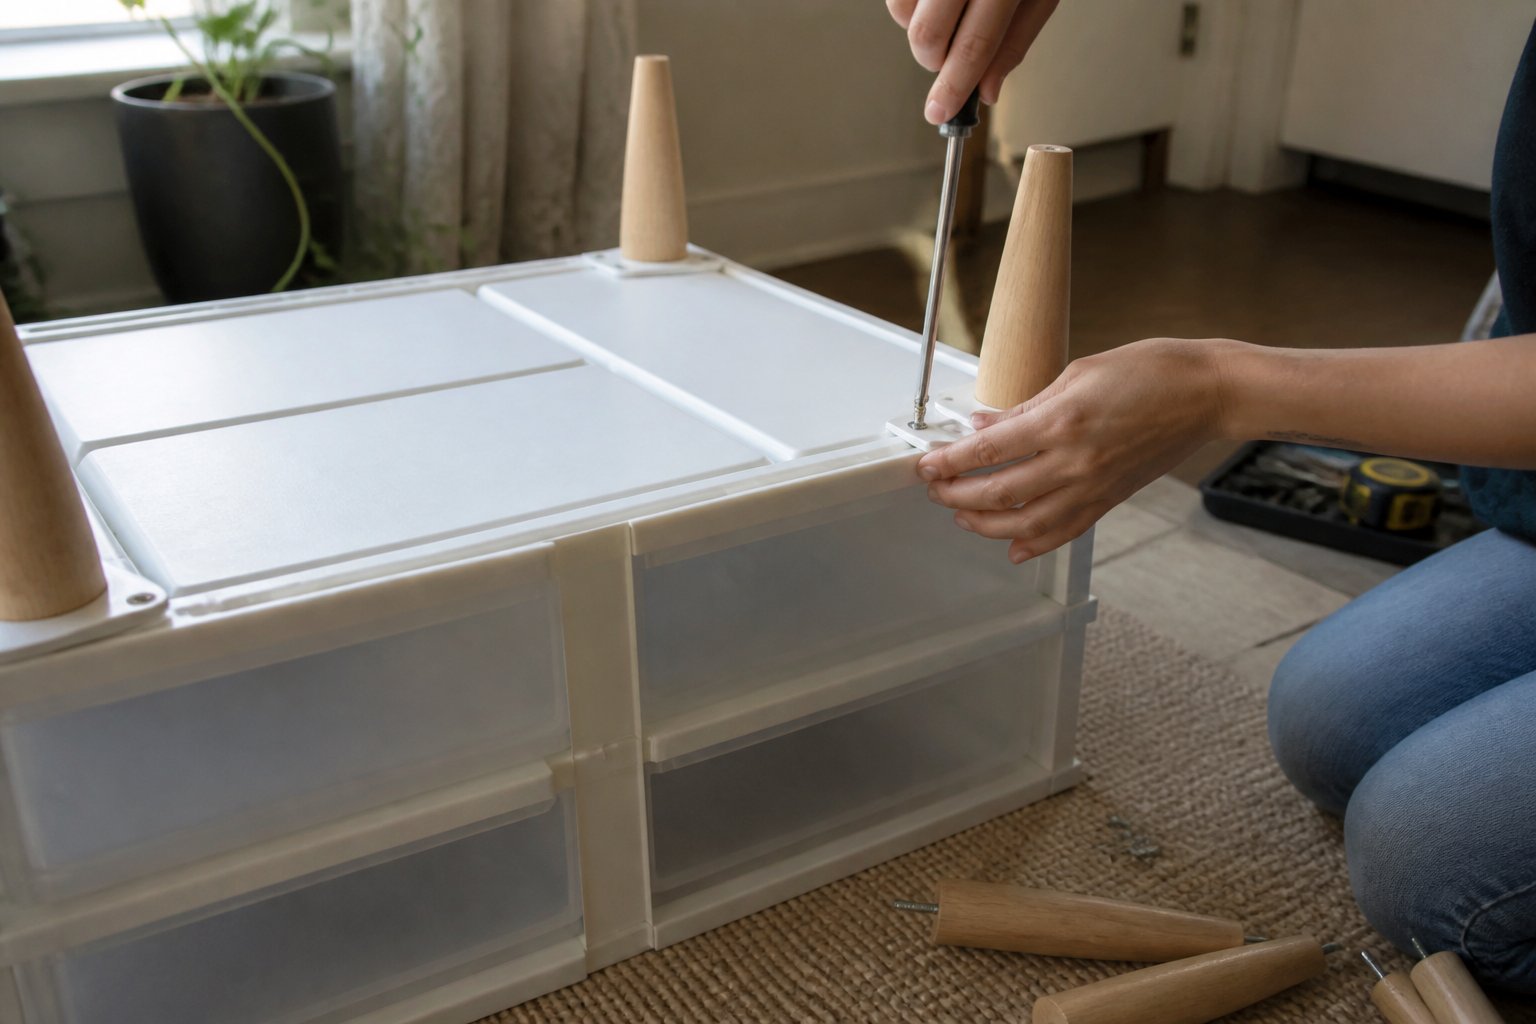
This is a step-by-step guide to turn plastic drawers into a real dresser. You’ll need tapered wooden legs, mounting plates, screws, and a drill.
Flip the unit and mark four leg positions near the corners. Use a scrap block under each leg when drilling to avoid cracking the plastic; many people skip this and end up with split corners.
Attach metal mounting plates first, making sure they sit flat. Screw legs into the plates, hand-tighten, then test for wobble and tighten more if needed.
If legs sink into thin plastic, add a plywood block inside the top edge to spread the load. Paint or stain the legs to match your room and enjoy a cleaner, raised look that’s easy to keep under.
Importance of Surface Preparation
Proper preparation sets the stage for paint and trim to stick, last, and look professional. Focus on removing grease, scuffs, and loose plastic, then use the right primer so your finish won’t peel or flake.
Cleaning Methods for Best Results
Start by emptying the drawers and snapping off any removable pieces. Wash all surfaces with warm water and a few drops of dish soap, scrubbing with a soft brush or sponge to lift dirt from corners. Rinse well and dry with a lint-free cloth.
Next, use isopropyl alcohol or a degreaser on glossy or grimy areas to remove oils that soap leaves behind. Test a hidden spot first to ensure the cleaner won’t dull the plastic. Lightly sand smooth or glossy plastic with 220–320 grit sandpaper to create “tooth” for paint. Wipe away dust with a tack cloth.
Common mistake: skipping alcohol cleaning or sanding glossy areas. That causes paint to bubble or peel. Take your time here and your makeover will hold up.
Priming Tips for Long-Lasting Makeovers
Choose a plastic-specific bonding primer or a spray primer labeled for polypropylene/polyethylene when working with those plastics. Apply thin, even coats from 8–12 inches away and allow full flash time between coats to avoid drips.
If your drawers have textured surfaces, use a high-build primer to fill shallow grooves before sanding smooth. For metal rails or hardware, use a rust-inhibiting primer on those spots first. After priming, sand very lightly with 320–400 grit to remove any nibs, then clean with a tack cloth.
A common error is using regular latex primer on slick plastic. That often fails within months. Use the right primer and follow dry times on the can for a durable finish that won’t flake when you slide drawers in and out.
Personalizing with Materials
This section gives step-by-step choices you can use to change looks, texture, and durability. You’ll get clear picks for easy vinyl covers and for paint that sticks to plastic, plus tips to avoid peeling and drips.
Using Vinyl Wraps and Contact Paper
Intent: tutorial.
Vinyl wraps and contact paper give fast, low-mess results. Measure each drawer front and add 1/4 inch to width and height for overlap. Cut pieces on a flat surface, and score the backing lightly where you want folds.
Work slowly from one edge, peeling 2–3 inches of backing and smoothing with a plastic card as you go. Heat with a hair dryer around edges to help vinyl hug rounded corners. Trim excess with a sharp utility knife and use a seam roller or the card to press seams tight.
Common mistakes: applying over dust or textured plastic causes bubbles; don’t stretch patterned vinyl too far or the design will warp. If you want patterns, match grain direction across drawers so the look stays consistent. For examples of simple patterns and smarter placement, see this list of decorating ideas for plastic bins (https://www.diyncrafts.com/30469/organization/60-plastic-bin-drawer-decorating-ideas-beautify-home-organizing-solutions).
Painting Techniques: Acrylics, Chalk Paint, and More
Intent: guide.
Choose a paint designed for plastic or prep with a plastic primer. Clean with isopropyl alcohol, sand lightly with 220-grit paper, and wipe dust away. Spray primer gives the best adhesion on slick surfaces; let it dry fully before painting.
For a smooth finish, use spray paint made for plastic in thin coats. Hold the can 8–12 inches away and use 2–3 light passes. For a softer, vintage look, apply chalk paint with a foam brush, then lightly sand high spots and seal with matte wax. Acrylics work for small details and stencils—use a primer first and finish with a clear polyurethane spray.
Watch for runs by applying thin coats and rotating the drawer as you paint. Test color and adhesion on a hidden area first. For tips on paint-friendly supplies and pro tricks to make cheap drawers look designer, see this step-by-step transformation guide (https://dearworld.me/transform-ugly-plastic-drawers-into-designer-storage/).