How to Build a Barn Door: Step-by-Step DIY Guide That Actually Works in 10 Easy Steps
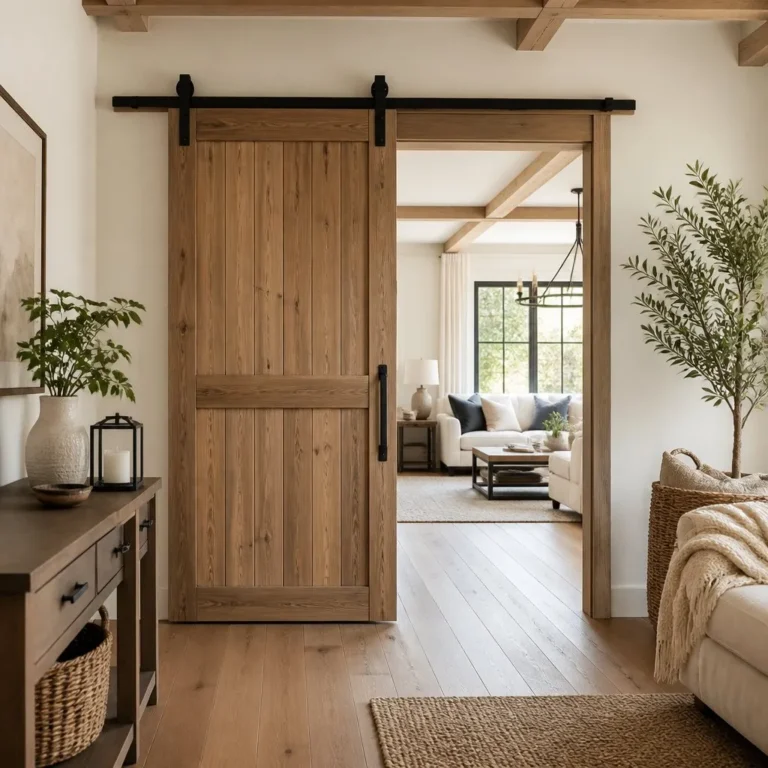
A barn door can add useful separation and a clean, practical look to your space. You will learn how to plan the opening, choose suitable dimensions and materials, build the door, and prepare it for smooth sliding.
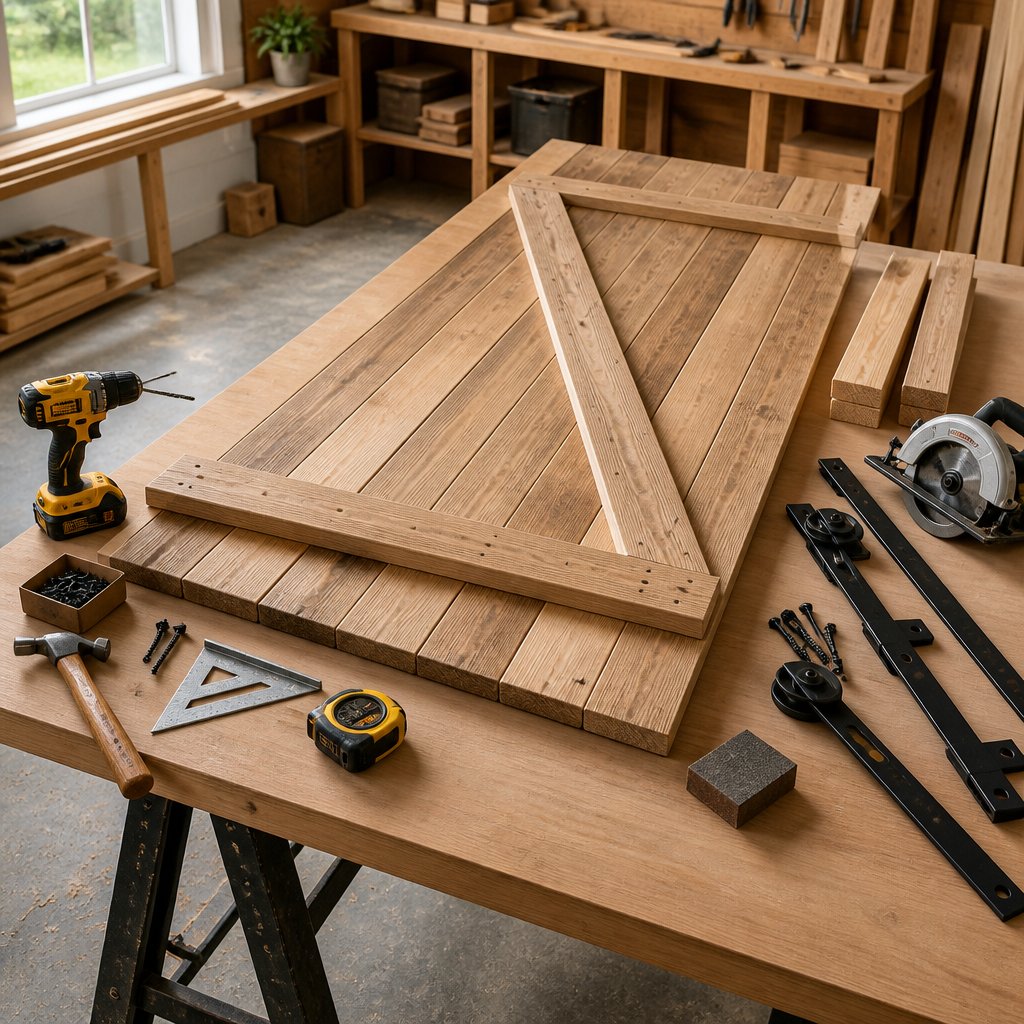
This guide helps you build a strong barn door by combining careful measurements, solid joinery, proper finishing, and secure hardware installation. You will also learn how to check the track, door movement, and long-term performance before you consider the project complete.
1) Measure the Door Opening
Measure the opening width at the top, middle, and bottom. Use the largest measurement so the door covers the full opening. Measure the height from the finished floor to the top of the opening.
Add overlap on both sides and above the opening. Many guides recommend at least 2 inches of side overlap and about 1 inch above, but check your hardware instructions for exact clearance. Review this barn door measuring guide before cutting your materials.
Check the wall beside the opening. Your door needs enough clear wall space to slide fully open, and the wall must support the track and door weight.
2) Choose the Door Design and Dimensions
Choose a flat, paneled, or crossed-brace design that fits your room and skill level. A simple frame-and-panel layout works well for beginners, while a Z-brace design adds strength and visual detail. You can review different construction styles in this barn door construction guide.
Measure the doorway width and height, then add overlap on both sides. Your door should cover the opening fully when closed. Many sliding doors extend at least 2 inches beyond each side, but check your hardware instructions for the required clearance.
Measure the wall space beside the opening too. The door must slide clear of the doorway without hitting trim, switches, outlets, or nearby furniture. Record each measurement before buying materials.
3) Gather Lumber, Hardware, and Tools
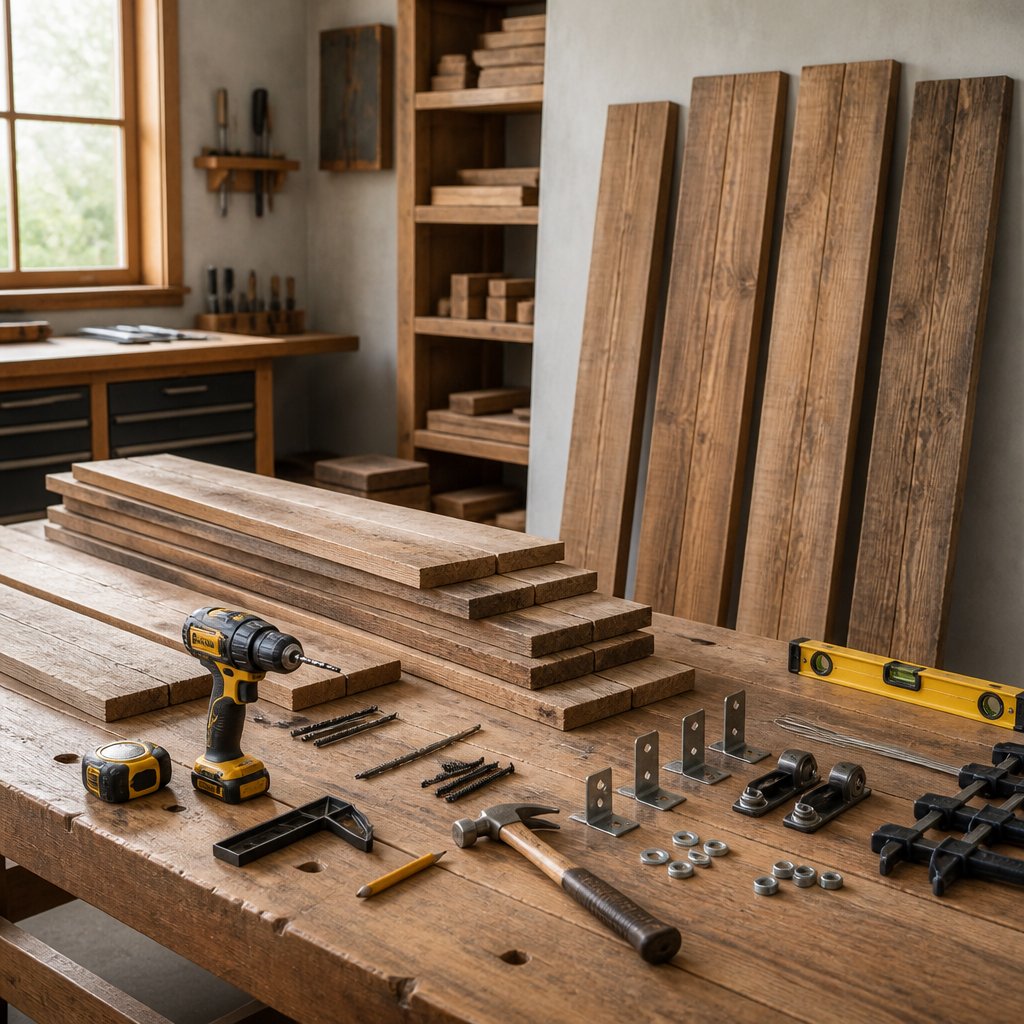
Choose straight 1×6 boards for the door panel and 1×4 boards for the frame. Pine costs less and cuts easily, but select boards with few knots if you plan to paint. Measure the opening before buying lumber; the door should cover the opening and extend past both sides.
Buy a sliding barn door hardware kit with a track, rollers, mounting brackets, stops, and an anti-jump guide. Kits commonly cost about $50 to $150 or more, depending on size and features.
Prepare wood glue, 1½-inch brad nails, wood screws, a drill, a tape measure, a level, a stud finder, a socket wrench, clamps, and safety glasses. Arrange help for lifting the finished door.
4) Cut the Door Rails and Stiles
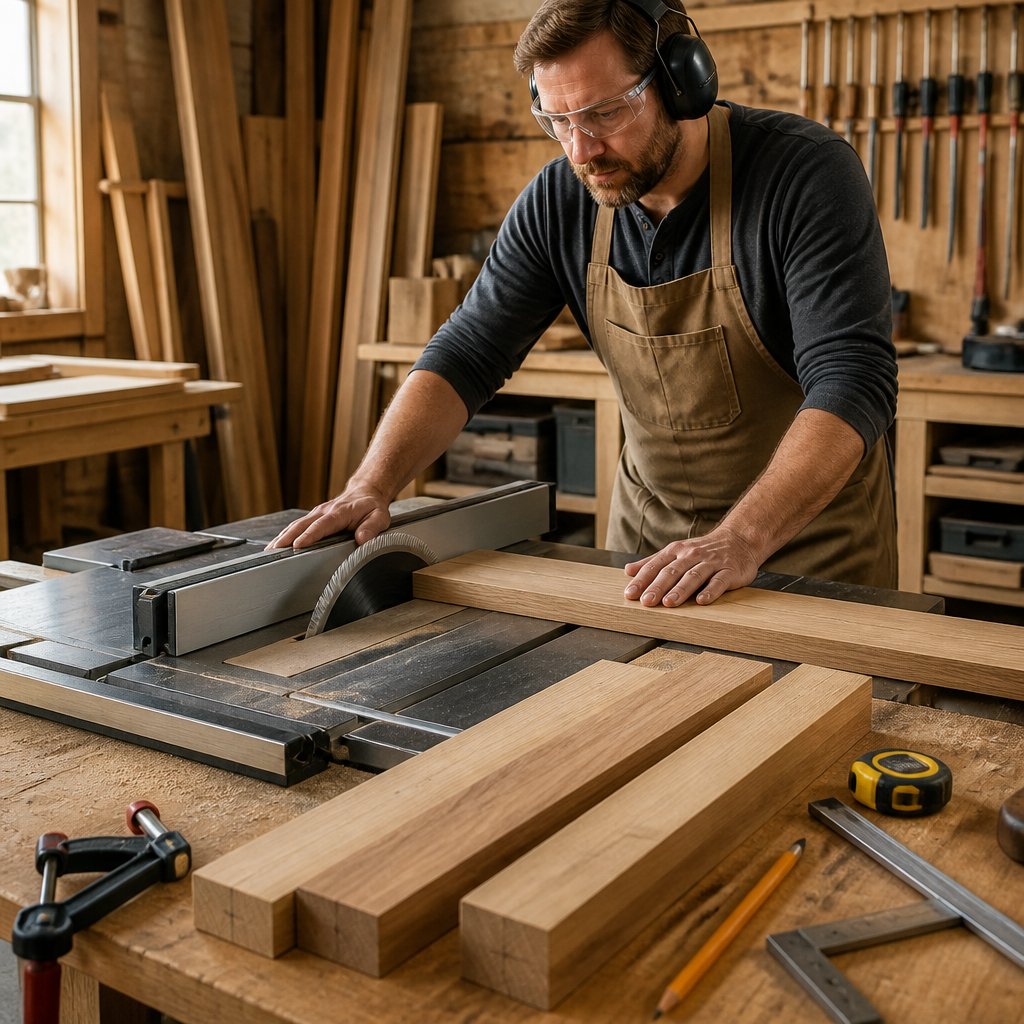
Measure and mark the rails and stiles according to your door plan. The stiles run vertically along the sides, while the rails run horizontally across the door. Account for the joints you will use before making your final marks.
Cut each piece square with a miter saw or circular saw and guide. Keep the pieces supported to reduce splintering and movement. Label matching parts so you can assemble them in the correct positions.
After cutting, place the pieces on a flat surface and check their length and alignment. Sand rough edges, but avoid removing enough material to change the planned dimensions. Use a reliable barn door woodworking plan to confirm your measurements and cuts.
5) Build the Door Frame
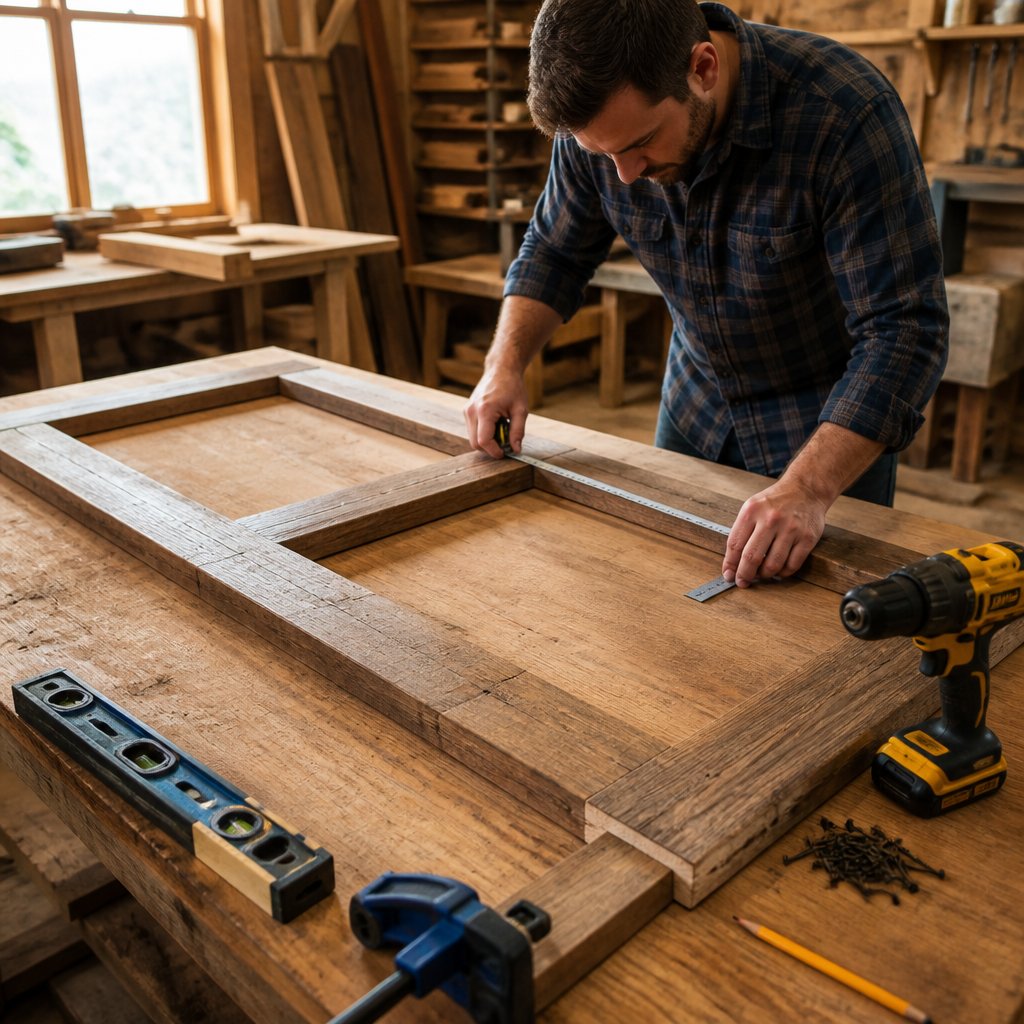
Cut two vertical stiles and two horizontal rails from straight, dry lumber. Make the stiles equal in length, then cut the rails to fit between them. Confirm each piece matches your planned door dimensions.
Lay the pieces on a flat surface and arrange them into a rectangle. Apply wood glue to each joint, then secure the corners with screws from the back or with suitable pocket-hole fasteners.
Check the frame for square by measuring both diagonals. Adjust it until both measurements match, then let the glue cure according to the label.
Add one or two diagonal braces if your design needs extra support. Position each brace so it helps prevent sagging, and fasten it securely to the frame.
6) Add Center Supports and Braces
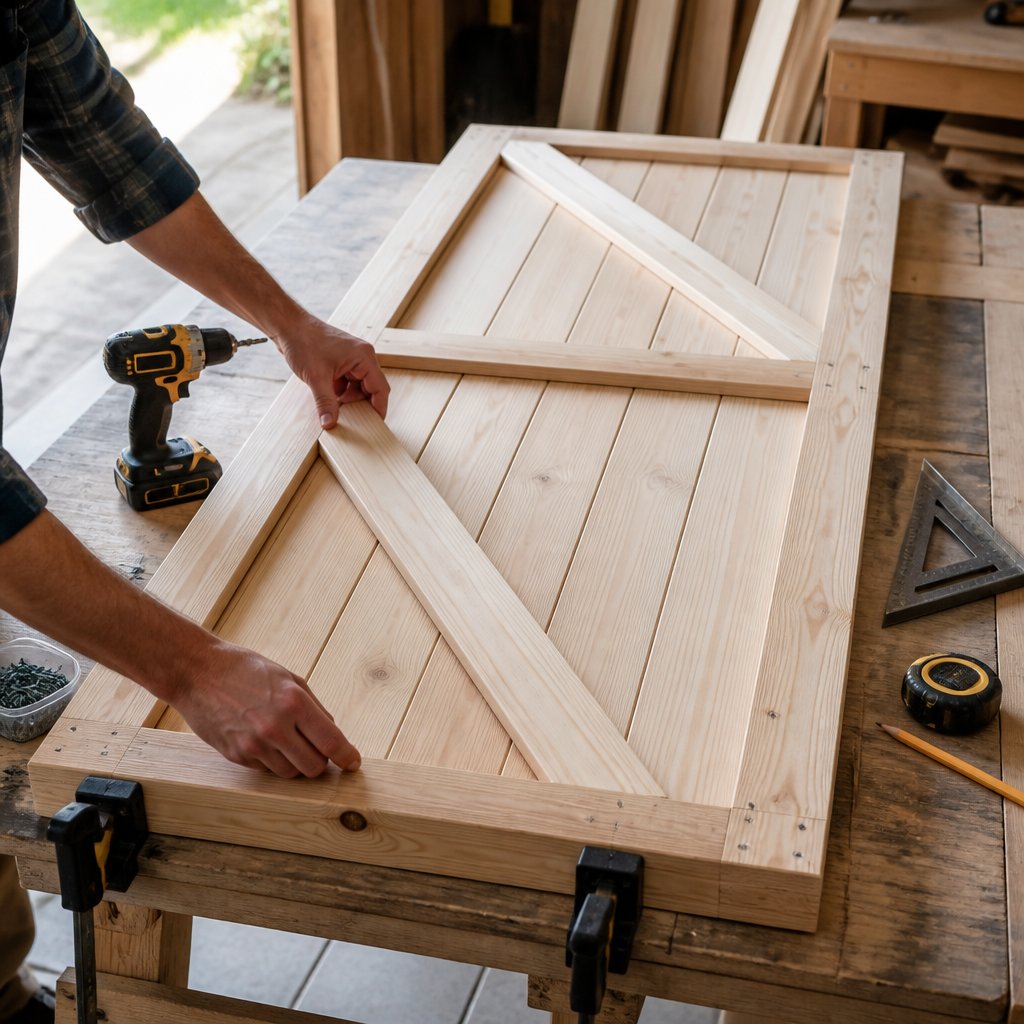
Measure the door frame and mark its center point. Cut a horizontal support to fit between the vertical rails, then position it at the midpoint. Apply wood glue and secure it with screws from the back whenever possible.
Add diagonal braces to strengthen the frame and reduce twisting. For a traditional barn-door pattern, place the braces from the lower corners toward the center support or upper corners.
Check each brace with a square and level before fastening it. Pre-drill near the board ends to help prevent splitting, and keep every screw head flush with the wood surface. The finished frame should sit flat without rocking or bowing.
7) Attach the Barn-Style Door Panels
Lay the door panels flat on a level surface. Align the boards so their edges meet evenly, then clamp them together. Check that the panel stays square by measuring both diagonals; adjust it until both measurements match.
Attach the back support boards across the panel, following your design plan. Predrill each hole to reduce splitting, then drive the screws through the supports and into the door boards. Use screws long enough to hold the boards securely without passing through the front.
Add diagonal braces if your design includes them. Cut each brace to fit tightly between the supports, check the panel for square again, and fasten the braces with screws. This plywood-and-trim approach offers a simple option for a lighter door.
8) Sand and Finish the Wood
Sand the door with 80-grit paper to remove rough edges and level uneven joints. Move to 120-grit, then finish with 180-grit for a smoother surface. Always sand in the direction of the wood grain.
Use a vacuum and a slightly damp cloth to remove all dust. Let the wood dry before applying stain, paint, or clear finish.
Apply your chosen finish with a brush, roller, or clean cloth. Follow the product’s drying instructions, and add another coat if the label recommends it. Lightly sand between coats with fine-grit paper for a smoother result.
Seal every edge, including the bottom and sides. These areas can absorb moisture and need the same protection as the front and back.
9) Install the Sliding Door Hardware
Attach the header board above the doorway, securing it to the wall studs with sturdy lag screws. The board must sit level and extend beyond both sides of the opening so the door can clear the trim.
Position the track on the header and mark the mounting holes. Drill pilot holes, then fasten the track with the hardware supplied in your kit. Follow the kit’s spacing requirements and confirm that the track remains level.
Install the rollers on the door’s top edge. With help, lift the door onto the track and check that it slides without binding.
Attach the floor guide near the bottom of the doorway. Adjust it so the door stays aligned while sliding, then install the included stops at both ends of the track.
10) Mount the Track Securely
Hold the track above the doorway and mark its position. Keep the track level, and allow enough space for the door to clear the floor and trim.
Fasten a solid header board to the wall studs if the track holes do not align with them. Use bolts or lag screws that match the hardware instructions, then check that the board sits firmly against the wall.
Mount the track to the header board or studs with every required fastener. Use a barn door installation guide to confirm the needed clearance and mounting steps.
Check the track with a level before tightening all fasteners. A secure, level track helps the rollers move smoothly and keeps the door stable.
Planning, Measurements, And Material Choices
Accurate measurements prevent gaps, binding, and wasted materials. Choose lumber that stays flat, select hardware rated for the door’s weight, and plan how the door will cover the opening and trim.
Sizing The Door For Proper Overlap
Measure the opening after removing any door stop or trim that the barn door must cover. Measure the width at the top, middle, and bottom, then use the largest measurement. Add 2 inches of overlap on each side so the closed door fully covers the opening. For a thirty-inch opening, make the door at least 34 inches wide.
Measure from the finished floor to the top of the opening. Leave about 1/2 inch of clearance beneath the door so it can slide over flooring without rubbing. Your track placement also needs space above the opening. Most hardware kits require several inches between the opening’s top edge and the ceiling, so check the kit instructions before cutting lumber.
Make the door tall enough to cover the opening and overlap the top by about 1 inch. Confirm that nearby walls, light switches, outlets, and baseboards will not block the door as it opens.
Choosing Wood, Hardware, And Fasteners
Use straight, dry boards with no major cracks, twists, or loose knots. Pine costs less and weighs less, while oak, maple, and other hardwoods offer a harder surface but add weight. Common builds use 1×6 boards for the main panel and 1×4 boards for the outer frame, as described in this DIY barn door materials guide.
Select a track kit that supports more than the finished door weight. The wall must also support the track, so attach it to studs or install a properly secured mounting board. Use the bolts supplied with the kit for the track, and use wood screws long enough to pass through the frame without breaking through the front.
Choose screws, glue, and finish based on your wood type. Apply finish to all edges, including the bottom, before installation to limit moisture absorption and movement. A complete barn door hardware guide can help you check the parts included with your kit.
Installation Checks And Long-Term Performance
A secure track, accurate clearances, and regular hardware care keep your barn door safe and easy to use. Check the wall structure, door movement, finish, and fasteners before you rely on the installation.
Mounting The Track Into Solid Structural Support
Attach the track to a solid header board fastened to wall studs. Use a board wide and thick enough to support the track hardware, then drive lag screws through the board and into the studs. Do not rely on drywall anchors alone. If the track holes do not line up with studs, install blocking between the studs before closing the wall, or use an approved structural mounting method.
Keep the track level across its full length. A small slope can cause the door to roll open or closed by itself. Follow the hardware maker’s spacing requirements, and confirm that the track extends far enough past the opening for the door to clear it fully. Barn door installation guidance covers header boards, track mounting, and clearance planning.
Testing Alignment, Clearance, And Smooth Operation
Hang the door and move it slowly from one end of the track to the other. Check that the rollers stay fully engaged and that the door does not scrape the wall, floor, trim, or track. Keep the lower guide aligned with the door so the panel cannot swing into the wall.
Measure the gap beneath the door after installation. The required clearance depends on your floor surface and hardware, but the door should not drag when the floor is level. Tighten loose fasteners, adjust the rollers, and reposition the guide if movement feels rough. Test the door several times with gentle force before adding handles, stops, or final trim.
Protecting The Finish And Maintaining Hardware
Seal or paint every exposed wood surface, including the top, bottom, and cut edges. These areas absorb moisture quickly and can cause swelling or warping. Allow the finish to cure fully before mounting the door, and place felt or rubber pads where the door could contact nearby trim.
Inspect the track, rollers, stops, and guide after the first week and again every few months. Tighten fasteners that have loosened, remove dust from the track, and check for bent parts or uneven wear. Use only the lubricant recommended by the hardware maker; excess oil can collect dust and affect rolling. Clean painted surfaces with a soft, damp cloth instead of abrasive cleaners.