10 Mobile Home Bathroom Remodel Ideas for a Stylish Upgrade
A mobile home bathroom can feel cramped or dated, but a thoughtful remodel can improve its comfort, storage, and appearance. You can update the space without losing sight of its limited size or existing layout.
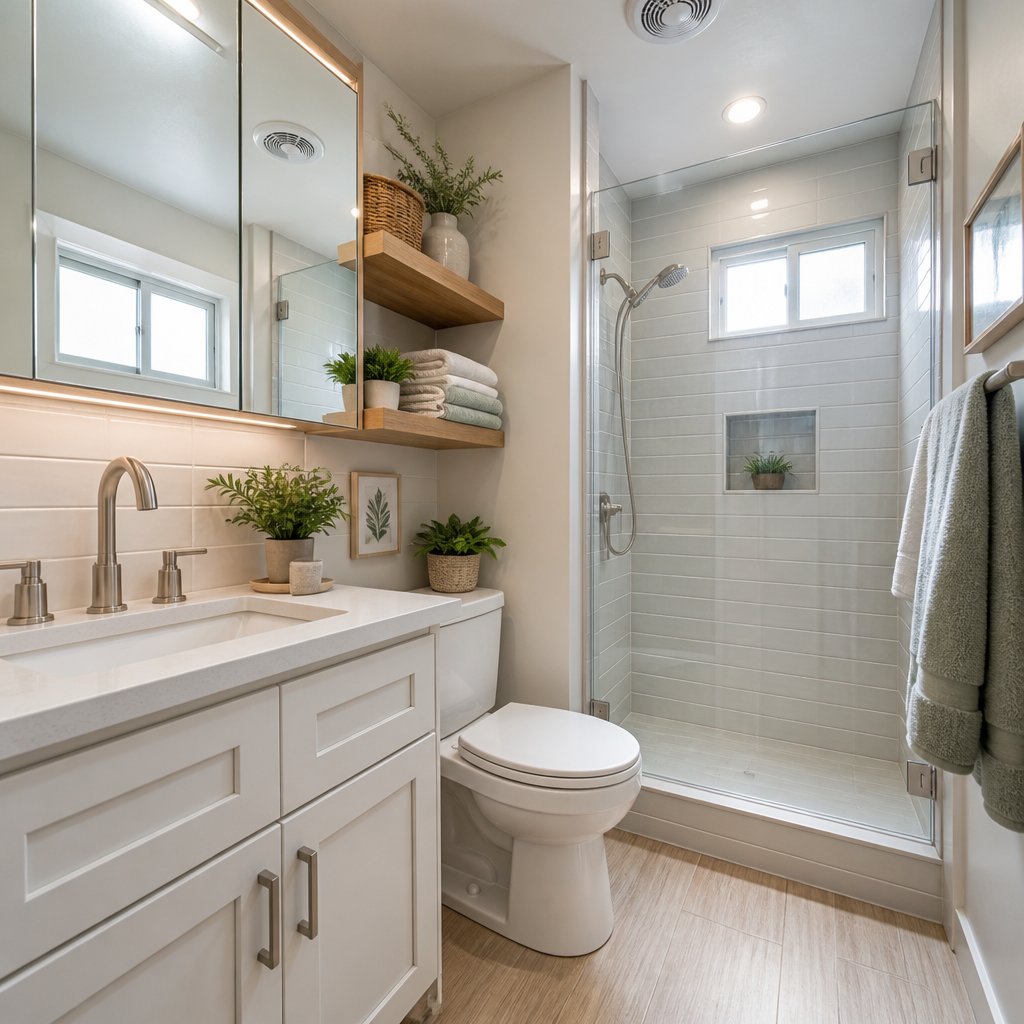
These 10 mobile home bathroom remodel ideas help you create a brighter, more practical space while keeping your project focused and manageable. You will also learn how to plan for plumbing, ventilation, materials, installation, and costs before work begins.
1) Replace the bathtub with a compact walk-in shower
Replacing a bathtub with a compact walk-in shower can make your bathroom easier to use and improve floor space. Measure the existing opening before ordering materials, since mobile homes often use smaller tubs than standard residential models.
Many mobile home tubs measure about 54 by 27 inches, while standard tubs are often 60 inches long. Measure every dimension before buying fixtures to avoid ordering parts that do not fit.
Choose a low-threshold shower base, corner shelves, and a sliding glass door or curtain. Add a grab bar, textured flooring, and a handheld showerhead if you want better access and safety. Seal wall joints carefully to help prevent water damage.
2) Install a floating vanity to open up floor space
A floating vanity mounts to the wall instead of resting on the floor. This exposes more flooring, which can make your mobile home bathroom feel less crowded and simplify cleaning.
Choose a narrow cabinet that fits the room without blocking the door or walkway. Keep enough clearance for plumbing, drawers, and comfortable use. A floating vanity can still provide useful counter space and storage.
Before installation, check the wall framing and use proper support for the vanity’s weight. Mobile home walls may need added blocking, and you should confirm plumbing locations before cutting or moving connections. Pair the cabinet with a wall-mounted mirror or open shelf to preserve the room’s vertical space.
3) Use warm white paint to make the bathroom feel larger
Choose a soft warm white for the walls to reflect light without making the bathroom feel cold. This color works well with neutral tile, wood tones, and common mobile home fixtures.
Paint the ceiling the same color to create a smooth, open look. Use an eggshell or satin finish that handles bathroom moisture and allows you to wipe the walls clean.
Add a large mirror and bright, layered lighting to strengthen the effect. Before painting, clean the walls, repair damage, and use a suitable primer so the new finish looks even and lasts longer. See warm white bathroom paint ideas for color inspiration.
4) Add peel-and-stick tile for an affordable wall update
Peel-and-stick tile gives your bathroom walls a quick, low-cost update without grout or mortar. Use it on a backsplash, vanity wall, or other smooth surface, as explained in this peel-and-stick tile guide.
Clean and dry the wall before you begin. Fill small holes, remove dust, and plan your layout so the edges look even. Press each tile firmly into place as you work.
Keep adhesive tile outside the shower and away from areas with constant moisture. Check the product label first, since some tiles work better in bathrooms than others.
5) Choose waterproof vinyl plank flooring
Waterproof vinyl plank flooring gives your mobile home bathroom a practical, low-maintenance surface. Choose planks with a textured, slip-resistant finish and a durable wear layer for better resistance to daily moisture and foot traffic.
Click-lock planks can simplify installation, while glue-down flooring may work better on uneven subfloors or in smaller bathrooms. Before installing, repair soft areas, check that the subfloor is level, and follow the manufacturer’s instructions.
Select a light wood or stone pattern to make the room feel more open. You can compare mobile home bathroom flooring options and review installation methods for vinyl plank flooring in bathrooms.
6) Install recessed medicine-cabinet storage
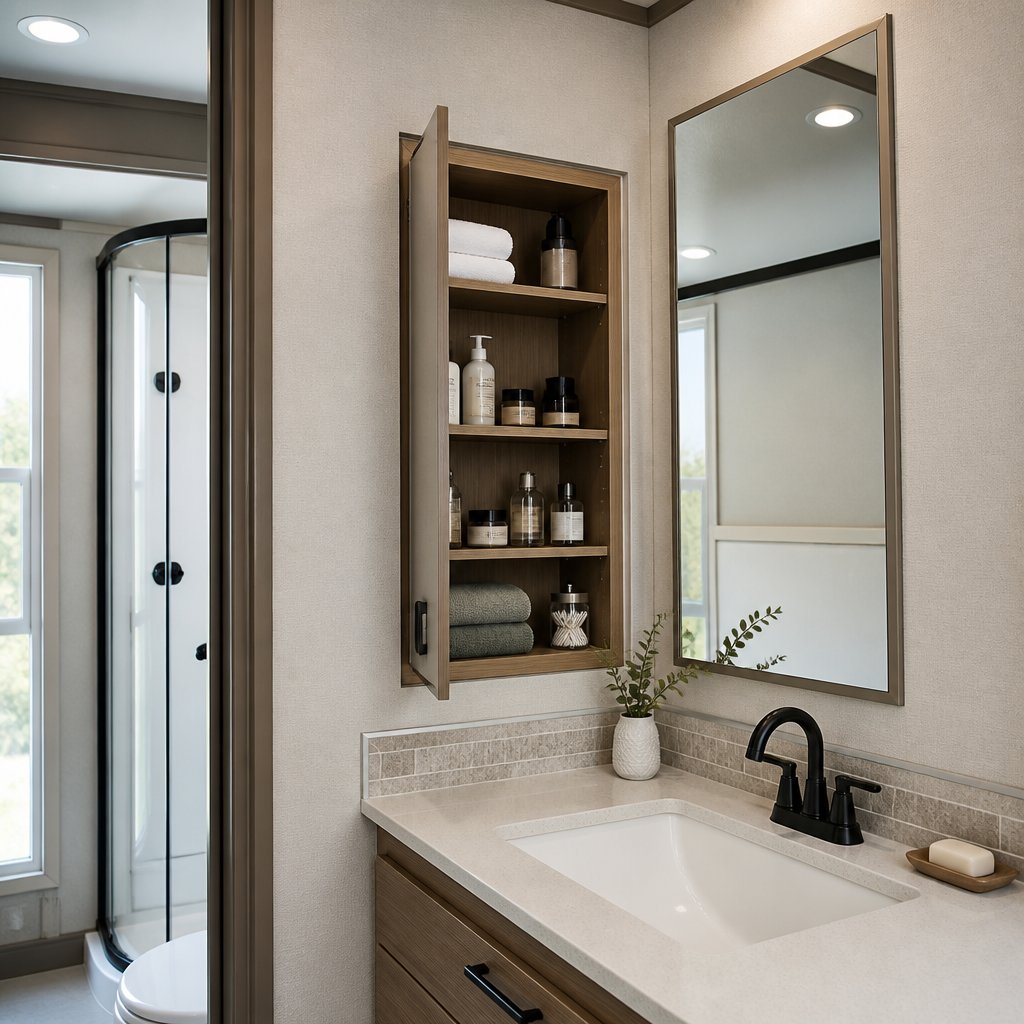
A recessed medicine cabinet fits between wall studs, so it uses wall space without extending far into your bathroom. Before cutting, check for studs, plumbing, wiring, and ventilation paths. You can review this recessed cabinet installation guide for planning and safety tips.
Choose a cabinet that fits your wall depth and leaves room around the sink, mirror, and light fixture. Turn off the power, mark the opening, and cut carefully. Never cut into a wall until you confirm that no pipes or wires run behind it.
Secure the cabinet to the framing, then install the door and hardware according to the manufacturer’s instructions. If the opening does not align with studs, add proper framing for support. A surface-mounted model may work better if the wall has hidden obstacles or limited depth.
7) Add open shelving above the toilet
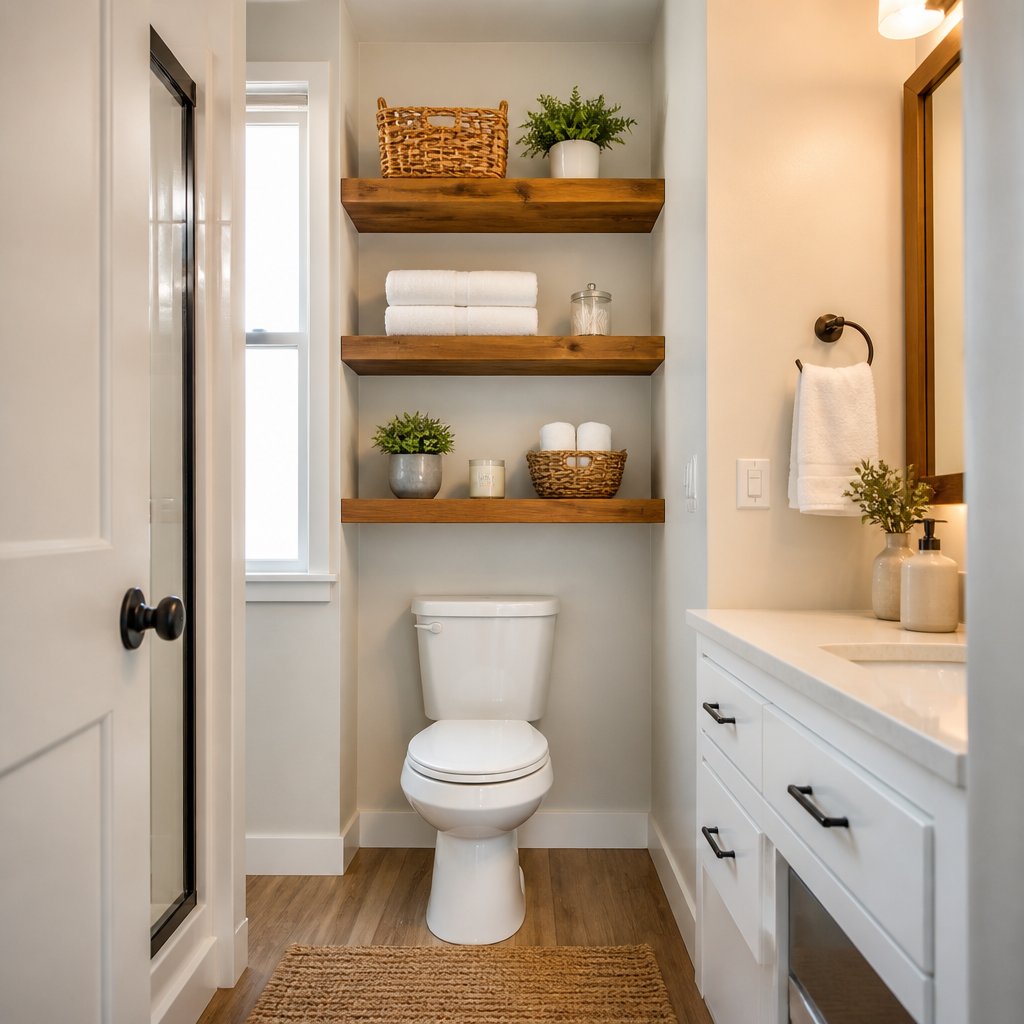
Use the empty wall above the toilet to add useful storage without taking up floor space. Floating shelves can hold folded towels, toilet paper, toiletries, and small baskets while keeping the room open.
Choose moisture-resistant wood, sealed plywood, metal, or a bathroom-rated shelf system. Mount each shelf securely into wall framing or use anchors rated for its load. In a mobile home, check for plumbing and wiring before drilling.
Keep everyday items within easy reach, and place less-used supplies in labeled baskets. For more ideas, explore these over-the-toilet storage solutions. Leave enough clearance above the toilet and avoid overcrowding the shelves.
8) Upgrade to a quiet, water-saving toilet
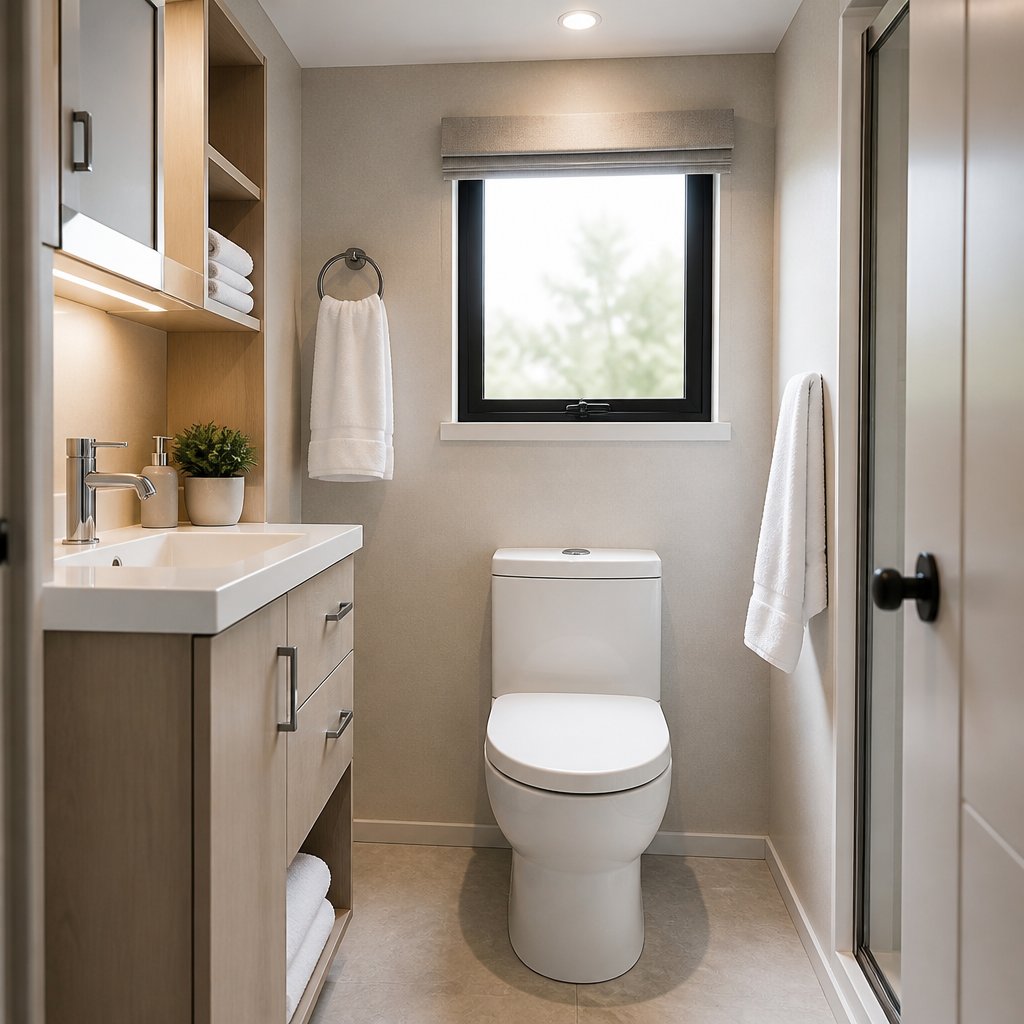
A newer toilet can reduce flushing noise and use less water than an older model. Choose a WaterSense-labeled unit when possible, since certified models meet federal efficiency standards without sacrificing basic performance.
Measure your existing toilet before ordering a replacement. Mobile homes may use a 10-inch rough-in, while many standard residential toilets require 12 inches. Check the rough-in distance, bowl shape, supply connection, and available clearance.
Select a compact, round-bowl design if floor space is limited. A soft-close seat can also reduce noise, while an accessible-height model may make sitting and standing easier. Have a plumber confirm the connection and seal before installation.
9) Replace outdated faucets with modern low-profile fixtures
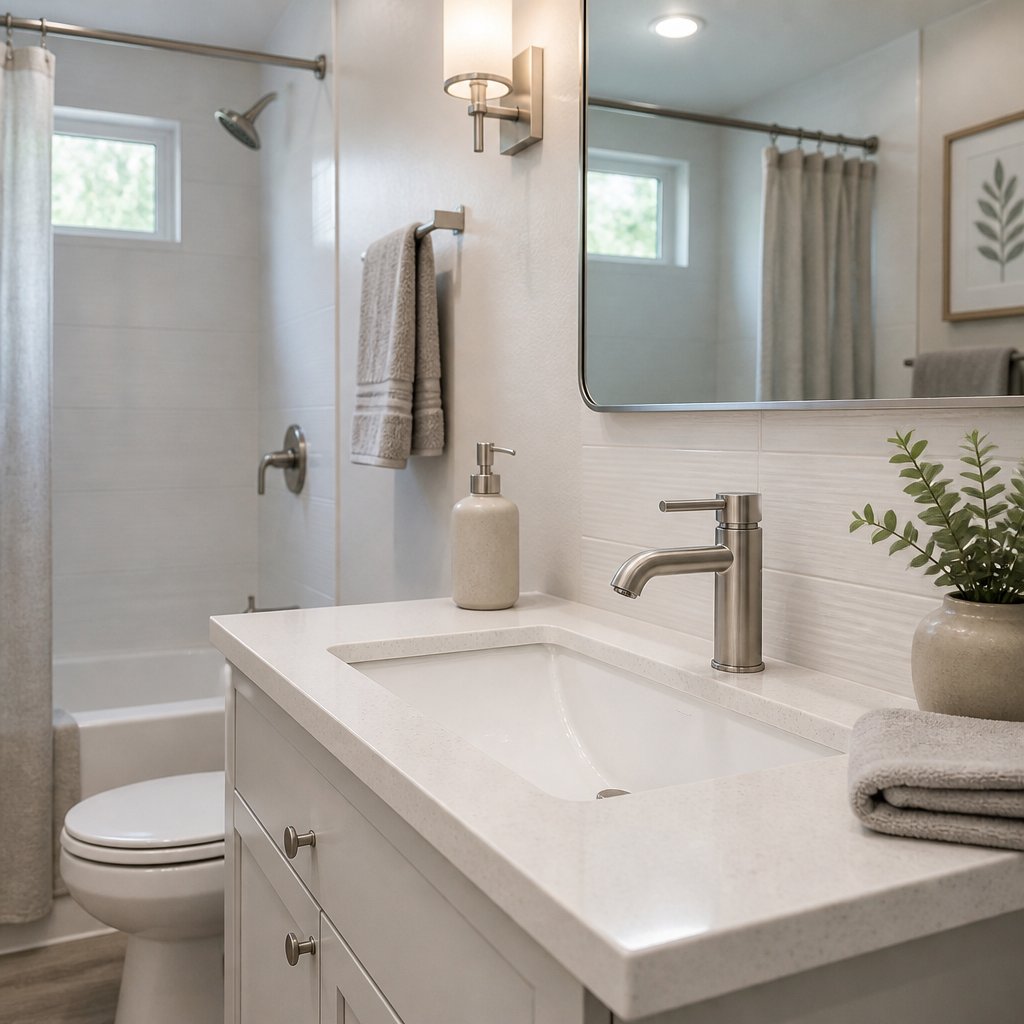
Replace worn faucets with low-profile models that fit your bathroom’s limited space. Choose a design that matches your sink, tub, or shower connections, and measure the existing openings before you buy.
Check the faucet’s installation type, handle spacing, and water-line connections. Mobile homes may use different dimensions than standard residential bathrooms, so confirm compatibility with the manufacturer or a mobile home parts supplier.
Low-flow faucets can help reduce water use while maintaining useful pressure. Pair the new faucet with updated cabinet hardware, a fresh mirror, or warm lighting for a coordinated look. Browse mobile home faucet options before making your selection.
10) Install layered lighting with a bright vanity fixture
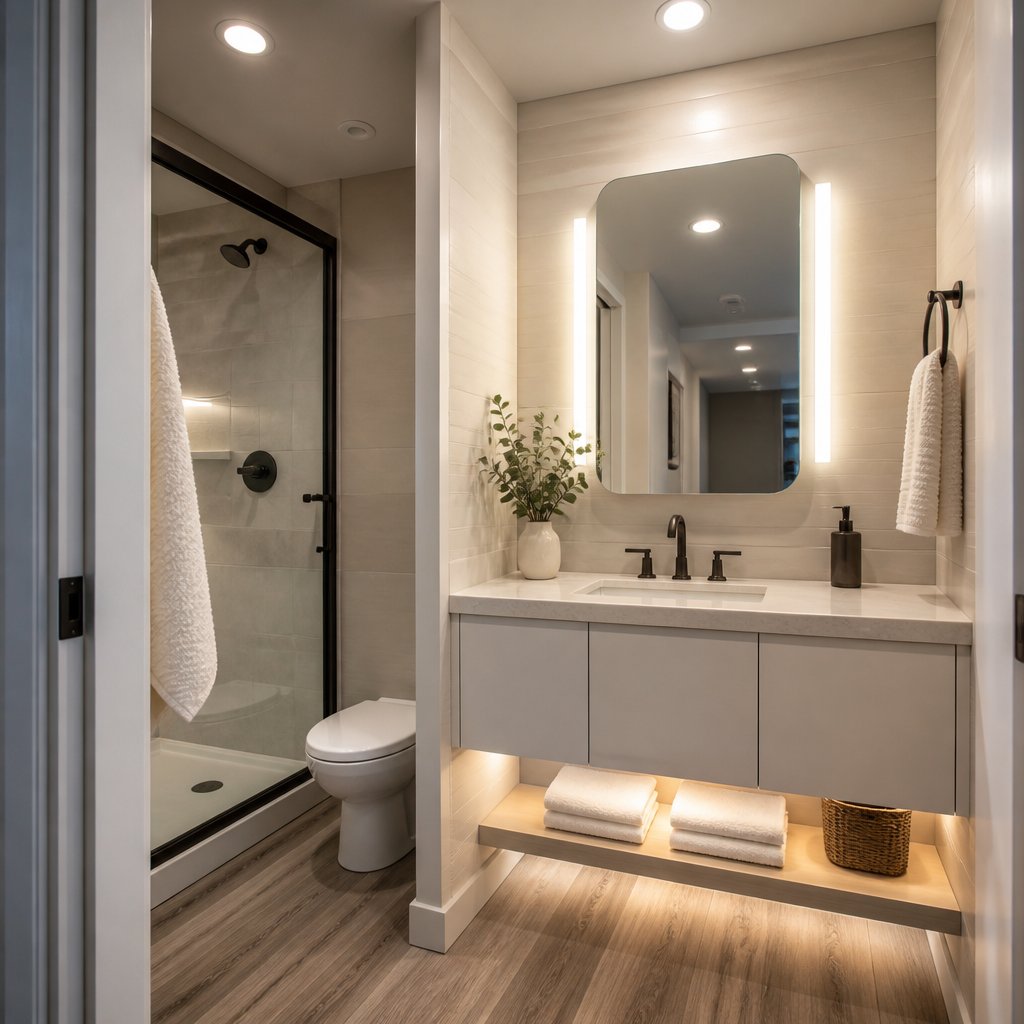
Use three lighting layers to make your mobile home bathroom easier to use. Start with a bright vanity fixture above or beside the mirror for grooming tasks. Side-mounted sconces can reduce shadows on your face when you place them near eye level.
Add a moisture-rated ceiling fixture for general lighting. In larger bathrooms, recessed lights can spread brightness across the room, but avoid placing one directly over your head at the vanity.
Choose LED bulbs with a color temperature near 3,000–4,000K for clear, comfortable light. This bathroom lighting layout guide covers common placement and height guidelines. Use dimmers where compatible, and select fixtures rated for damp bathroom areas.
Planning For Space, Plumbing, And Ventilation
A successful remodel starts with accurate measurements and a clear plan for water lines, wiring, airflow, and fixture placement. Keeping the existing layout often reduces cost and limits the need to alter the home’s structure.
Measuring Tight Bathroom Layouts
Measure the room’s length, width, and ceiling height. Record the size and location of doors, windows, vents, plumbing fixtures, outlets, and wall openings. Note the direction of the door swing and leave enough space for you to enter, use the toilet, and reach the sink without blocking another fixture.
Create a simple floor plan on graph paper. Mark fixed features first, then test smaller options such as a narrow vanity, corner sink, or walk-in shower. A pocket door can save floor space if the wall can safely hold the pocket-door frame. Use a wall-mounted cabinet or recessed shelf for storage, but confirm that the wall has enough depth.
Check the floor for soft spots before covering it. Water damage around the toilet, tub, or shower may require repairs before you install new flooring. For more layout guidance, review these space-smart mobile home bathroom design ideas.
Assessing Plumbing And Electrical Constraints
Find the locations of the existing supply lines, drainpipes, shutoff valves, and electrical cables before demolition. Keeping fixtures near their current positions usually simplifies the work. Moving a toilet, shower, or sink can require new drain routes, floor cuts, and permits.
Inspect the subfloor and plumbing for leaks, corrosion, or loose connections. Use mobile-home-rated materials where required, and have a licensed plumber check drain and vent changes. Turn off water and electricity before removing fixtures.
Plan outlets away from wet areas and use ground-fault circuit interrupter protection where local rules require it. A bathroom exhaust fan should vent outdoors, not into the ceiling cavity. Choose a fan sized for the room and connect it to a properly rated switch and duct. Review this mobile home bathroom remodeling guide before changing plumbing or electrical systems.
Budgeting And Preparing For Installation
Measure the existing bathroom before ordering materials, and reserve money for hidden damage, plumbing changes, and disposal. Choose products made for damp areas, then confirm permit rules and decide which work requires a licensed professional.
Choosing Moisture-Resistant Materials
Use materials that can handle frequent humidity and water exposure. Choose vinyl sheet flooring or waterproof luxury vinyl instead of materials that can swell when water reaches the seams. For walls, use a manufactured-home shower surround, fiberglass panels, or cement backer board with a suitable waterproofing system. Do not rely on standard drywall behind a tub or shower.
Check every product’s dimensions before buying it. Mobile home bathrooms often use smaller fixtures, such as a 54-inch tub, and may have a 10-inch toilet rough-in rather than the common 12-inch layout. The mobile home bathroom remodeling guide explains why measuring these details prevents costly ordering mistakes.
Seal openings around plumbing, trim, and fixtures with the correct bathroom-rated sealant. Include replacement shutoff valves, supply lines, fasteners, trim, and waterproofing materials in your budget.
Understanding Permits And Professional Help
Contact your local building department before demolition. Permit requirements can vary by location and may apply when you move plumbing, add electrical circuits, replace wiring, alter walls, or change a tub to a shower. Ask whether the work requires inspections and whether your manufactured home community has additional rules.
Hire a licensed plumber for drain relocation, supply-line changes, shower valves, or damaged pipes. Use a qualified electrician for new circuits, lights, exhaust fans, or work near wet locations. A professional can also check whether the floor structure can support a heavier fixture or tile installation.
Keep a contingency fund for subfloor damage, mold, corroded fittings, and framing repairs. Planning guides for mobile home bathroom remodeling costs recommend accounting for these hidden conditions instead of budgeting only for visible finishes.