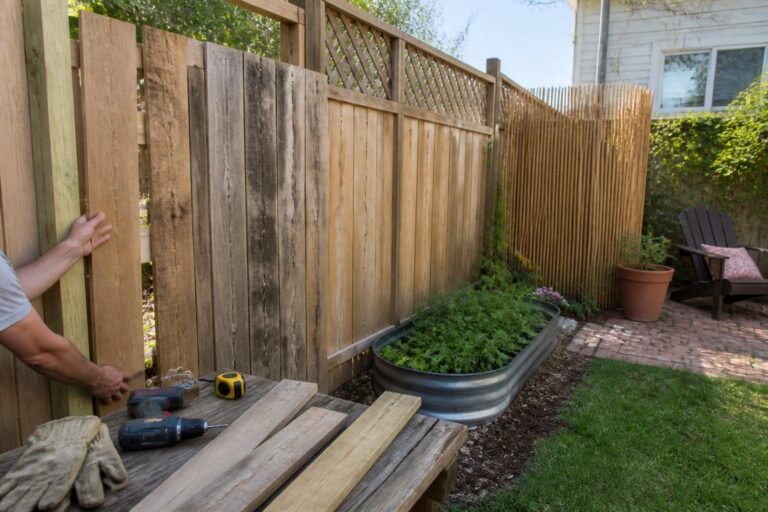
How to Fill a Raised Garden Bed for Under $30: 10 Proven Tips
A raised garden bed can eat through your budget before you plant a single seed. You do not need to fill it with costly bags of premium soil to create a productive growing space.
You can build a healthy, affordable soil mix for under $30 by combining low-cost materials with what you already have. This guide will help you plan the bed’s volume, choose safe layers, avoid common filling mistakes, and improve the soil over time without sacrificing plant health.
1) Calculate the bed’s soil volume first
Before buying anything, measure your raised bed. Multiply its length by width by soil depth to get cubic feet. For example, a 4-by-4-foot bed filled 10 inches deep needs about 13.3 cubic feet of soil.
Convert inches to feet by dividing the depth by 12. If your bed has uneven sides, measure the average depth. You can also use a raised bed soil calculator to check your math and estimate bag quantities.
Avoid filling the bed to the very top. Leave 1–2 inches below the rim to reduce runoff, and remember that loose soil settles after watering. Adding a small allowance helps, but do not overbuy expensive mix.
Write down the total cubic feet before shopping. That number lets you compare bulk soil, compost, and inexpensive fill materials without guessing.
2) Use cardboard for the bottom layer
Start with plain, brown cardboard before adding any soil. Remove tape, labels, glossy coatings, and staples, then overlap each sheet by several inches. This prevents weeds from finding gaps and helps keep your fill from washing into the ground.
Lay the cardboard directly on grass or bare soil, then soak it thoroughly with water. Wet cardboard settles into place and begins breaking down. Avoid placing it over invasive roots, contaminated soil, or areas that stay flooded.
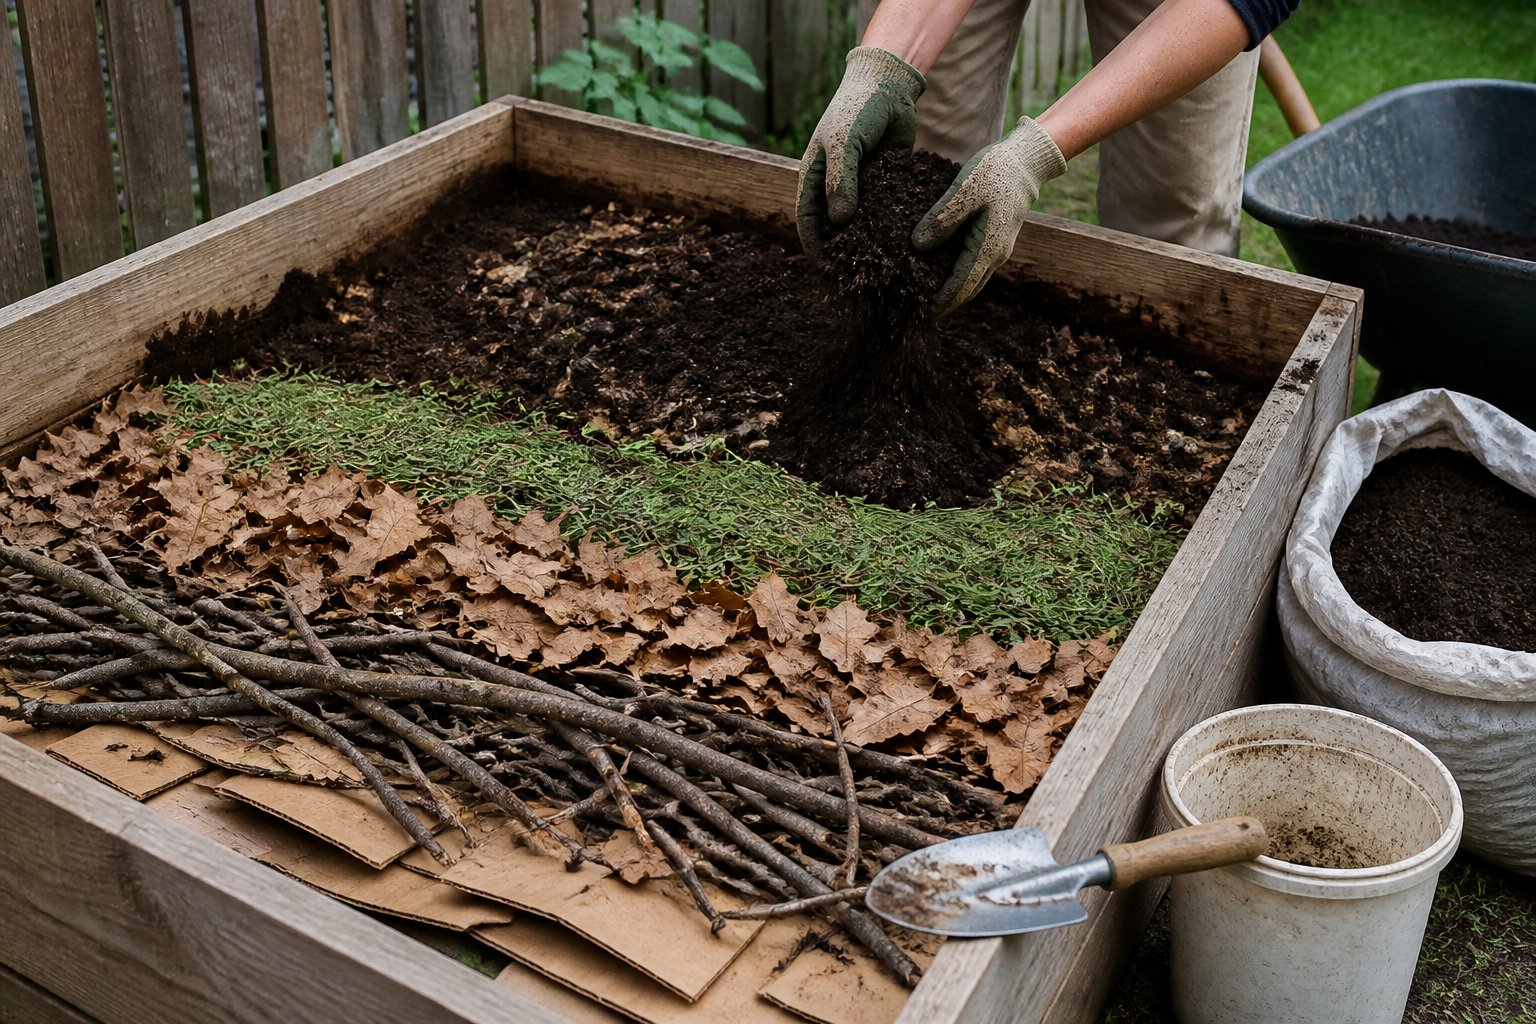
Cover the cardboard with roughly 4 to 6 inches of compost or soil so wind cannot lift it. For a deeper bed, you can add logs, branches, leaves, or other clean organic material above this layer before adding your planting mix, as described in this cheap raised-bed layering guide.
Skip cardboard treated with chemicals or coated in plastic. A few minutes spent sorting the sheets now can prevent unwanted materials from entering your garden.
3) Add logs and untreated branches
Place a few rotten-free logs or thick, untreated branches across the bottom of the bed. This budget-friendly hugelkultur layer takes up space, improves airflow, and slowly breaks down over time. Use only clean wood; avoid painted, stained, treated, or pressure-treated lumber.
Choose smaller logs for a shallow bed and larger pieces for a deep one. Fill gaps with twigs and coarse wood chips, then water the layer well so it settles. Do not pack wood tightly against the sides, or soil may spill through gaps.
Fresh wood can temporarily use nitrogen as it decomposes, especially softwood. Add compost or a balanced organic fertilizer to the soil above it, and keep the wood layer below the main root zone. Learn more about using logs correctly before planting. Check the bed after a few weeks and top it up if the material settles.
4) Fill gaps with leaves and yard debris
Use dry leaves, small twigs, and untreated grass clippings to fill open spaces around the logs or branches. These materials reduce the amount of soil you need while adding organic matter as they break down. Shred leaves with a mower first so they settle more evenly and do not form thick, airless mats.
Avoid diseased plants, weeds with seed heads, glossy leaves, and grass clippings treated recently with herbicides. Keep fresh grass clippings to a thin layer, or mix them with dry leaves to prevent a wet, compacted mass.
Tuck the debris into gaps, then water it lightly before adding your growing mix. Leave at least 8–12 inches of good soil above this layer for most vegetables, and expect the bed level to drop as the material decomposes. Fall leaves can help fill raised beds while improving moisture retention.
5) Mix in homemade compost
Homemade compost can stretch your garden budget while adding nutrients and organic matter to the bed. Use finished compost that looks dark, smells earthy, and has no recognizable food scraps, bones, or weed seeds.
Mix one part finished compost with two parts clean topsoil or native soil. For a 4-by-8-foot bed, add a few buckets at a time and blend them through the upper 6–12 inches, where most vegetable roots grow. Avoid using fresh compost, which can harm plants and attract pests.
If you make compost at home, include leaves, untreated grass clippings, and fruit and vegetable scraps. Do not add pet waste, diseased plants, or chemically treated materials. This guide to filling raised beds affordably also recommends combining compost with less costly materials rather than buying only bagged soil.
Save finished compost for planting time, and keep adding small amounts each season to maintain the bed’s quality.
6) Use aged manure sparingly
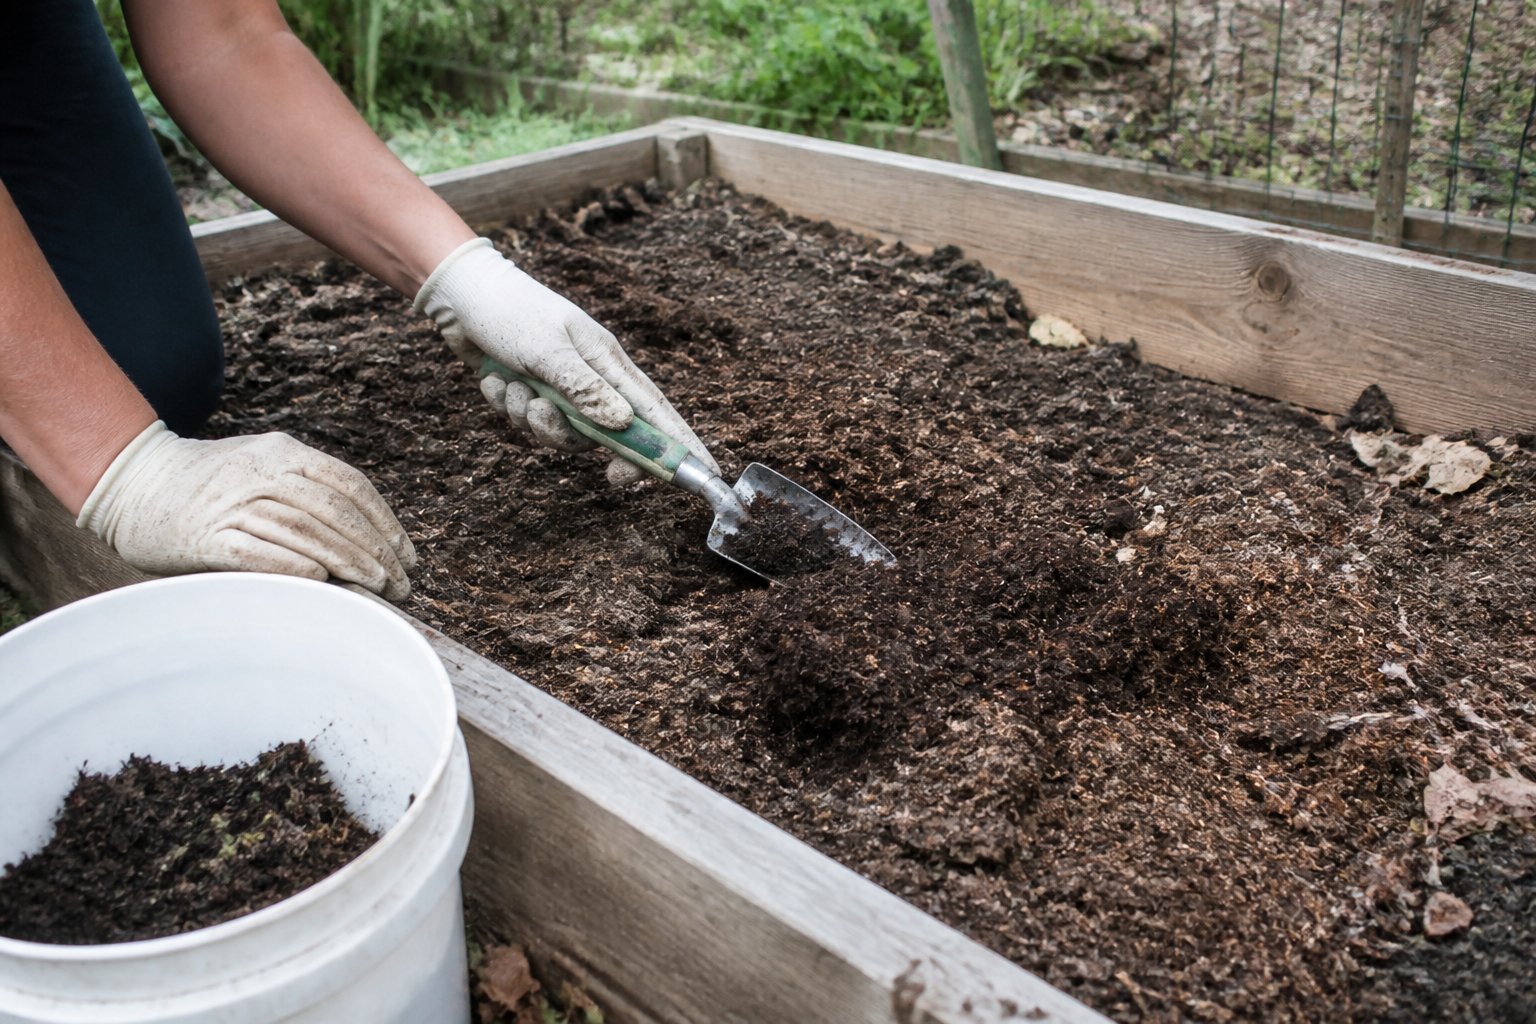
Use well-aged manure as a low-cost nutrient boost, not as the main material in your raised bed. Mix a thin layer into your topsoil or compost, because fresh manure can burn plant roots and may contain weed seeds or harmful pathogens.
Choose composted cow, horse, or poultry manure from a trusted supplier. If you collect it yourself, let it age fully before adding it to the bed. A common mistake is adding too much poultry manure, which tends to be stronger than other types.
For a budget mix, combine one part aged manure with several parts soil and compost. Keep manure away from direct contact with seedlings, and follow safe waiting periods for edible crops listed on the product label. Use a small amount to improve fertility without paying for extra bags of soil.
7) Add grass clippings in thin layers
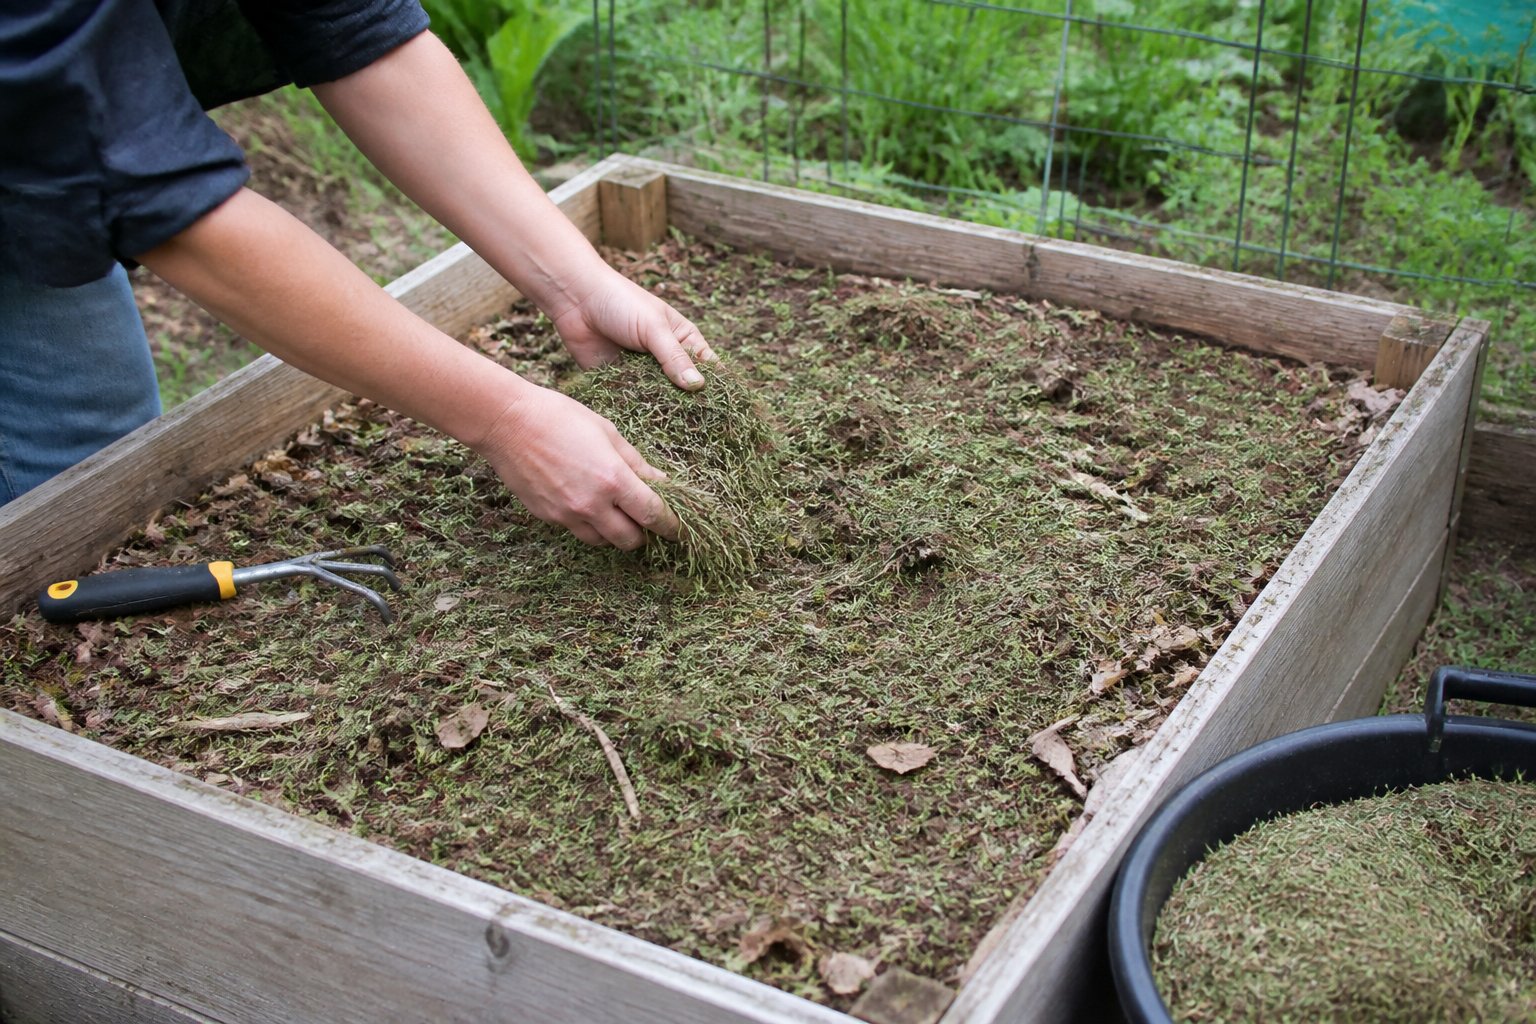
Use fresh grass clippings as a free filler, but add them carefully. Spread each layer no more than 1–2 inches thick across the bed, then cover it with leaves, straw, compost, or topsoil. Thin layers allow air to move through the material and reduce the risk of a wet, compacted mat.
Avoid using clippings from lawns treated recently with herbicides or pesticides. Also skip grass mixed with weeds that have mature seeds. Thick piles can heat up, smell, and become slimy, so do not dump a full mower bag in one spot.
For example, add a thin layer of clippings, sprinkle on a small amount of finished compost, and repeat as you build the bed. Keep grass below the main root zone, then finish with several inches of quality soil and compost. This yard-waste layering method can help reduce the amount of purchased soil you need.
8) Reuse Finished Potting Soil
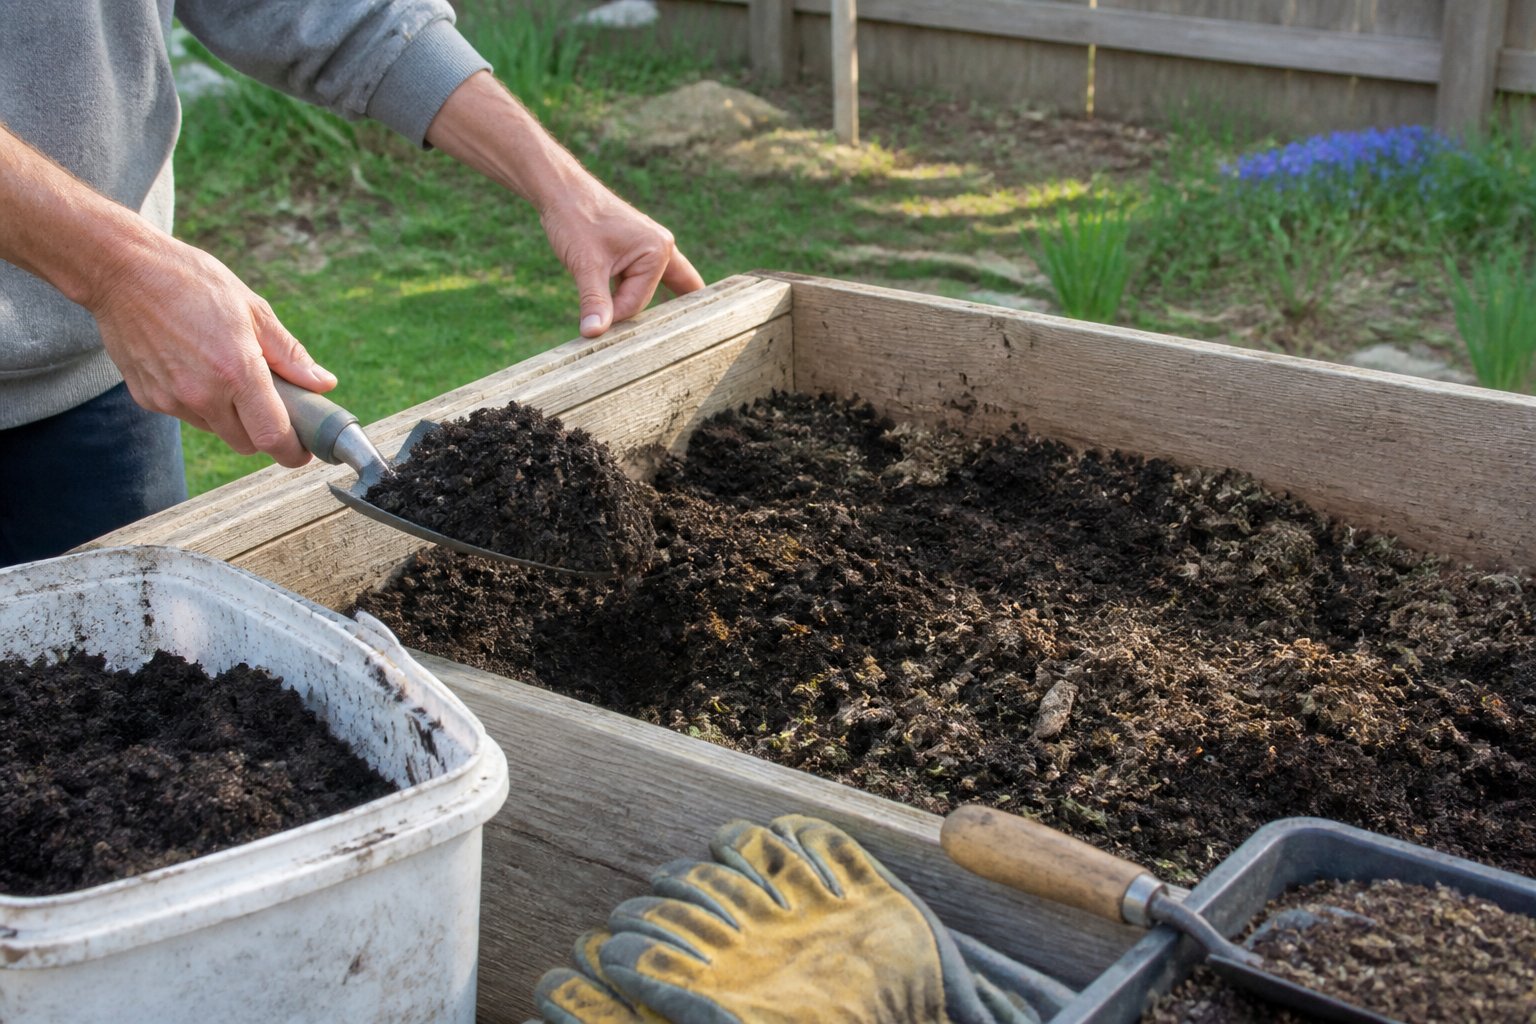
Use finished potting soil to lower the cost of a raised garden bed, but check it before adding it. Remove old roots, weeds, and insects, then break apart compacted clumps. If the mix smells sour, stays wet, or contains diseased plants, add it to the compost pile instead.
Mix the used soil with fresh compost rather than using it alone. A practical blend is two parts reused potting soil to one part compost. This restores organic matter and improves the soil’s structure without requiring many new bags.
Avoid reusing soil from pots that held diseased plants, especially tomatoes, peppers, or cucumbers. You should also avoid filling the entire bed with potting soil because it can settle and drain poorly. Blend it with compost and other suitable garden materials, then reserve the best mix for the top planting layer.
9) Source Clean Topsoil Locally
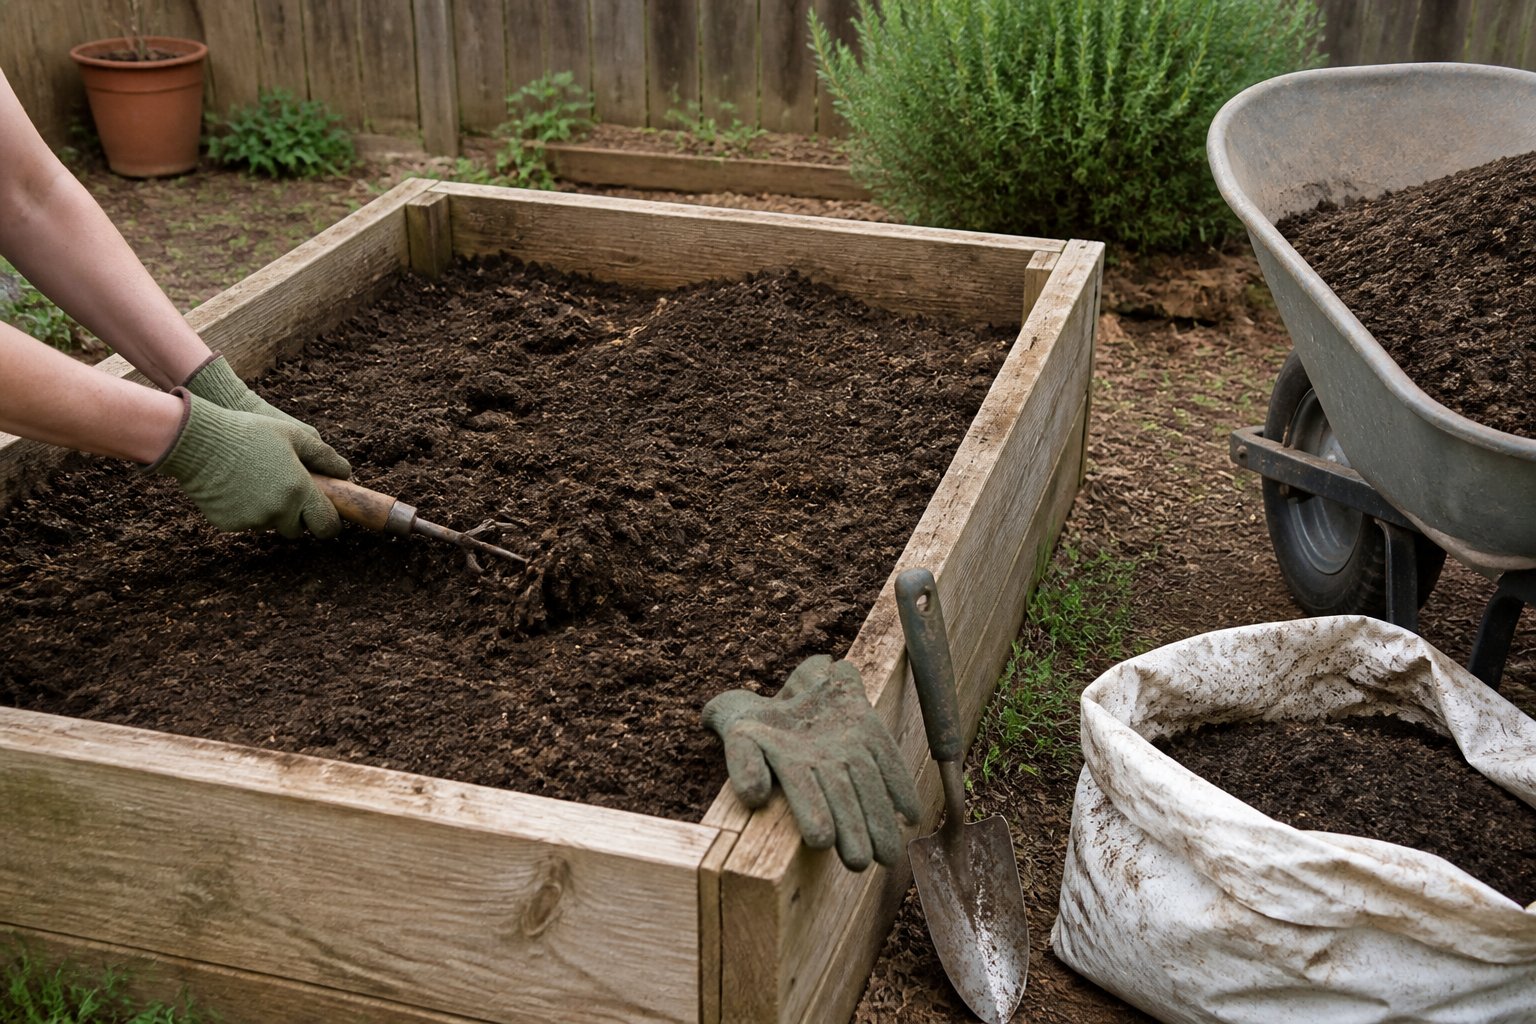
You can reduce the cost of a raised garden bed by finding clean topsoil nearby. Ask local landscaping companies, farms, or municipal compost sites whether they sell screened topsoil by the scoop or offer small leftover loads. Buying locally often costs less than purchasing many small bags.
Before you accept the soil, ask where it came from and whether it contains weedkiller residue, construction waste, glass, or invasive weed roots. Avoid soil from areas treated with unknown chemicals. A quick inspection can prevent problems later.
Use topsoil as the bulk material, then mix it with finished compost. A practical blend uses about three parts topsoil to one part compost, as explained in this raised-bed soil guide. Do not fill the entire bed with plain topsoil, which may compact and drain poorly.
Measure your bed first so you order only what you need, and ask whether delivery fees fit your budget.
10) Collect Free Leaf Mold
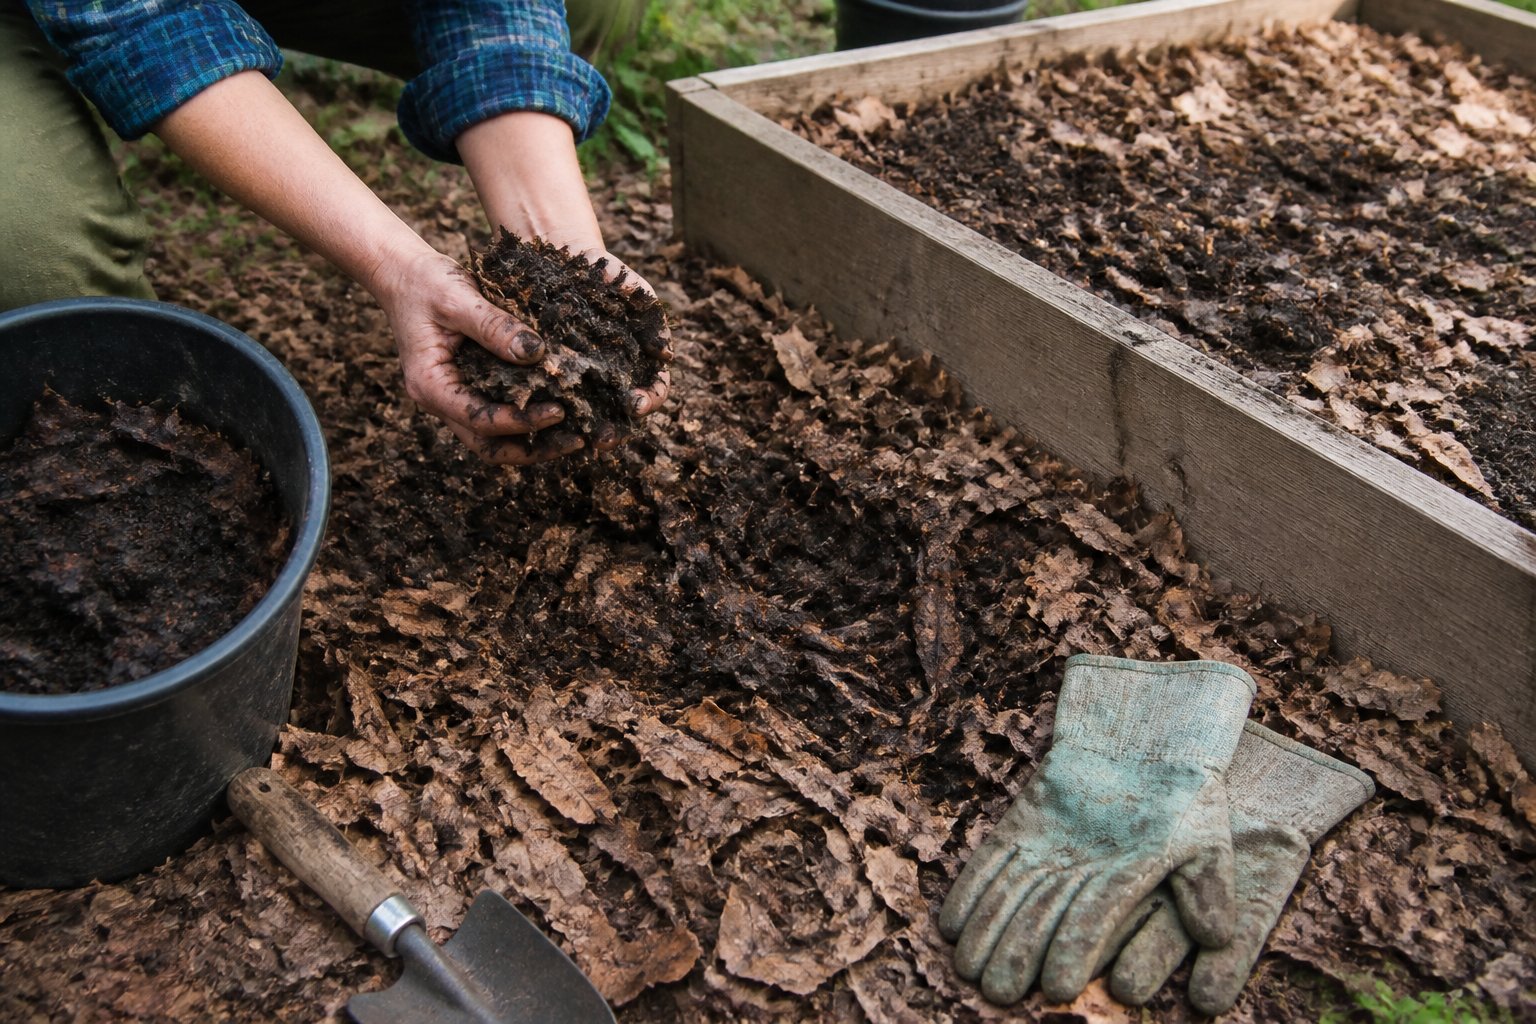
Leaf mold gives your raised bed a useful soil conditioner without adding much to your budget. Collect fallen leaves from your yard, or ask neighbors before they bag theirs for disposal. Avoid leaves from roadsides or lawns treated with herbicides.
Shred the leaves with a mower, then pile them in a wire bin, large bags with air holes, or a simple fenced corner. Moisten the pile and keep it damp, like a wrung-out sponge. Turn it once or twice if you can, but patience does most of the work. Fine leaves may break down in about a year; whole leaves take longer.
Use finished leaf mold as part of the top growing mix, not as the only material. It improves texture and helps the bed hold moisture, but it contains limited plant nutrients. Learn more about making leaf mold for garden soil before adding it to your bed. Collect leaves now so free soil-building material will be ready for a future season.
Budget-Friendly Fill Materials
For a raised garden bed under $30, reserve purchased soil for the top planting layer and use clean materials below it. Choose safe organic matter, then balance dry carbon materials with fresh nitrogen materials so the fill settles into useful growing medium.
Choosing Safe Organic Bulk Materials
Start with untreated logs, branches, sticks, and coarse wood at the bottom of a deep bed. This hugelkultur-style approach uses bulky organic material to reduce the amount of soil you need. Add smaller branches, autumn leaves, untreated grass clippings, and finished compost as you move upward.
Avoid painted, stained, or pressure-treated wood. Do not use diseased plants, weeds with mature seeds, glossy paper, meat, dairy, pet waste, or fresh manure. These materials can introduce chemicals, pests, weed seeds, or pathogens.
Use free materials from your own yard or ask neighbors for clean leaves and untreated branches. Let fresh grass clippings dry before adding them, and keep them in thin layers so they do not form a wet, smelly mat. Cover the lower fill with several inches of finished compost mixed with topsoil before planting.
Balancing Carbon-Rich and Nitrogen-Rich Layers
Carbon-rich materials include dry leaves, straw, shredded paper, sawdust, wood chips, and small branches. Nitrogen-rich materials include fresh grass clippings, leafy plant scraps, compost, and aged manure. Combining both types helps organic matter break down without tying up too much available nitrogen.
For a simple raised-bed fill, alternate a layer of branches with leaves, then add a thin layer of grass clippings or compost. Keep fresh nitrogen materials modest, especially near plant roots. A thick layer of wet grass can turn slimy, while a bed packed with dry wood may decompose slowly and temporarily compete with plants for nitrogen.
Finish with a 6- to 12-inch planting layer made from topsoil and finished compost. A practical budget mix uses about two parts clean topsoil to one part compost. Additional low-cost organic materials can help stretch this mix while keeping the root zone fertile.
Long-Term Bed Performance
A low-cost raised bed can remain productive when you manage settling, keep the upper planting layer fertile, and avoid adding materials that harm plant roots. Regular checks during the first season help you protect the bed’s shape and stretch your soil budget.
Managing Settling During the First Season
Organic materials such as branches, leaves, and grass clippings shrink as they decompose. A deep bed may drop several inches during its first year, especially after heavy rain. Check the soil level every two to four weeks, then add a thin layer of finished compost, aged leaf mold, or garden soil when the surface falls more than 2 inches below the rim.
Do not refill the bed with fresh wood, thick grass clumps, or large amounts of kitchen scraps. These materials can settle unevenly, rob nitrogen while decomposing, or attract pests. Keep at least 6–8 inches of fine soil and compost at the top for vegetables with shallow or medium roots.
Water slowly after each refill so the material settles without leaving large air pockets. If the bed drops sharply in one area, inspect for a rotting pocket or animal tunnel before adding more soil. A layered approach using free organic materials can reduce the amount of purchased soil.
When To Add Compost or Fertilizer
Add about 1–2 inches of finished compost to the bed each spring, then mix it lightly into the top 4–6 inches. You can add another thin layer after harvesting heavy-feeding crops such as tomatoes, squash, corn, or cabbage. Avoid turning the entire bed deeply, because repeated digging disrupts soil structure and earthworms.
Compost improves soil texture, but it may not supply every nutrient your crops need. Test your soil every two or three years, or sooner if plants grow slowly, develop pale leaves, or produce poorly. Use the test results to choose a targeted fertilizer instead of adding products by guesswork.
For most beds, apply fertilizer at the rate on the label and keep it away from plant stems. Fresh manure, unfinished compost, and strong homemade mixes can burn roots or introduce weed seeds. Adding soil gradually while maintaining a fertile top layer is a practical long-term budget method.